Although it’s been some time since I’ve worked with containers on my local machine, I recently found myself intrigued to discover what’s new with Podman.
Setting Up Podman
To kick things off, we’ll need to get Podman installed. As my development environment is running on a Mac M2, I’m going to employ Homebrew for this purpose:
$ brew install podman podman-compose podman-desktop
In addition to Podman itself, I’ve also chosen to install Podman Compose and Podman Desktop. The former serves as a fitting replacement for Docker Compose, allowing for the definition and orchestration of multi-container applications within the Podman environment. On the other hand, Podman Desktop is a handy GUI for Podman that substitutes Docker Desktop.
Following the successful installation, you can get Podman up and running with the subsequent command:
$ podman machine init
$ podman machine start
This process will essentially download, install, and kickstart a qemu virtual machine designed to run Podman, mirroring the mechanism employed by Docker Desktop.
Upon successful installation, you should encounter an output akin to this:
Starting machine "podman-machine-default"
Waiting for VM ...
Mounting volume... /Users:/Users
Mounting volume... /private:/private
Mounting volume... /var/folders:/var/folders

This machine is currently configured in rootless mode. If your containers
require root permissions (e.g. ports < 1024), or if you run into compatibility
issues with non-podman clients, you can switch using the following command:

  podman machine set --rootful

API forwarding listening on: /Users/russ.mckendrick/.local/share/containers/podman/machine/qemu/podman.sock

The system helper service is not installed; the default Docker API socket
address can't be used by podman. If you would like to install it run the
following commands:

  sudo /opt/homebrew/Cellar/podman/4.5.1/bin/podman-mac-helper install
  podman machine stop; podman machine start

You can still connect Docker API clients by setting DOCKER_HOST using the
following command in your terminal session:

  export DOCKER_HOST='unix:///Users/russ.mckendrick/.local/share/containers/podman/machine/qemu/podman.sock'

Machine "podman-machine-default" started successfully
As observed, Podman operates in ‘rootless’ mode by default, signifying it’s running as a non-root user. This was a distinctive feature that originally set Podman apart from its Docker counterpart.
A Bit More Configuration
If you’ve been keen, you might have noticed from the previous output that the system helper is not yet installed. To rectify this, you’ll need to run the following commands:
$ sudo podman-mac-helper install
$ podman machine stop; podman machine start
Executing these commands will ensure a degree of compatibility with apps that typically interface with Docker. Although this step isn’t strictly necessary, it certainly adds a convenient layer of flexibility.
Saying Hello to Podman
Before we delve into Podman Desktop, let’s kickstart our journey with the traditional Hello World container. To do this, execute the following command:
$ podman run quay.io/podman/hello
This command will fetch and run the Podman Hello World container. As a result, you should see an output somewhat like this:
Trying to pull quay.io/podman/hello:latest...
Getting image source signatures
Copying blob sha256:9bdf7ac1ed918fe590f80ad610afc6ef128f28c8b9e5ed27c428fa8df844b526
Copying config sha256:464d54267dd11a4b67ebd8236ff83df0f710f40db23642c97456c45619eb4587
Writing manifest to image destination
Storing signatures
!... Hello Podman World ...!

         .--"--.
       / -     - \
      / (O)   (O) \
   ~~~| -=(,Y,)=- |
    .---. /`  \   |~~
 ~/  o  o \~~~~.----. ~~
  | =(X)= |~  / (O (O) \
   ~~~~~~~  ~| =(Y_)=-  |
  ~~~~    ~~~|   U      |~~

Project:   https://github.com/containers/podman
Website:   https://podman.io
Documents: https://docs.podman.io
Twitter:   @Podman_io
For now, we’ll leave the container in its existing state, which is ‘Exited’ (you can verify this by running podman container ls -a). We’ll revisit this container shortly when we explore Podman Desktop.
Unveiling Podman Desktop
Now that we’ve confirmed the proper functioning of Podman, it’s time to explore Podman Desktop. As we’ve already got Podman operational, upon opening Podman Desktop for the first time, you should encounter something like the following screens:
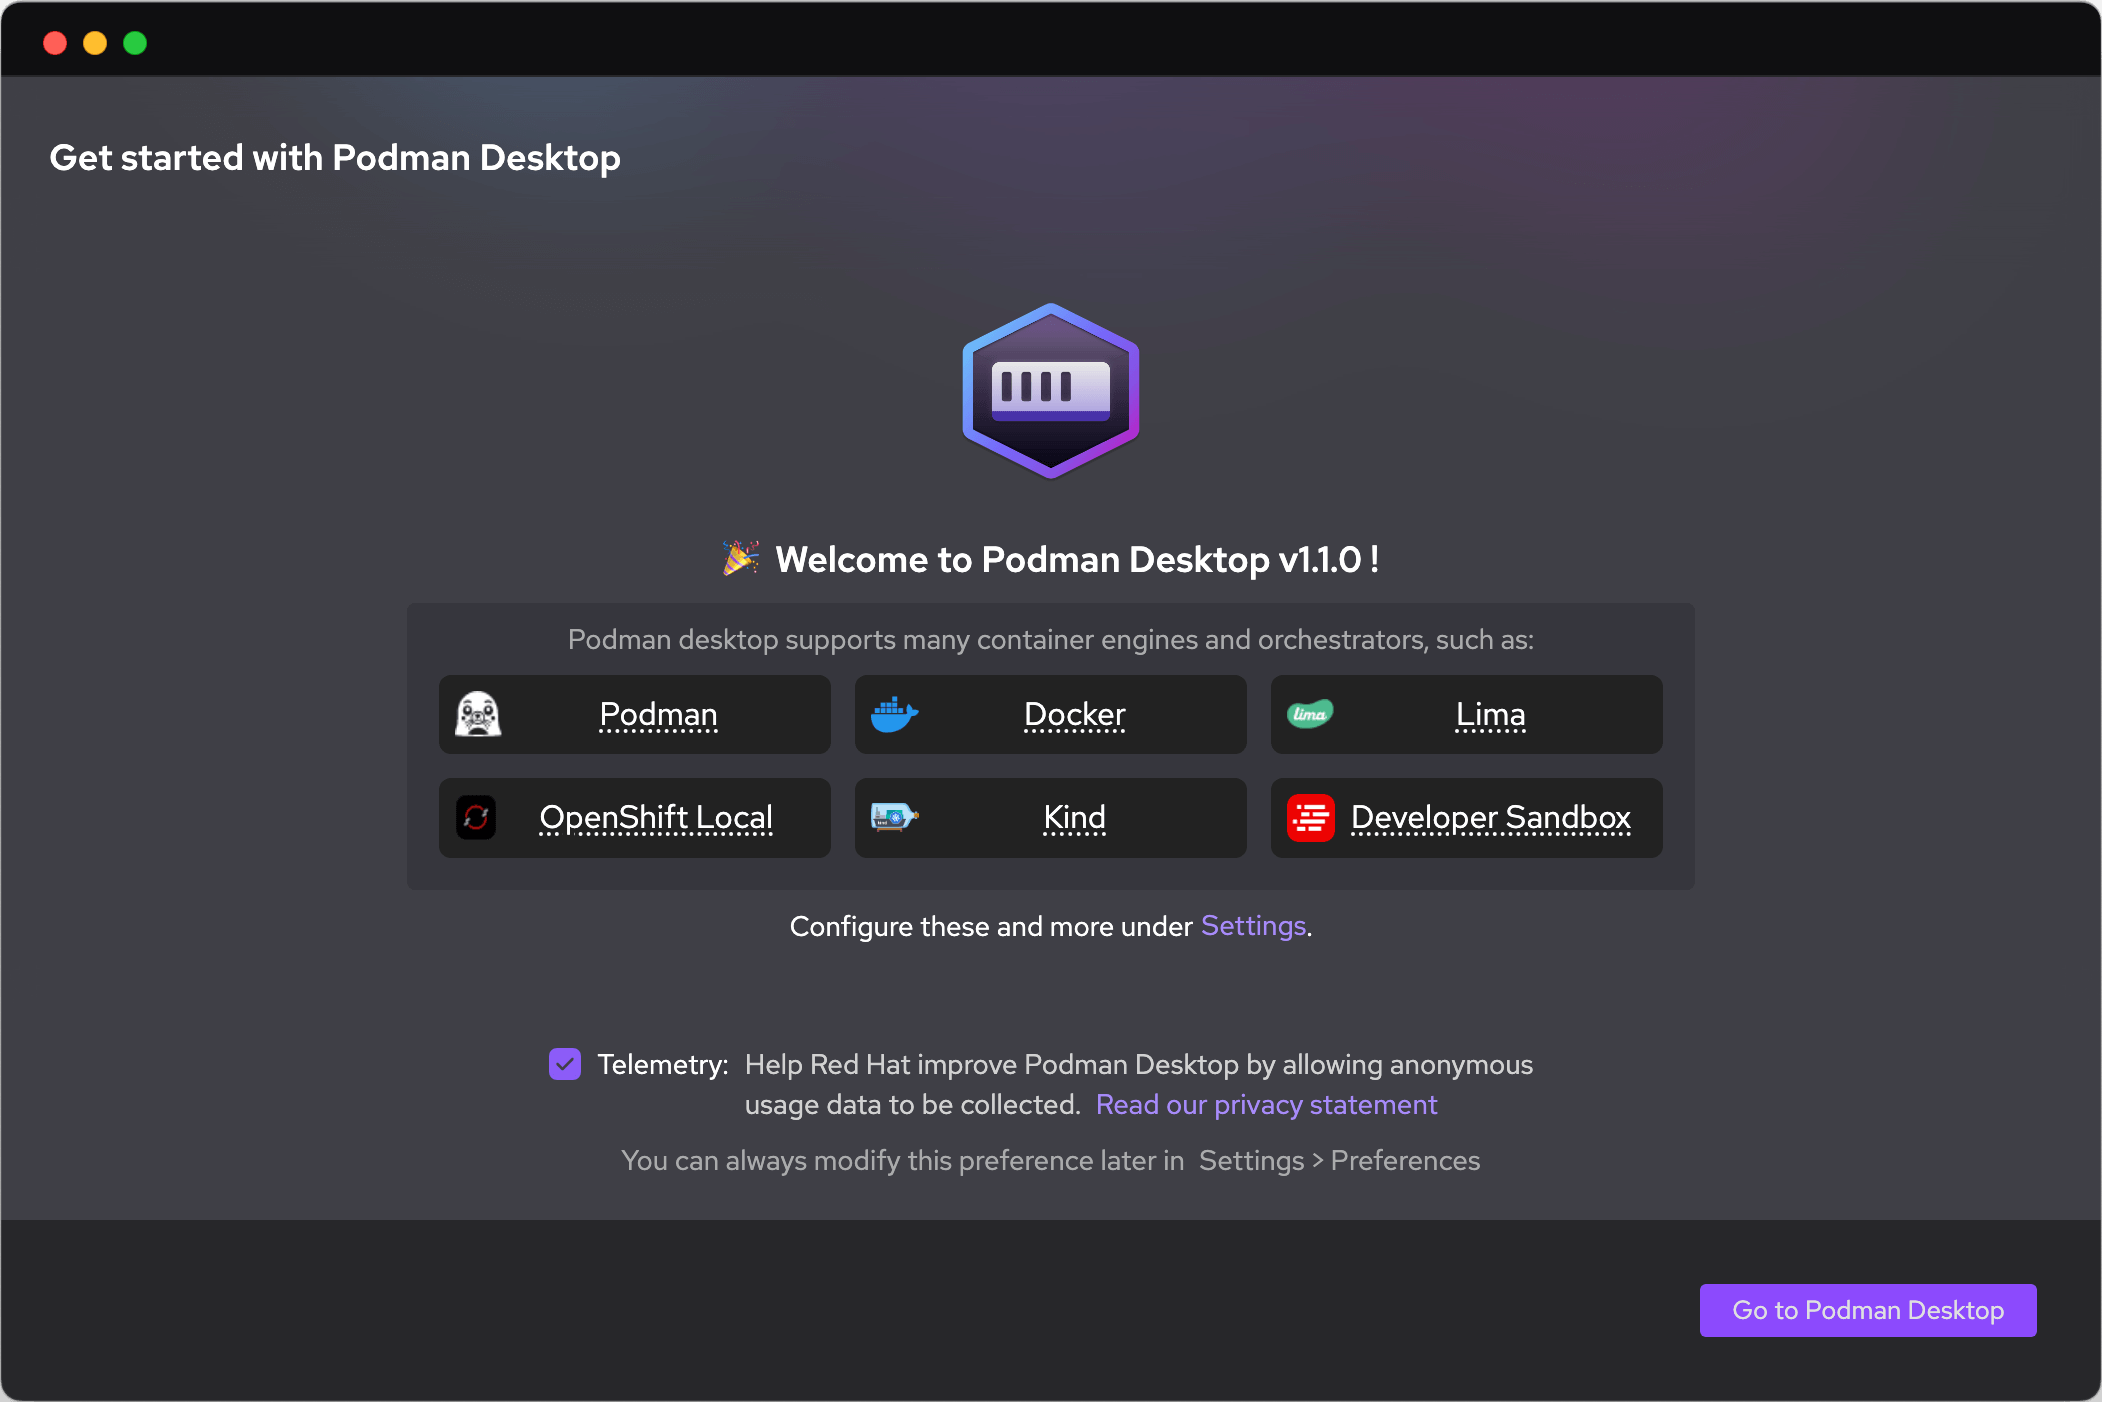
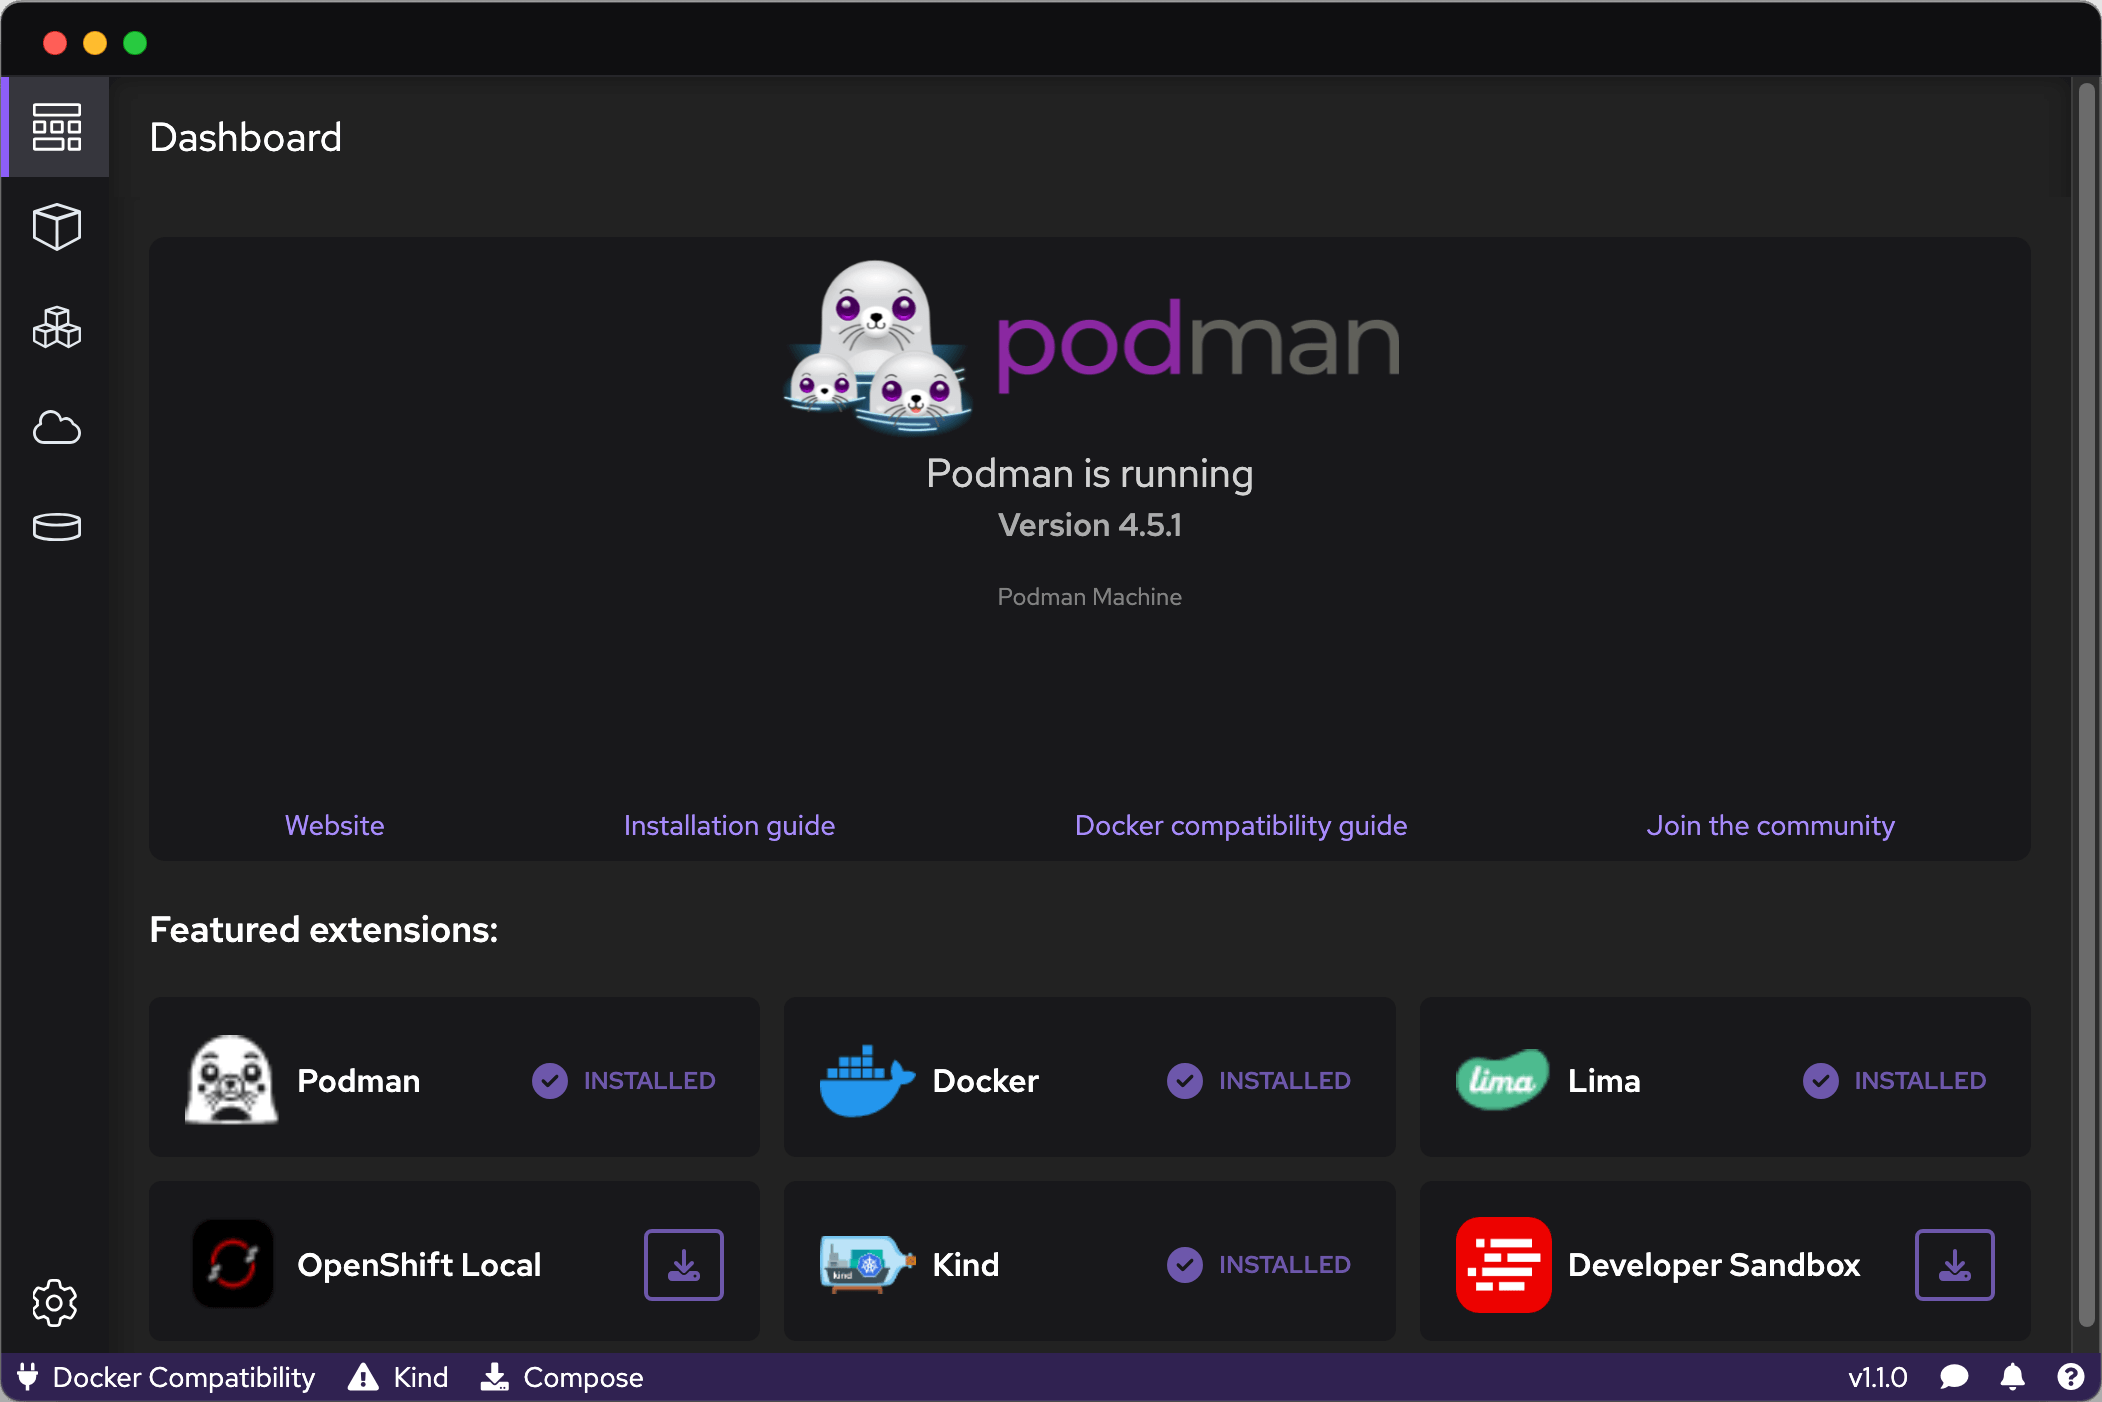
After clicking on “Go to Podman Desktop”, you’ll be navigated to the following screen:
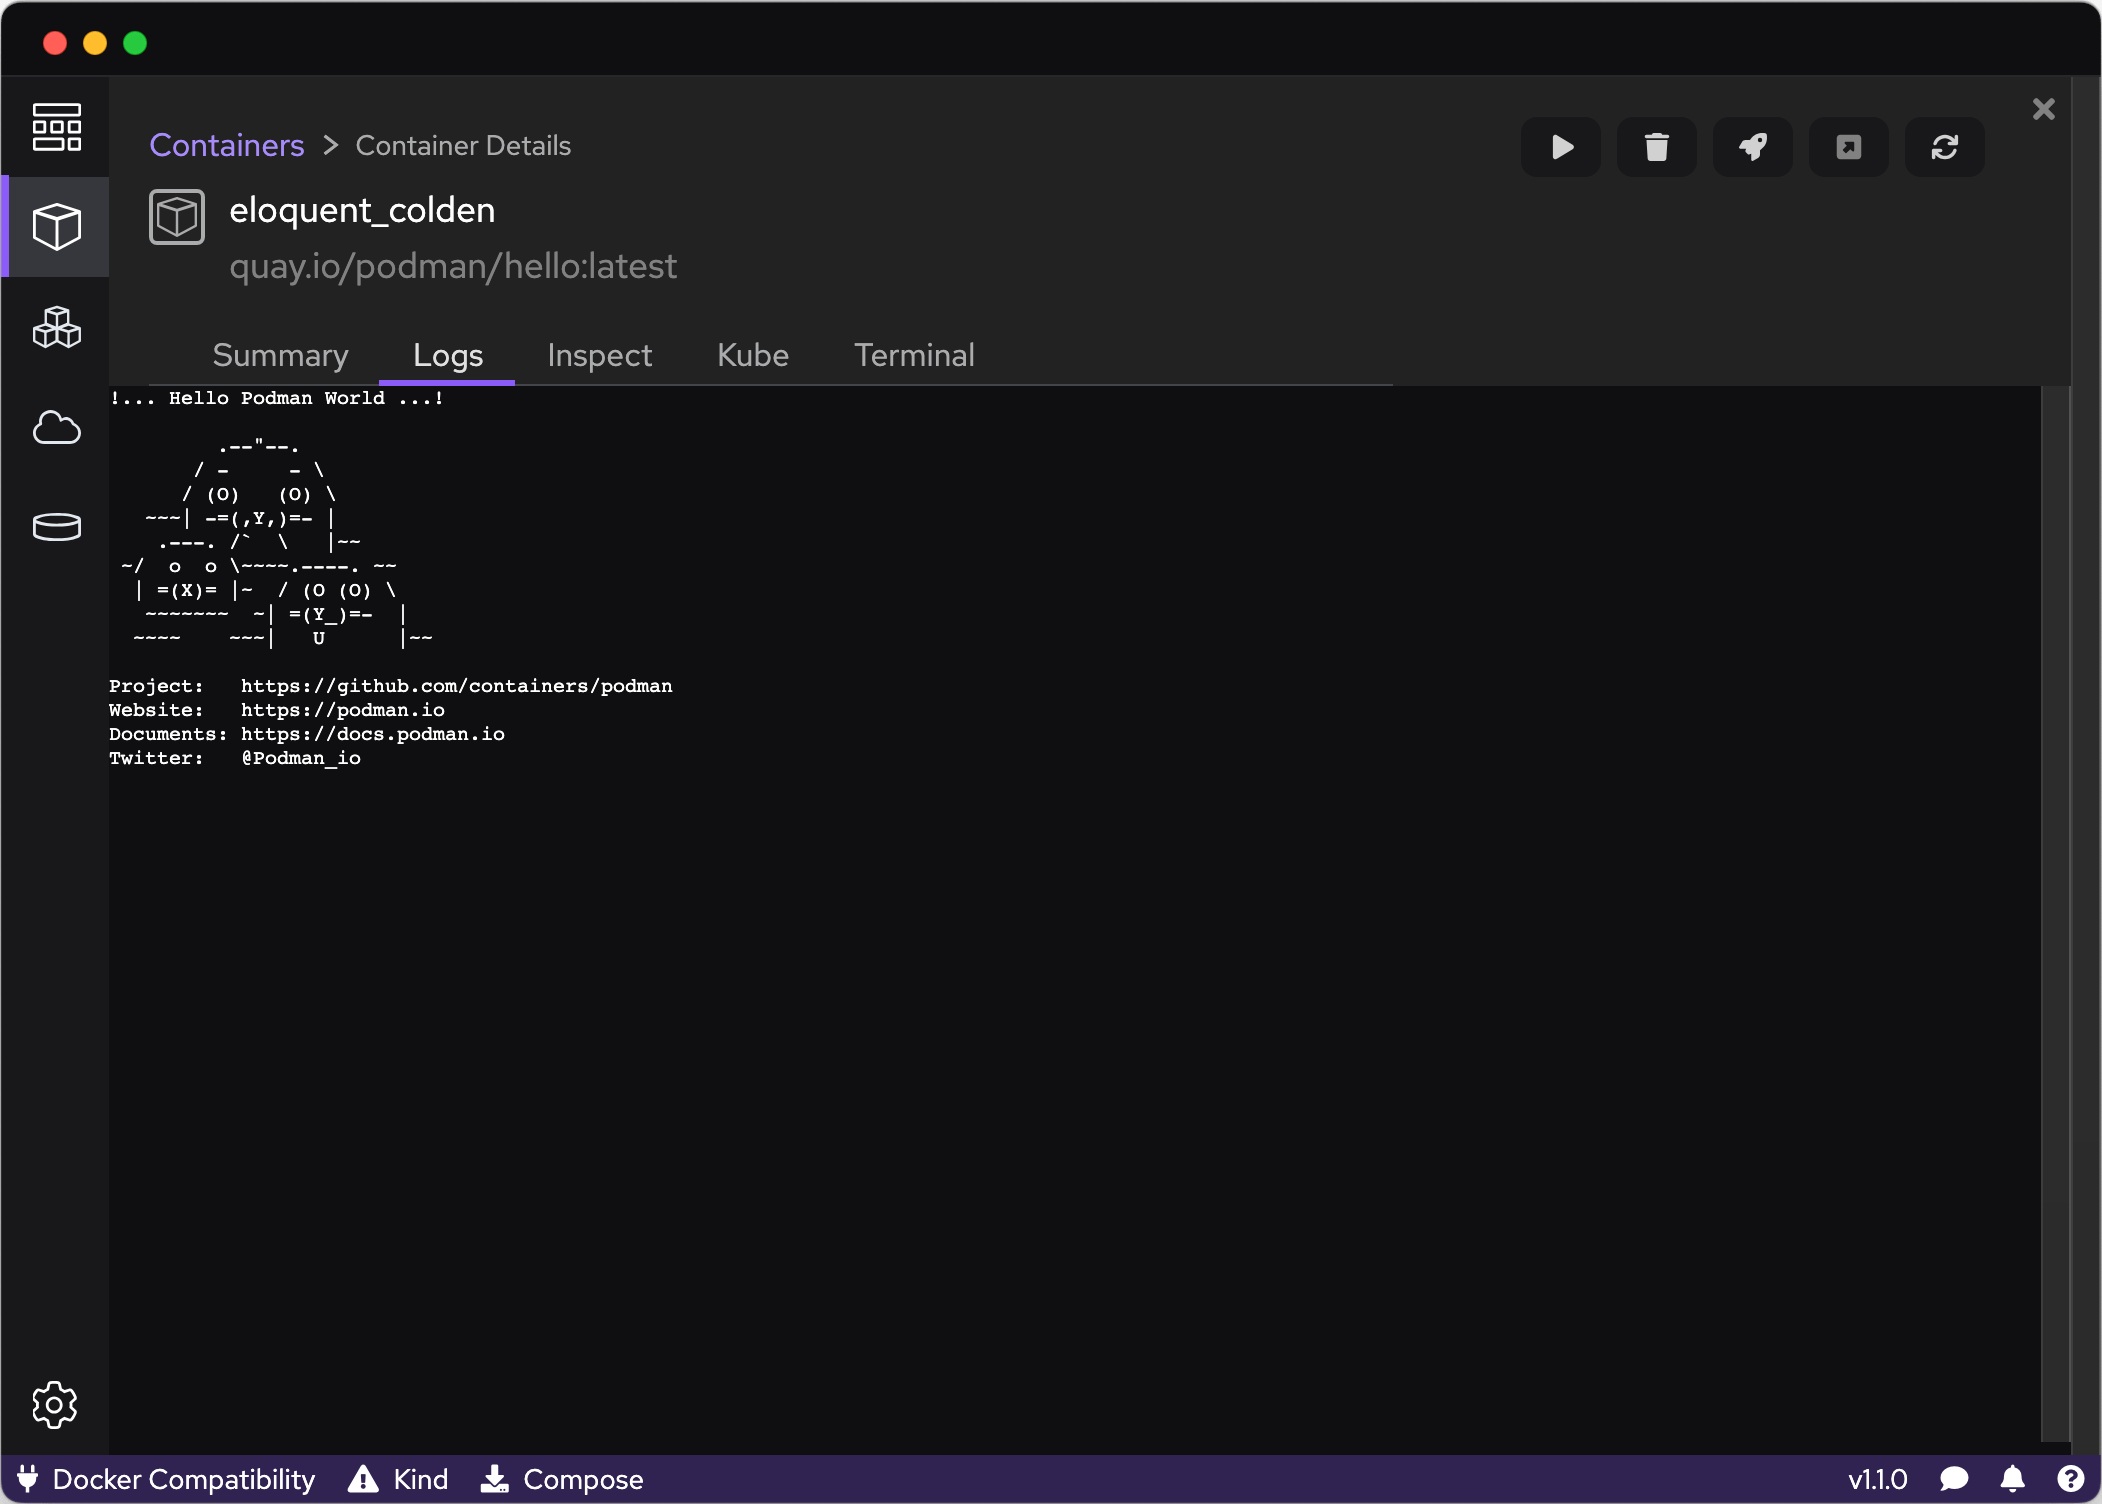
Selecting the Containers icon, located second in the left-hand menu, will display the Hello World container we executed earlier:
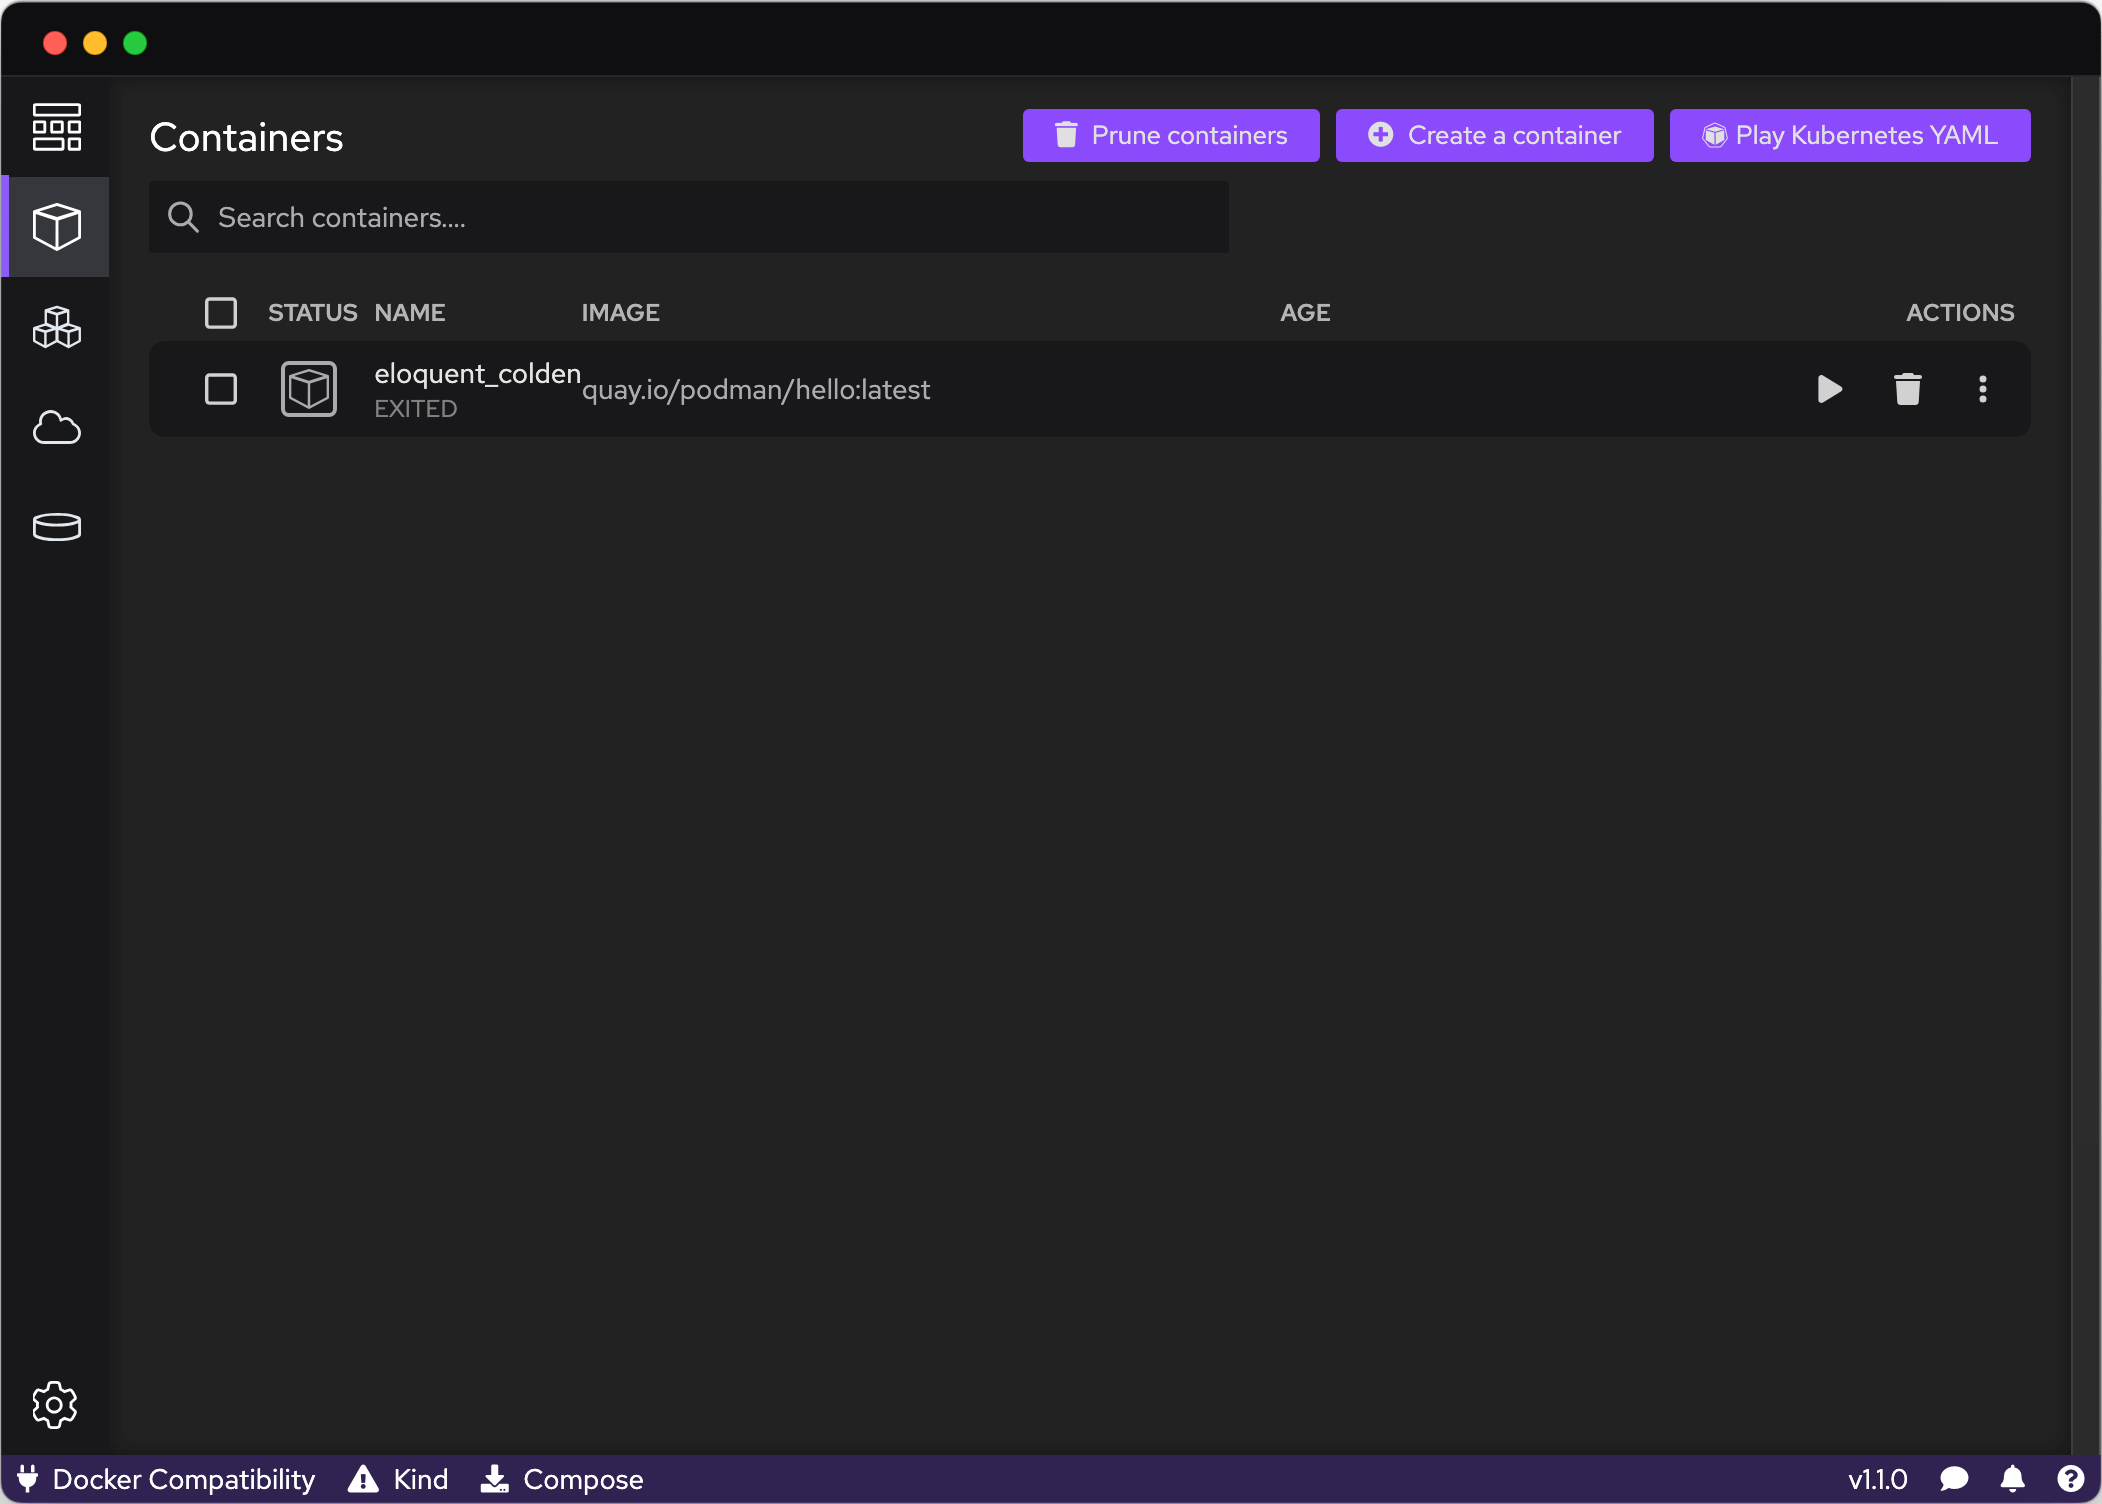
By clicking on the container, you’ll access detailed information about the container, including its logs:
Building a Container Image
With everything in place and running smoothly, let’s venture into creating a container image and deploying it using Podman Desktop. For this purpose, we’ll need a Dockerfile. You can use my sample Dockerfile available on GitHub - just download and save it to your local machine.
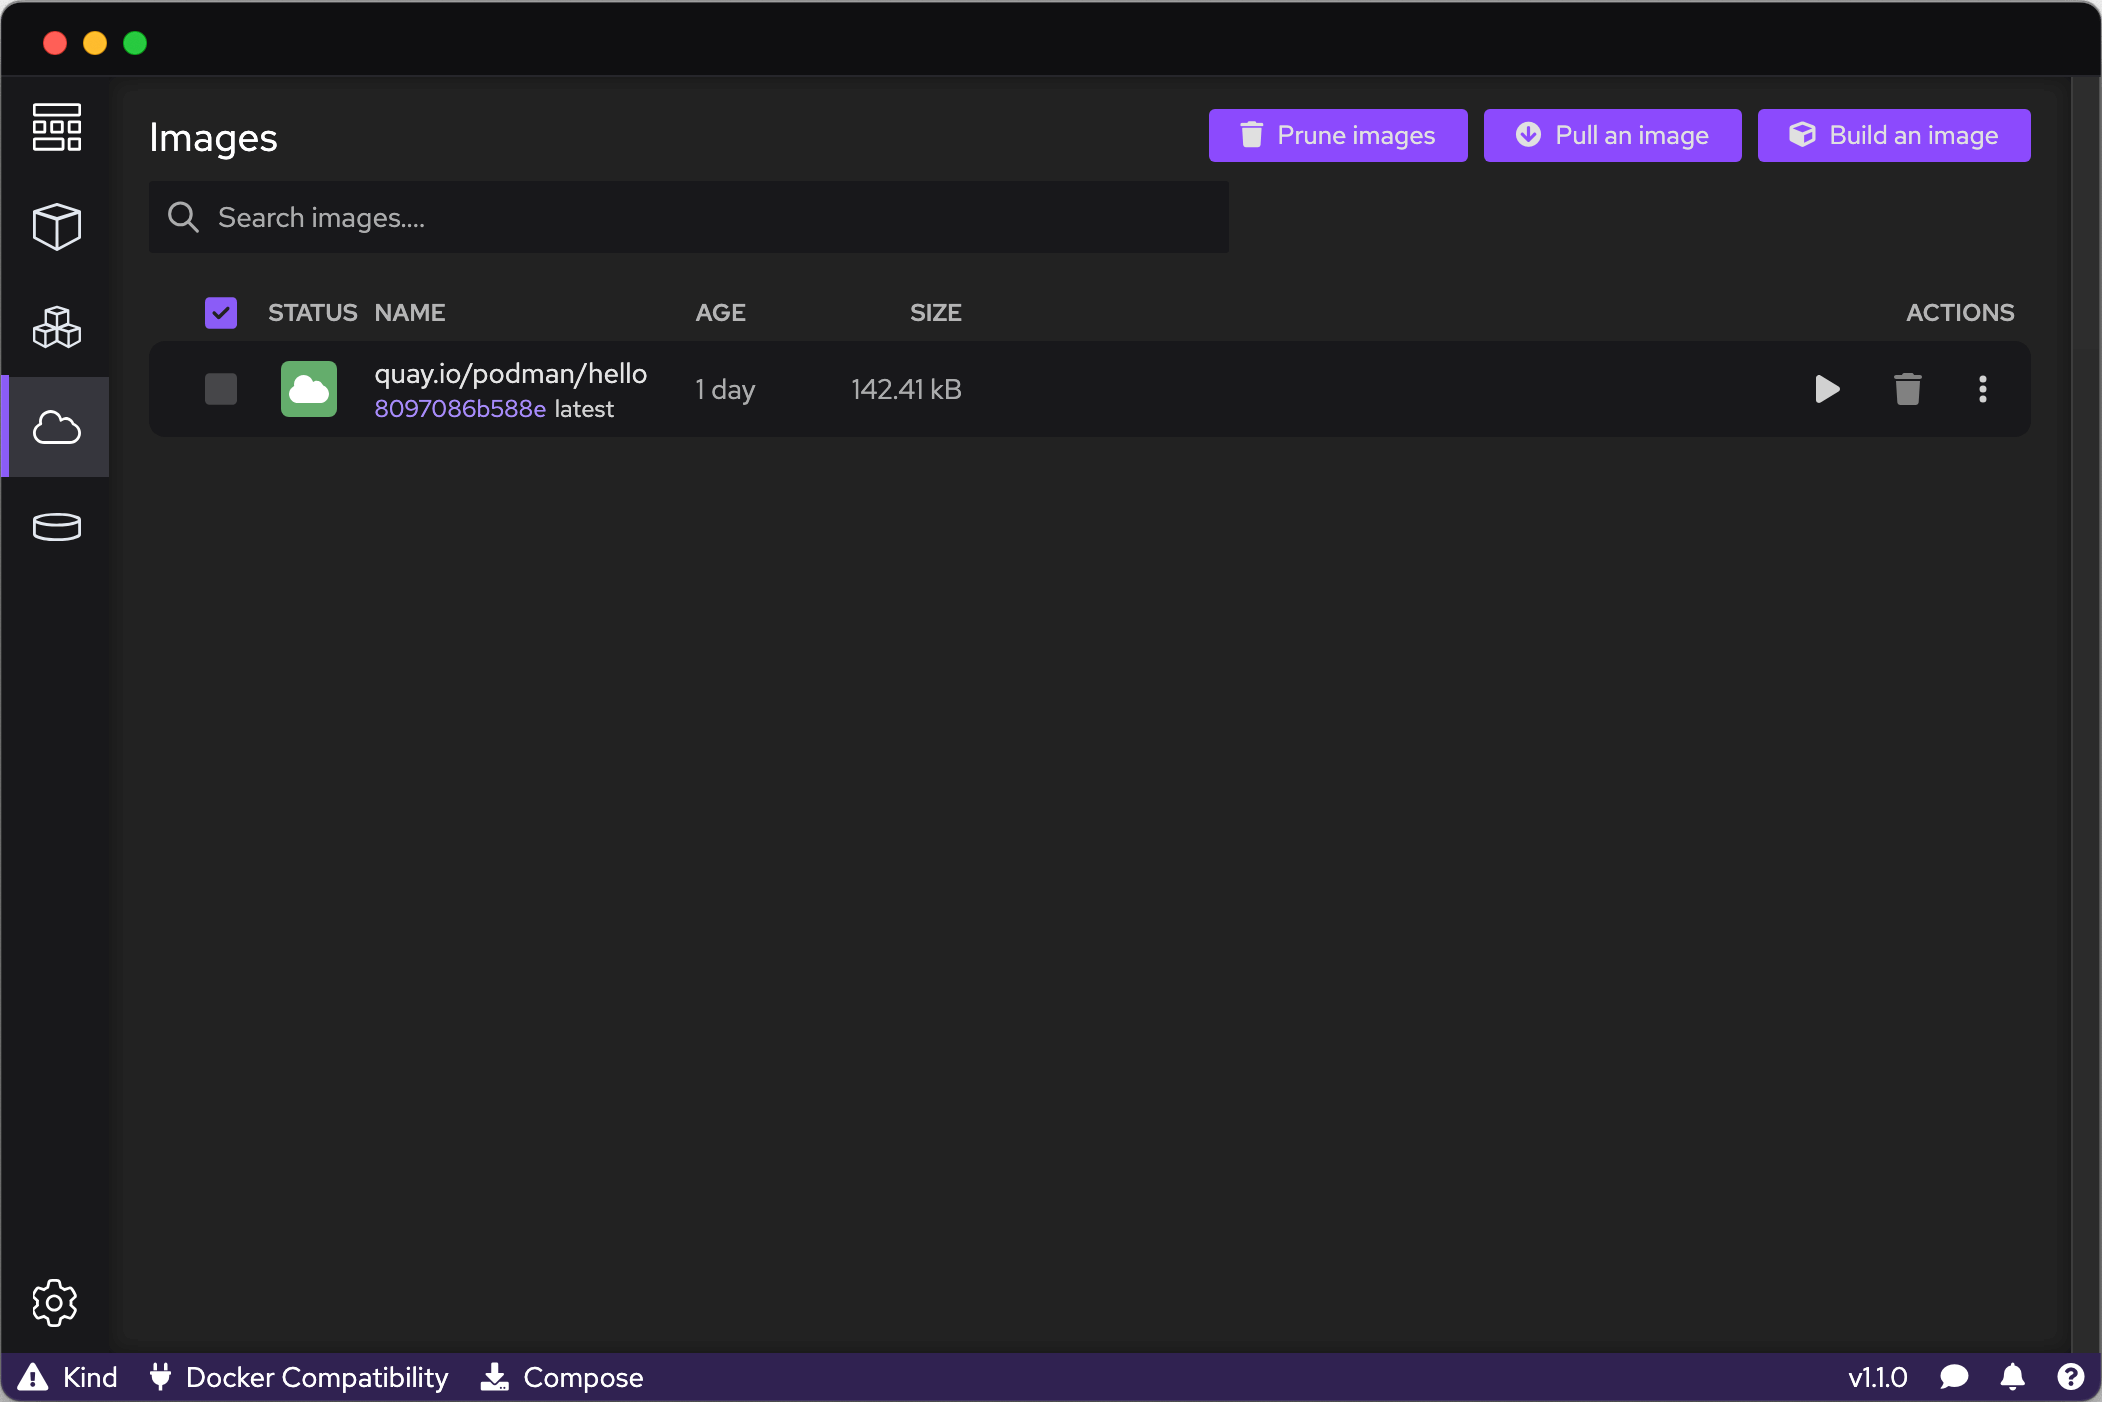
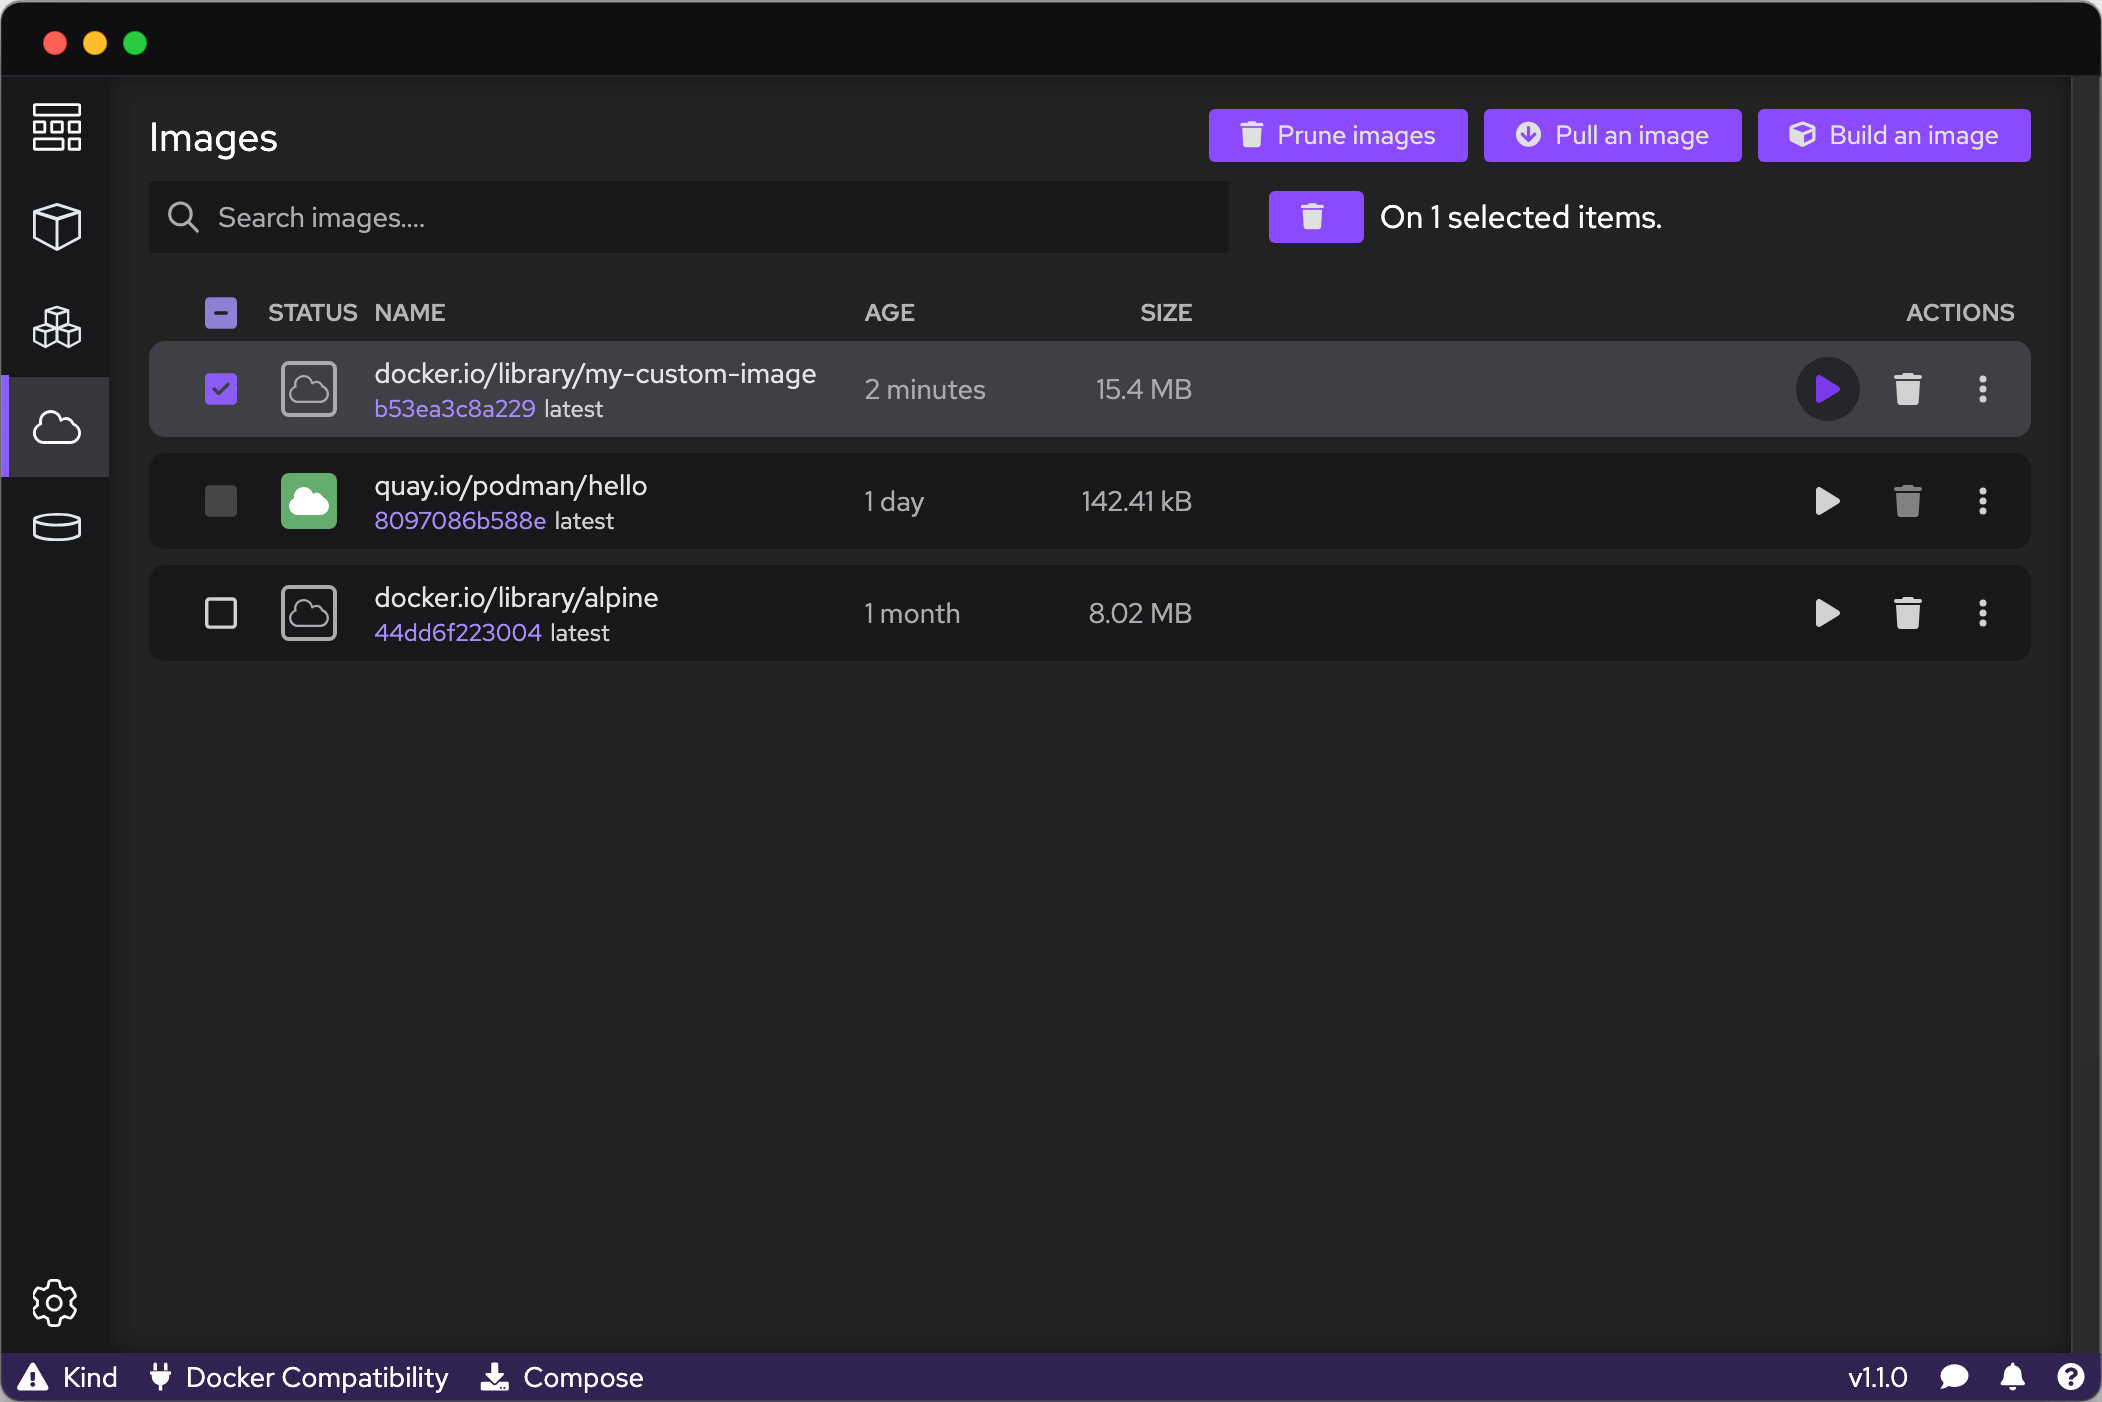
Once you’ve saved the Dockerfile locally, select the Images icon, which is the fourth icon down in the left-hand menu, and then click on the “Build an Image” button.
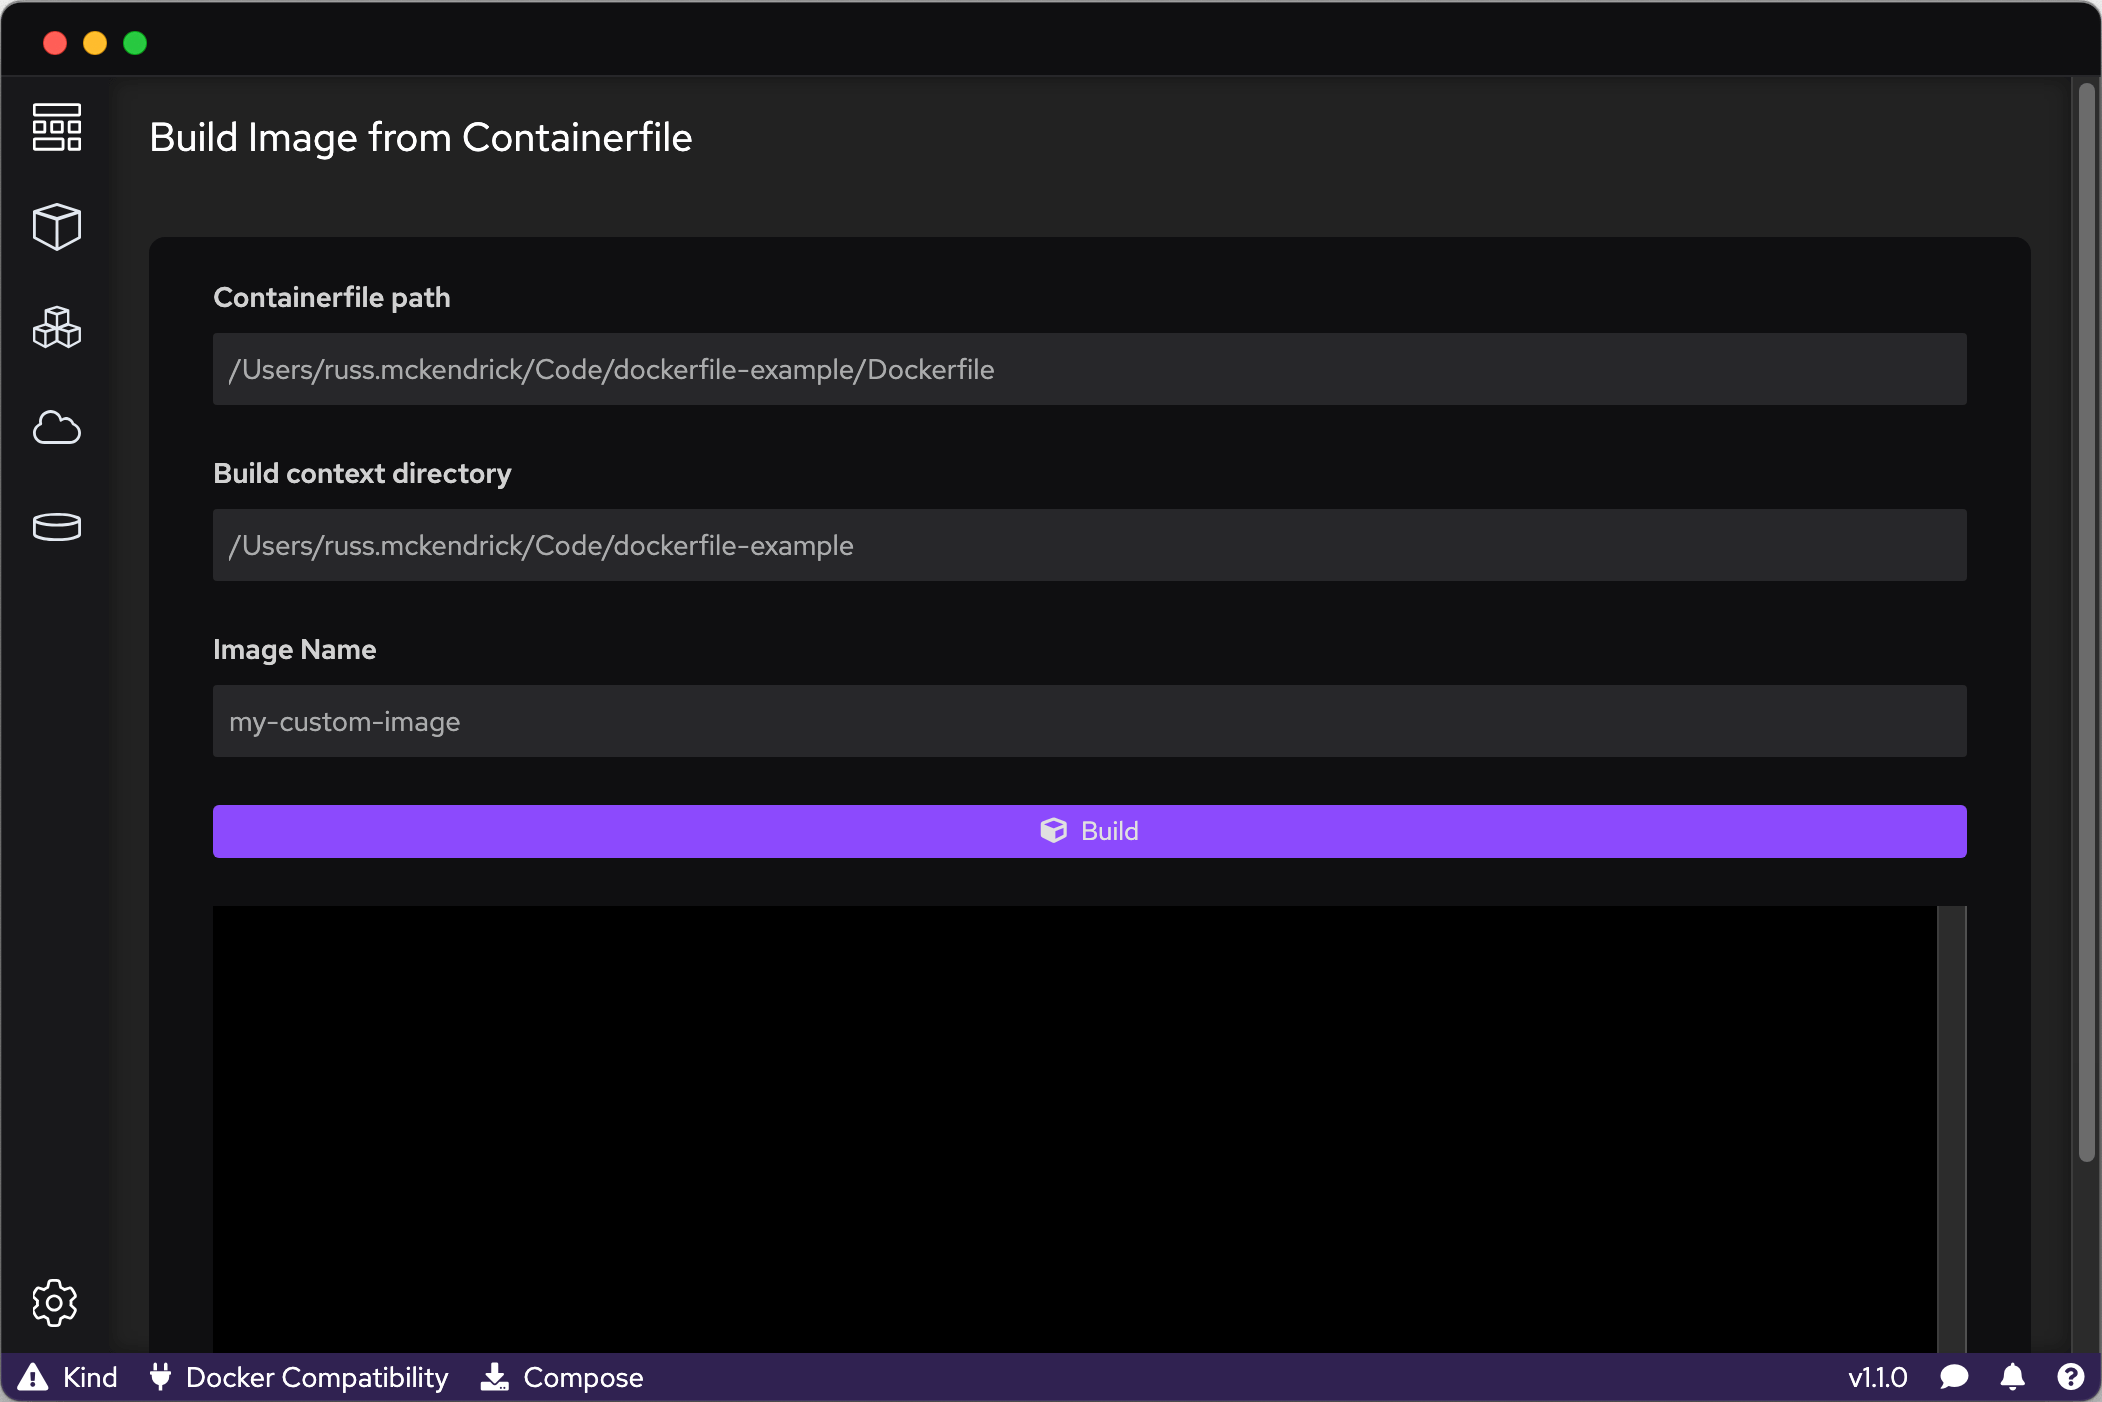
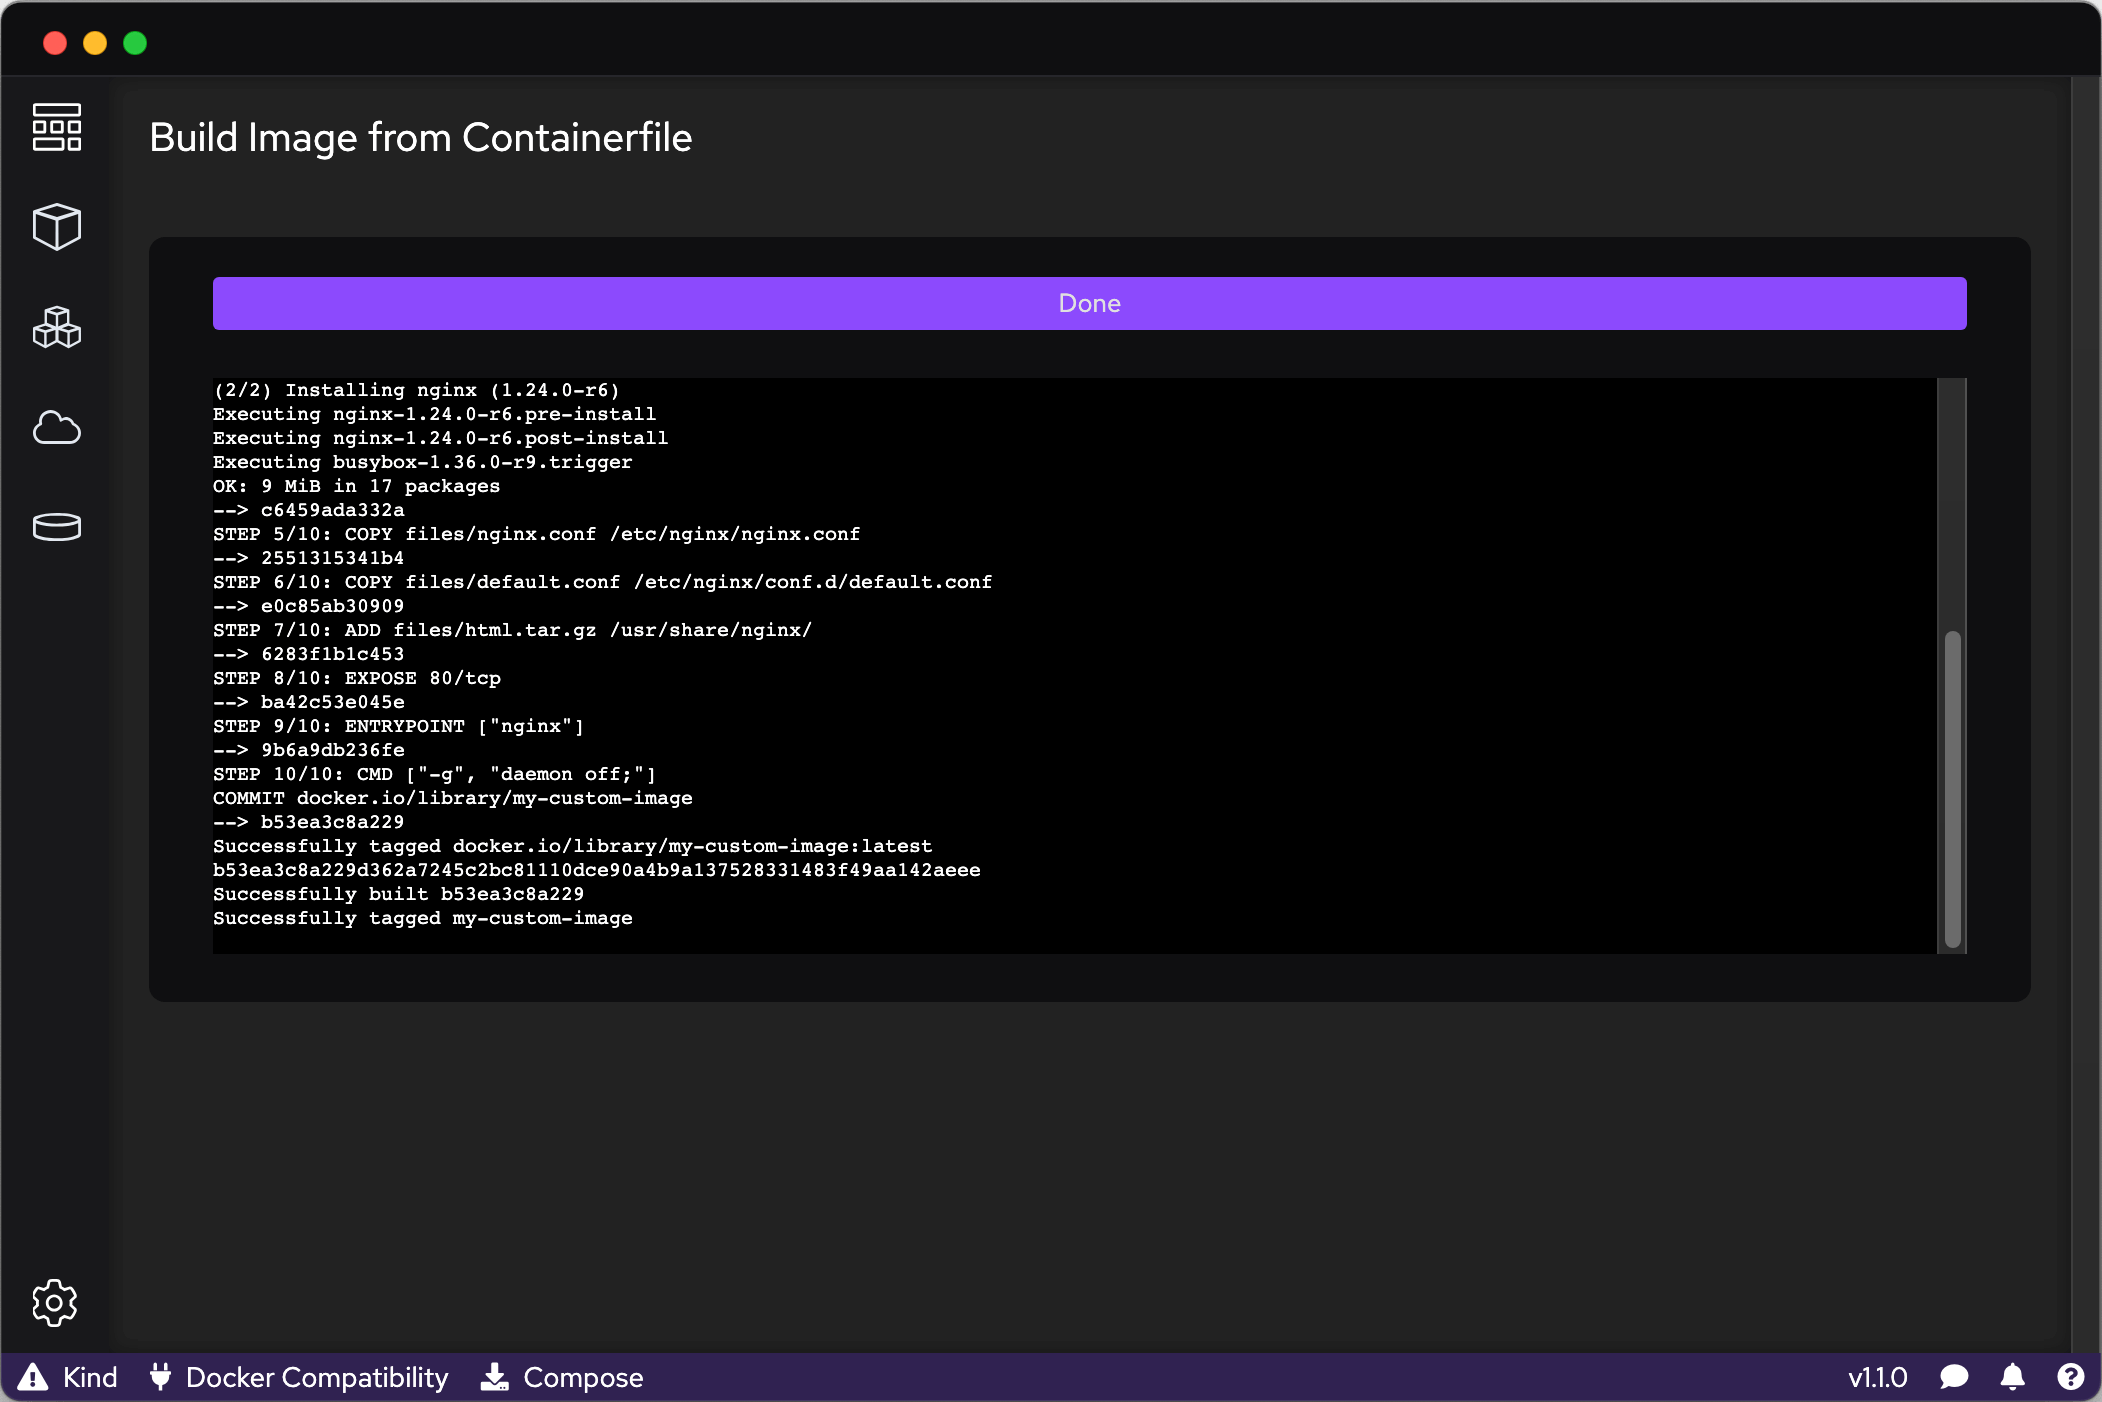
This will open a new window. Click on the “Select File” button and choose the Dockerfile that you saved earlier. After selection, click on the “Build” button.
This action will initiate the build process. Upon completion, you’ll find your new image in the list.
Launching a Container
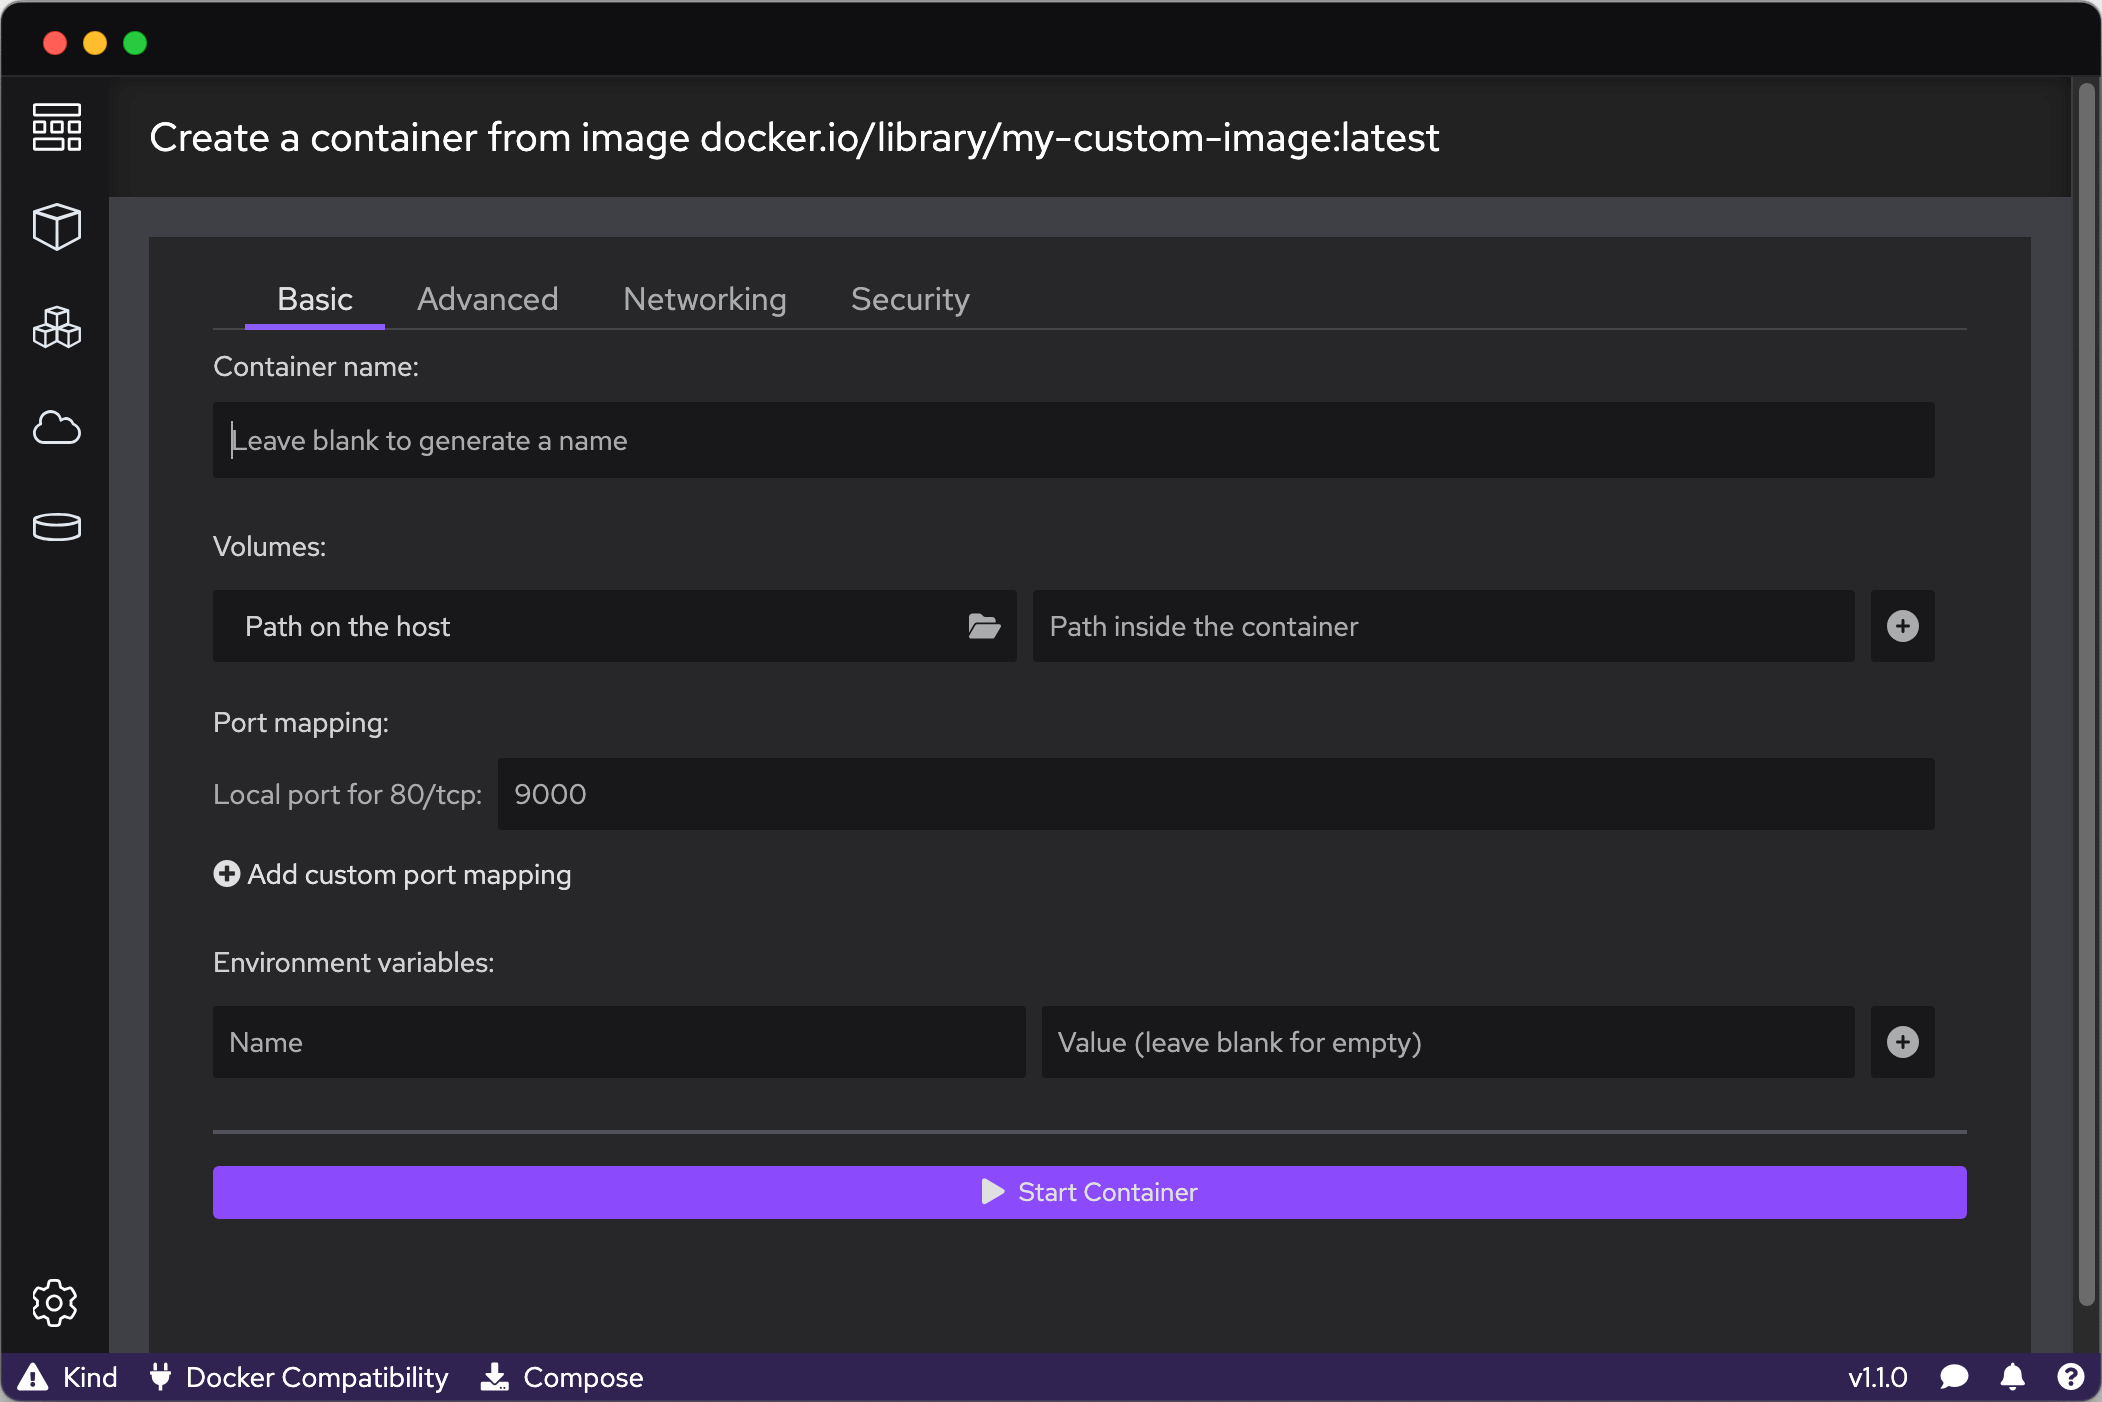
With our custom image ready, let’s deploy it. Click on the play button icon next to the my-custom-image.
This action will open a dialog box, allowing you to enter various details to launch your container. For this demonstration, we’ll stick with the default values and click on the “Start container” button.
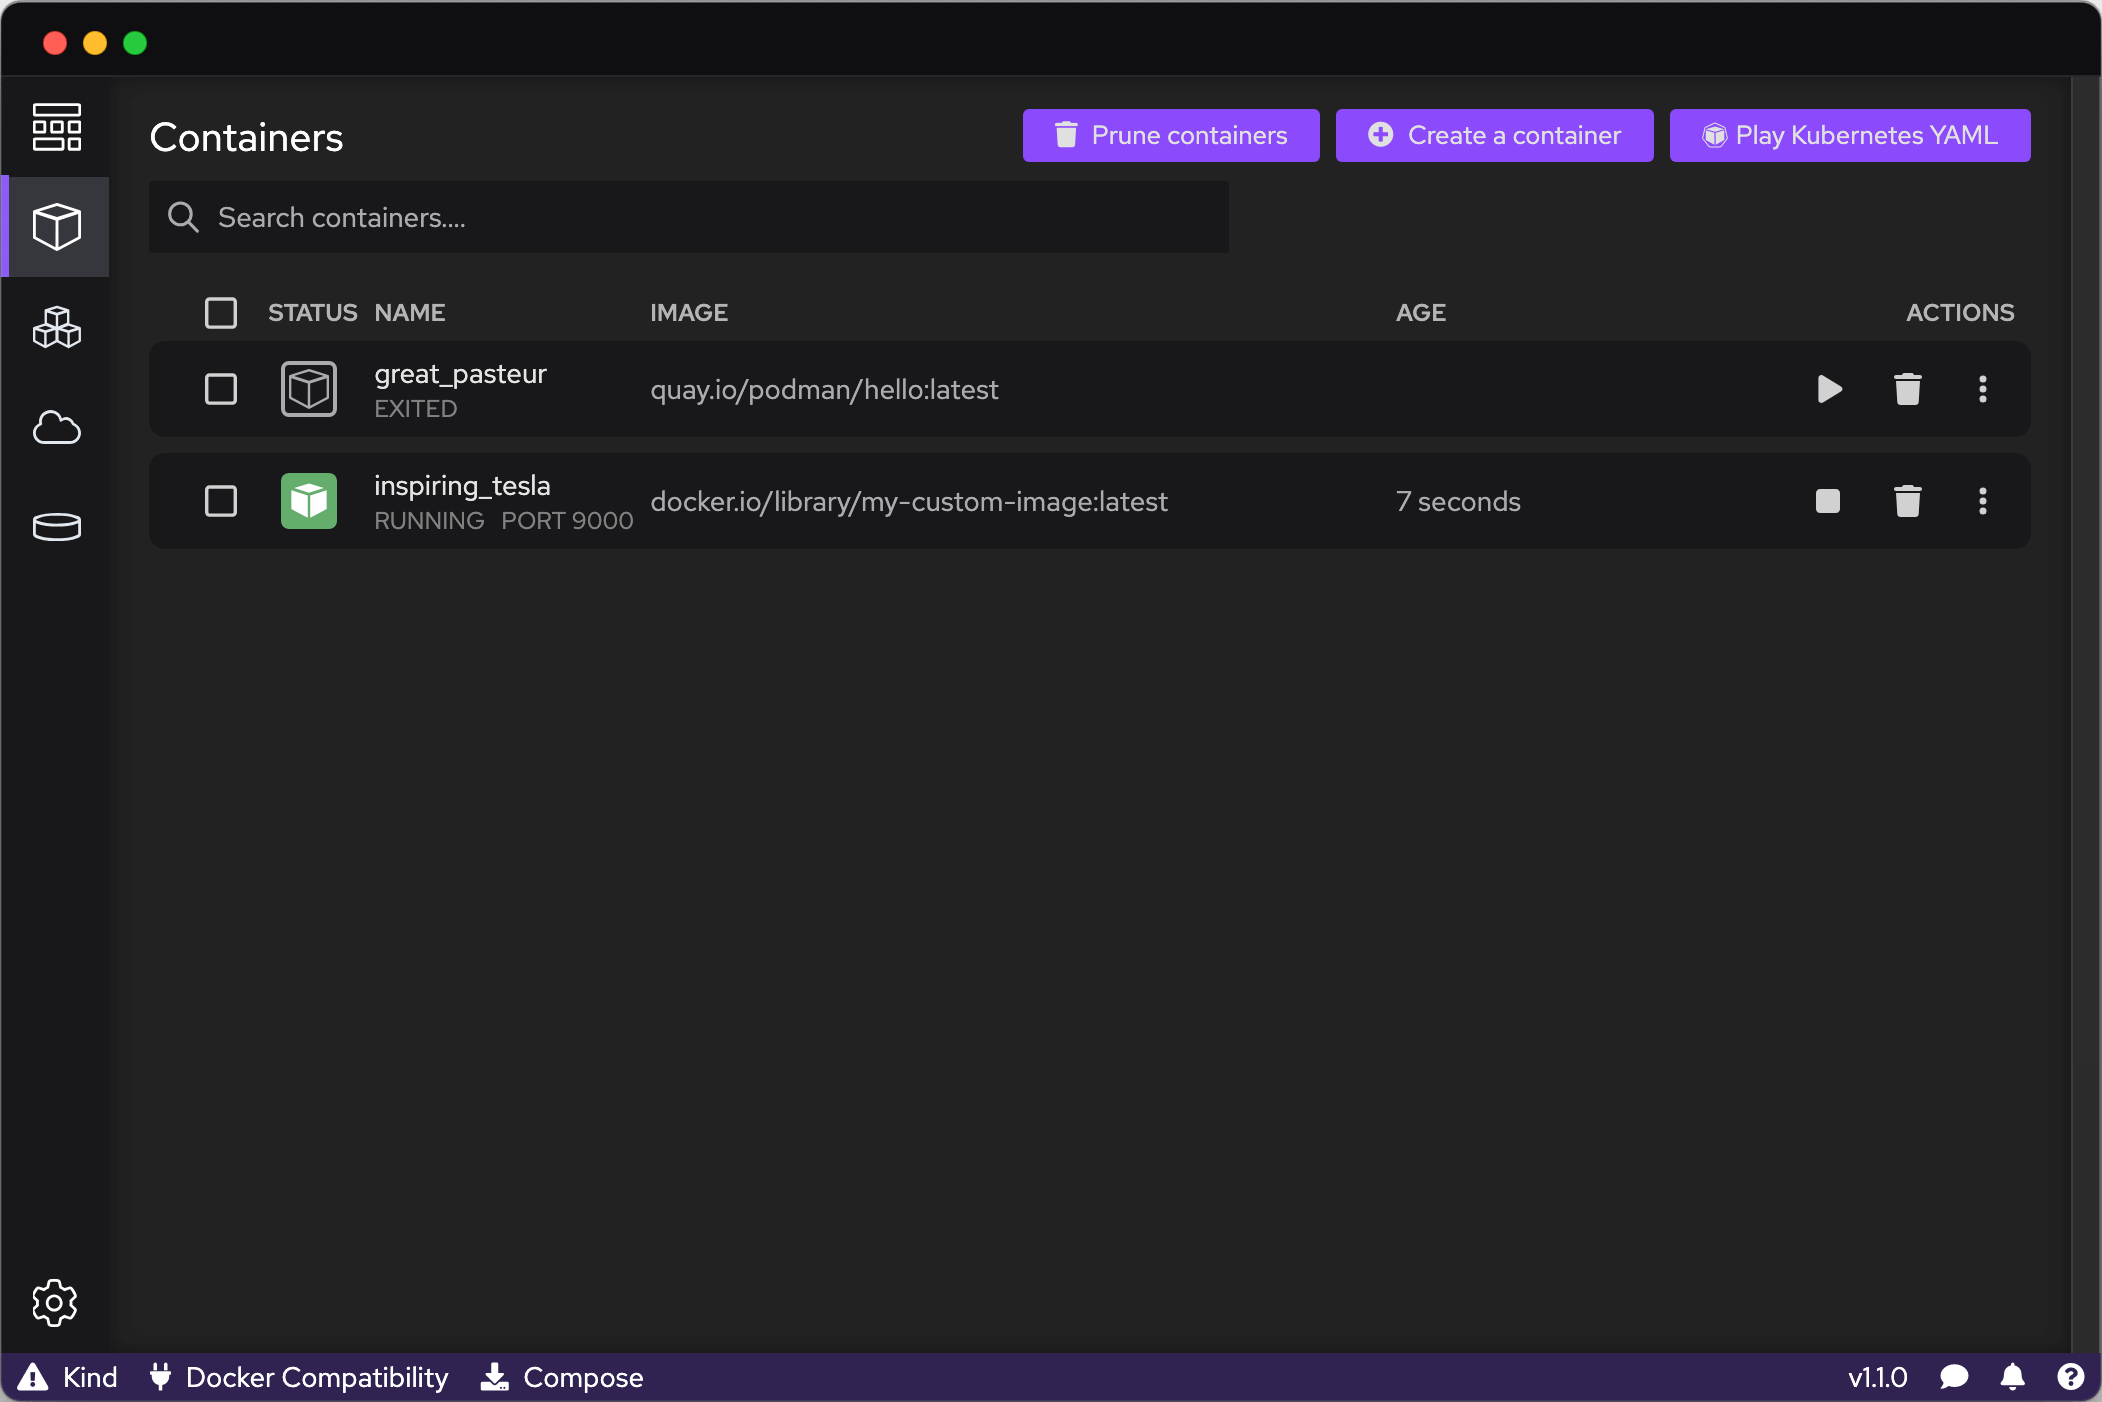
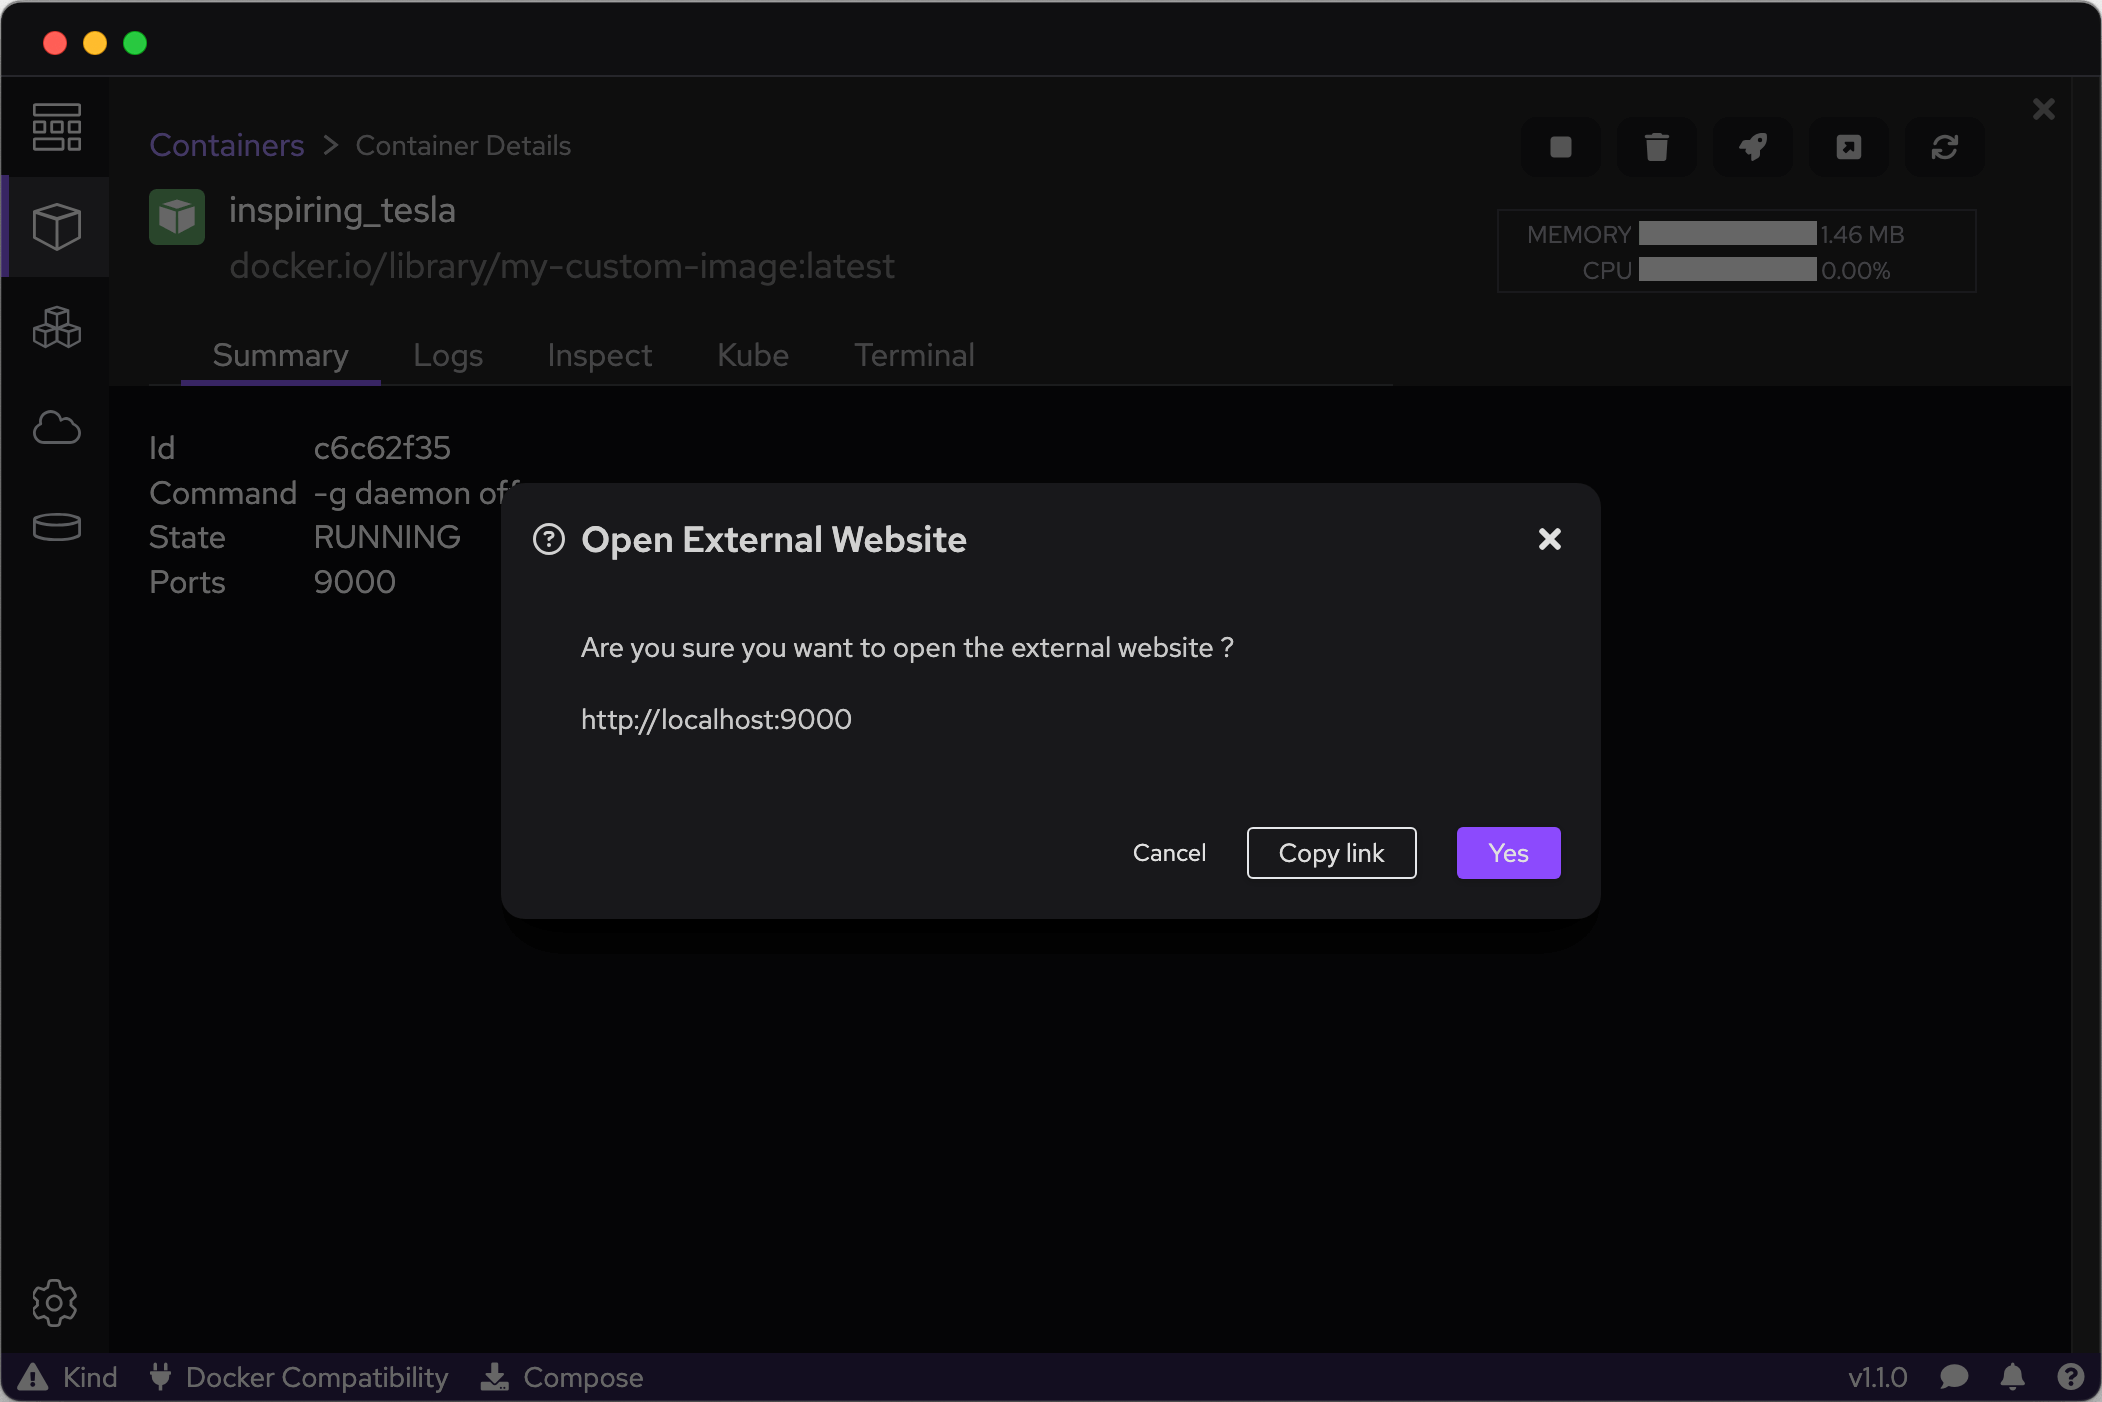
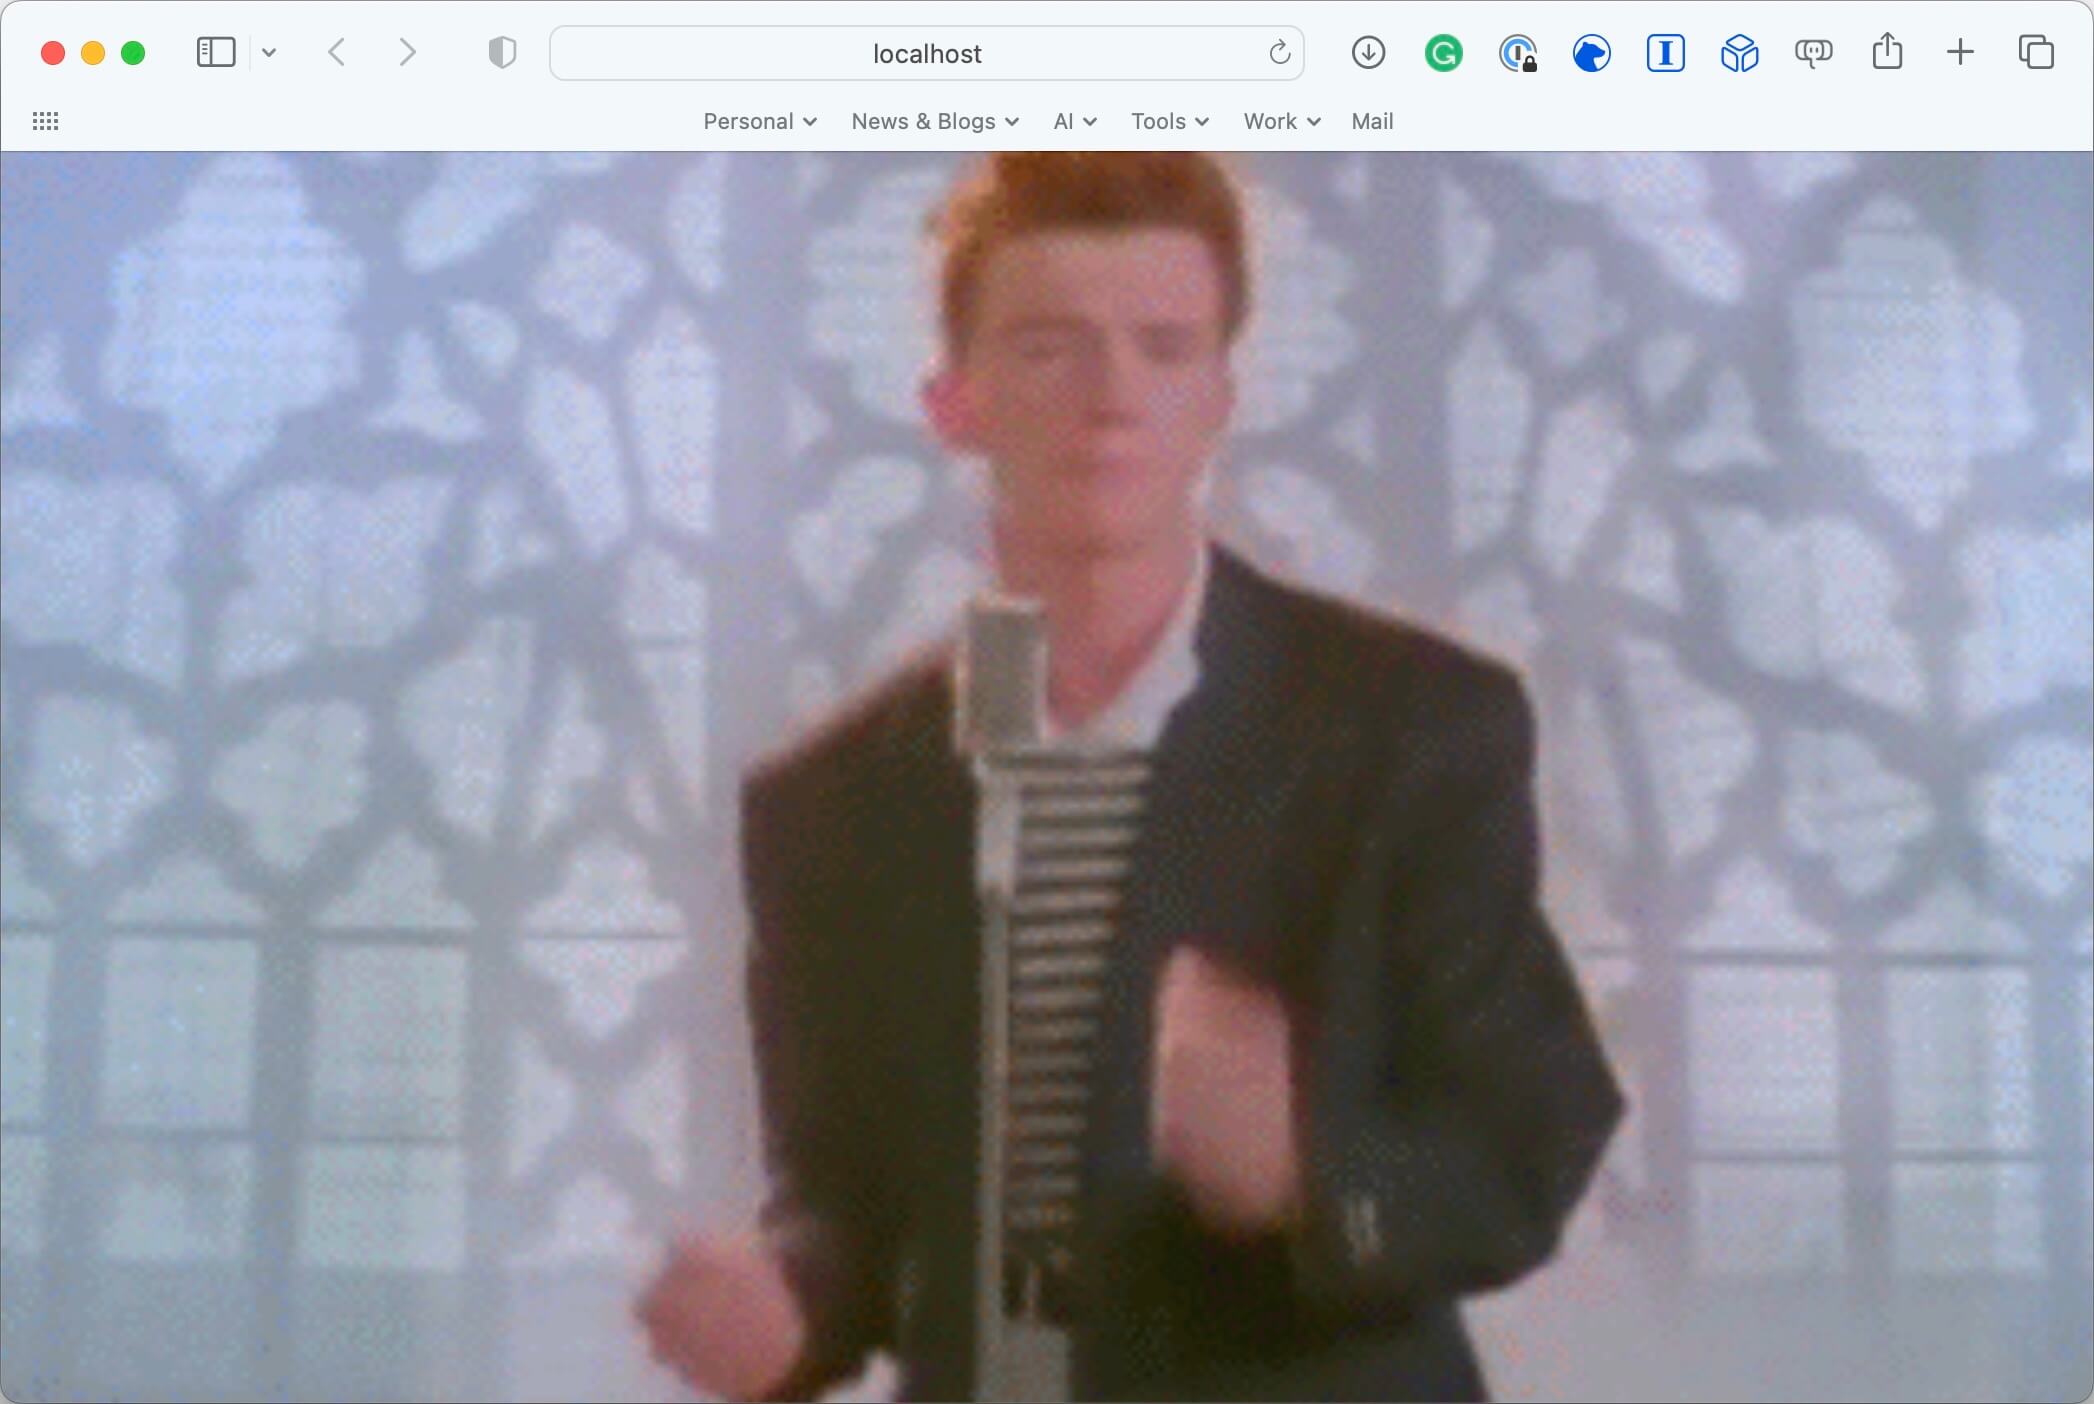
Now, you should see your container up and running. By clicking on the container, you can view the container details, and clicking on the “Open in browser” button (fourth button from the left at the top right corner) will display the container in your browser.
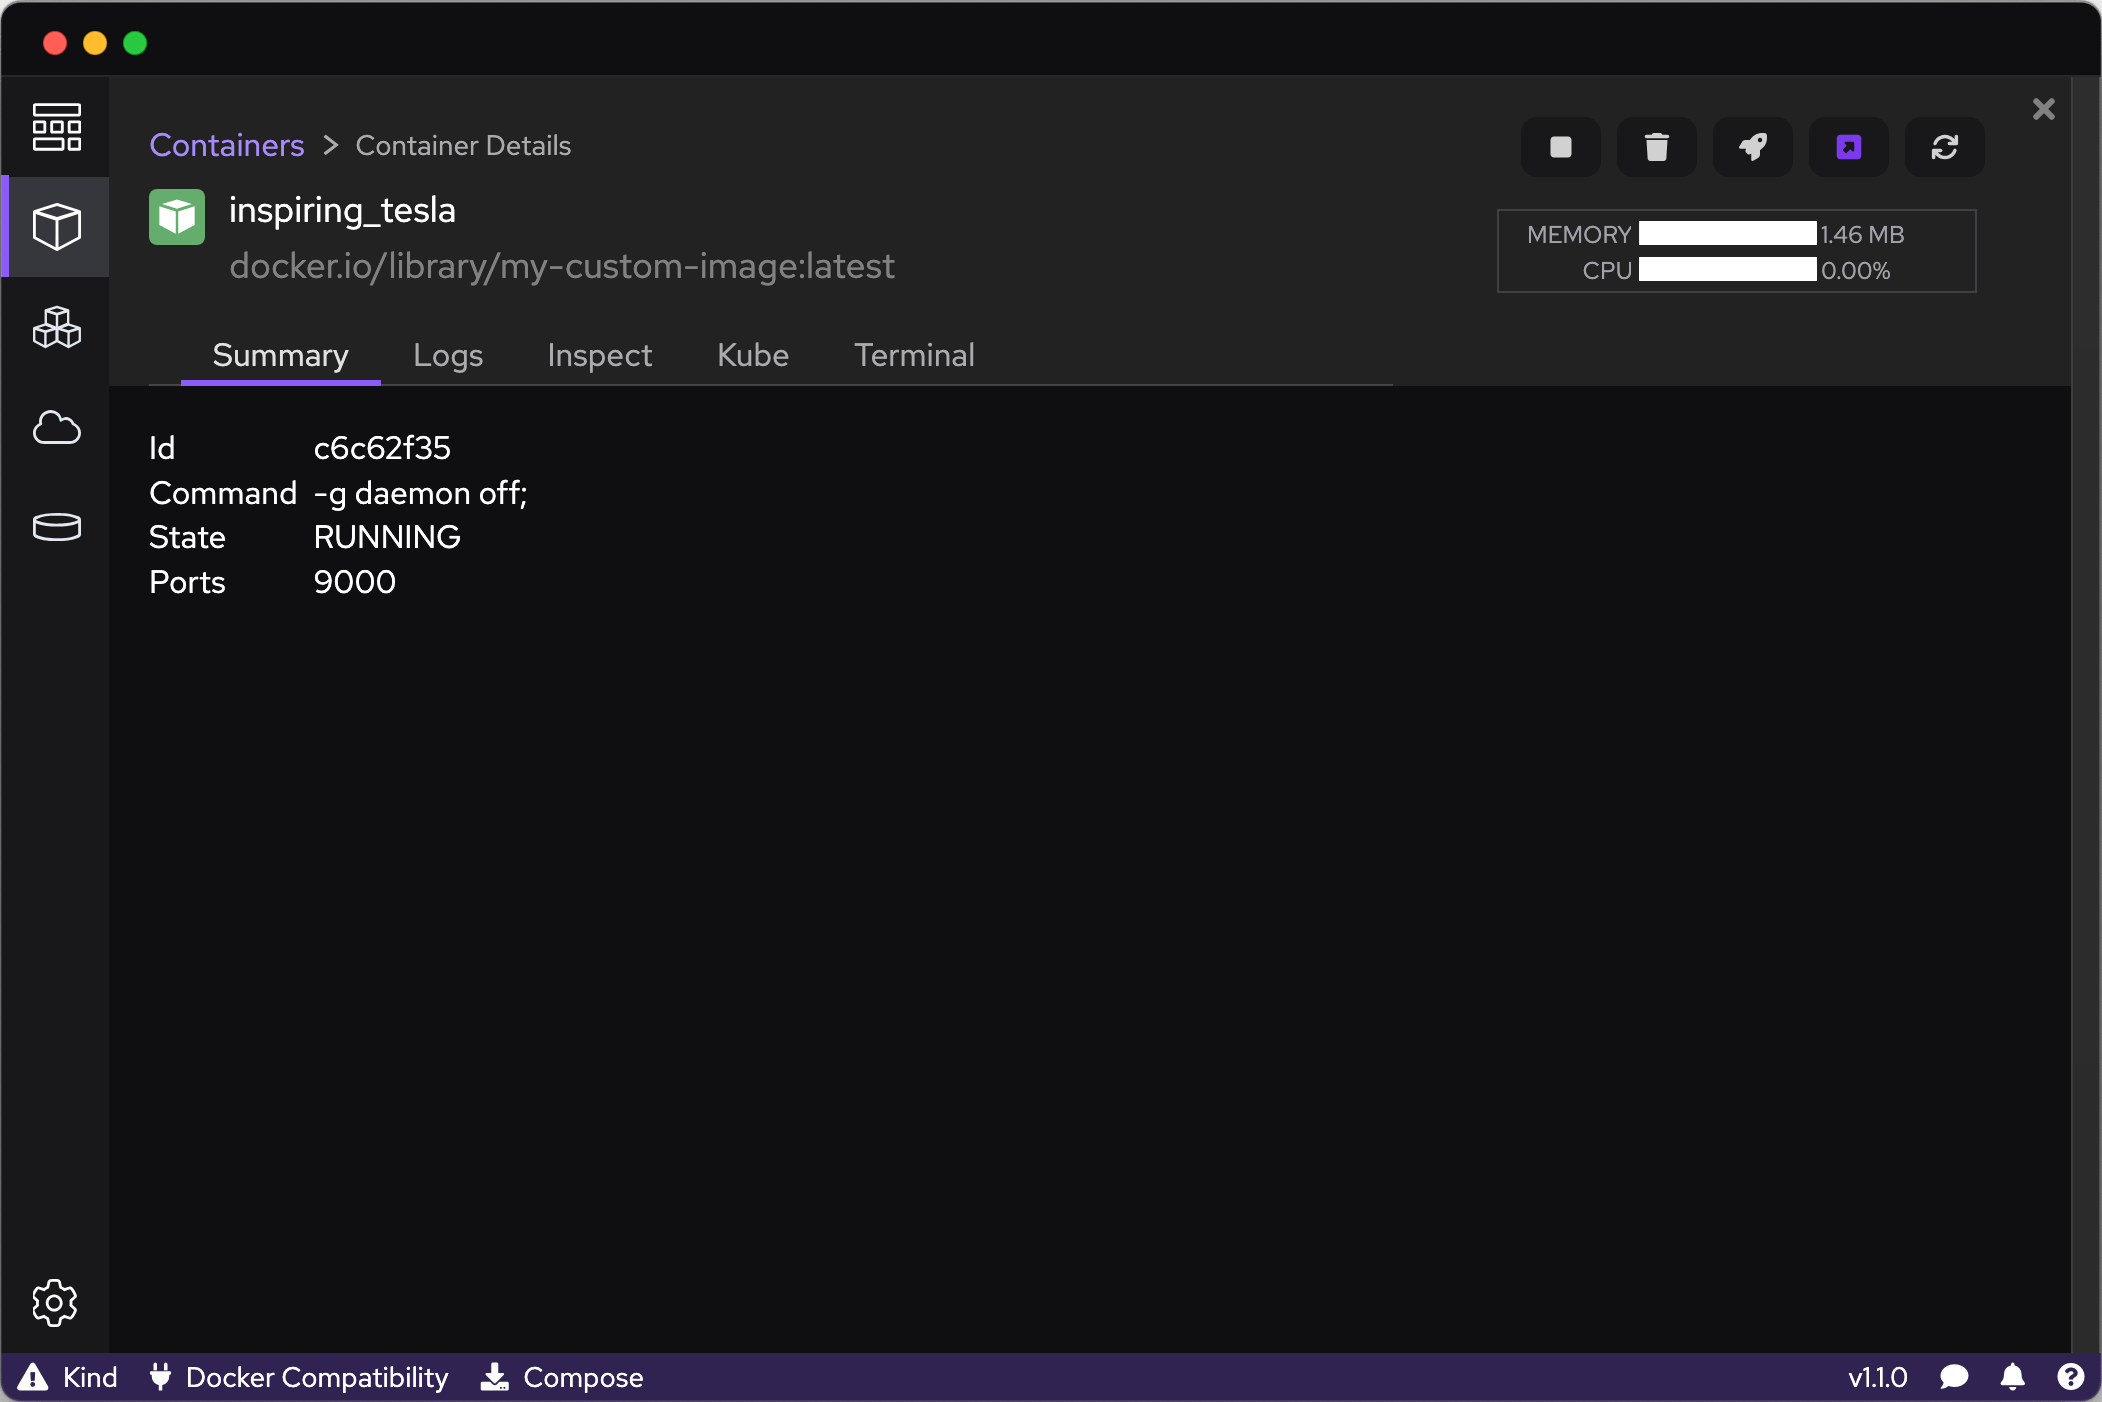
Running the podman container ls command in your terminal will display your running container.
CONTAINER ID  IMAGE                                     COMMAND         CREATED        STATUS        PORTS                 NAMES
c6c62f35150d  docker.io/library/my-custom-image:latest  -g daemon off;  9 minutes ago  Up 9 minutes  0.0.0.0:9000->80/tcp  inspiring_tesla
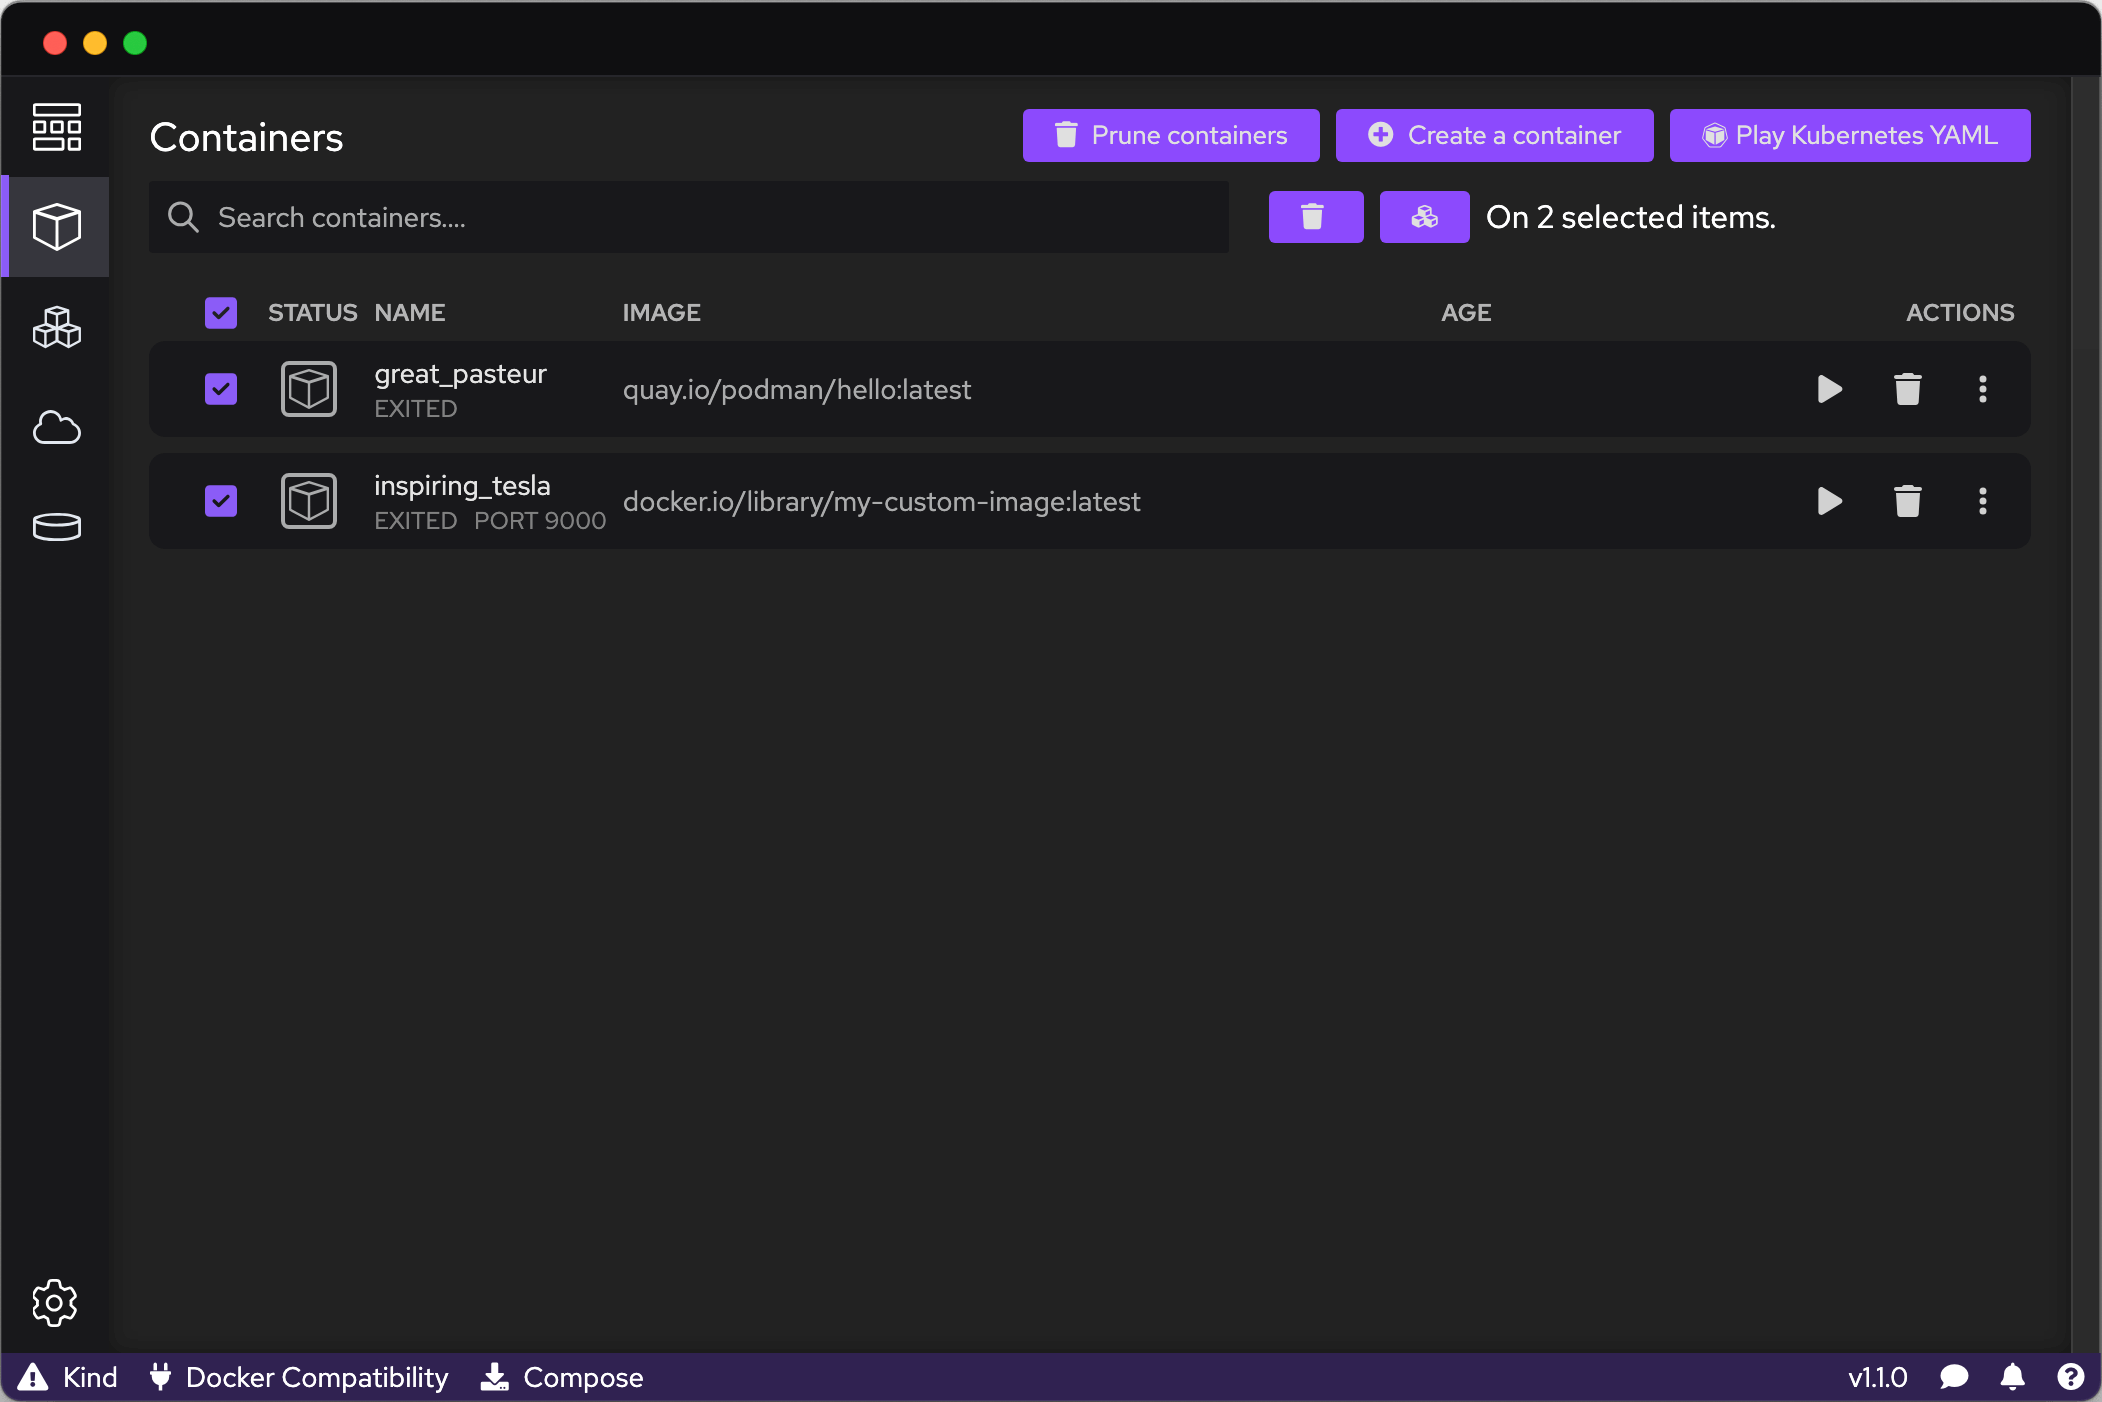
To stop the container and remove it from Podman Desktop, click on the stop button icon next to the container. In the screen below, I have selected both containers and clicked on the “Delete” button to remove the now stopped containers.
Podman Compose
Having explored Podman Desktop, let’s turn our attention to Podman Compose. As mentioned earlier, Podman Compose is a tool for defining and running multi-container applications with Podman. As a replacement for Docker Compose, it utilizes the same docker-compose.yml file format.
---
volumes:
  db_data:
services:
  wordpress:
    image: docker.io/library/wordpress:latest
    ports:
      - 8080:80
    environment:
      - WORDPRESS_DB_HOST=db
      - WORDPRESS_DB_USER=wordpress
      - WORDPRESS_DB_PASSWORD=password
      - WORDPRESS_DB_NAME=wordpress
  db:
    image: docker.io/library/mariadb:latest
    command: '--default-authentication-plugin=mysql_native_password'
    volumes:
      - db_data:/var/lib/mysql
    environment:
      - MYSQL_ROOT_PASSWORD=somewordpress
      - MYSQL_DATABASE=wordpress
      - MYSQL_USER=wordpress
      - MYSQL_PASSWORD=password
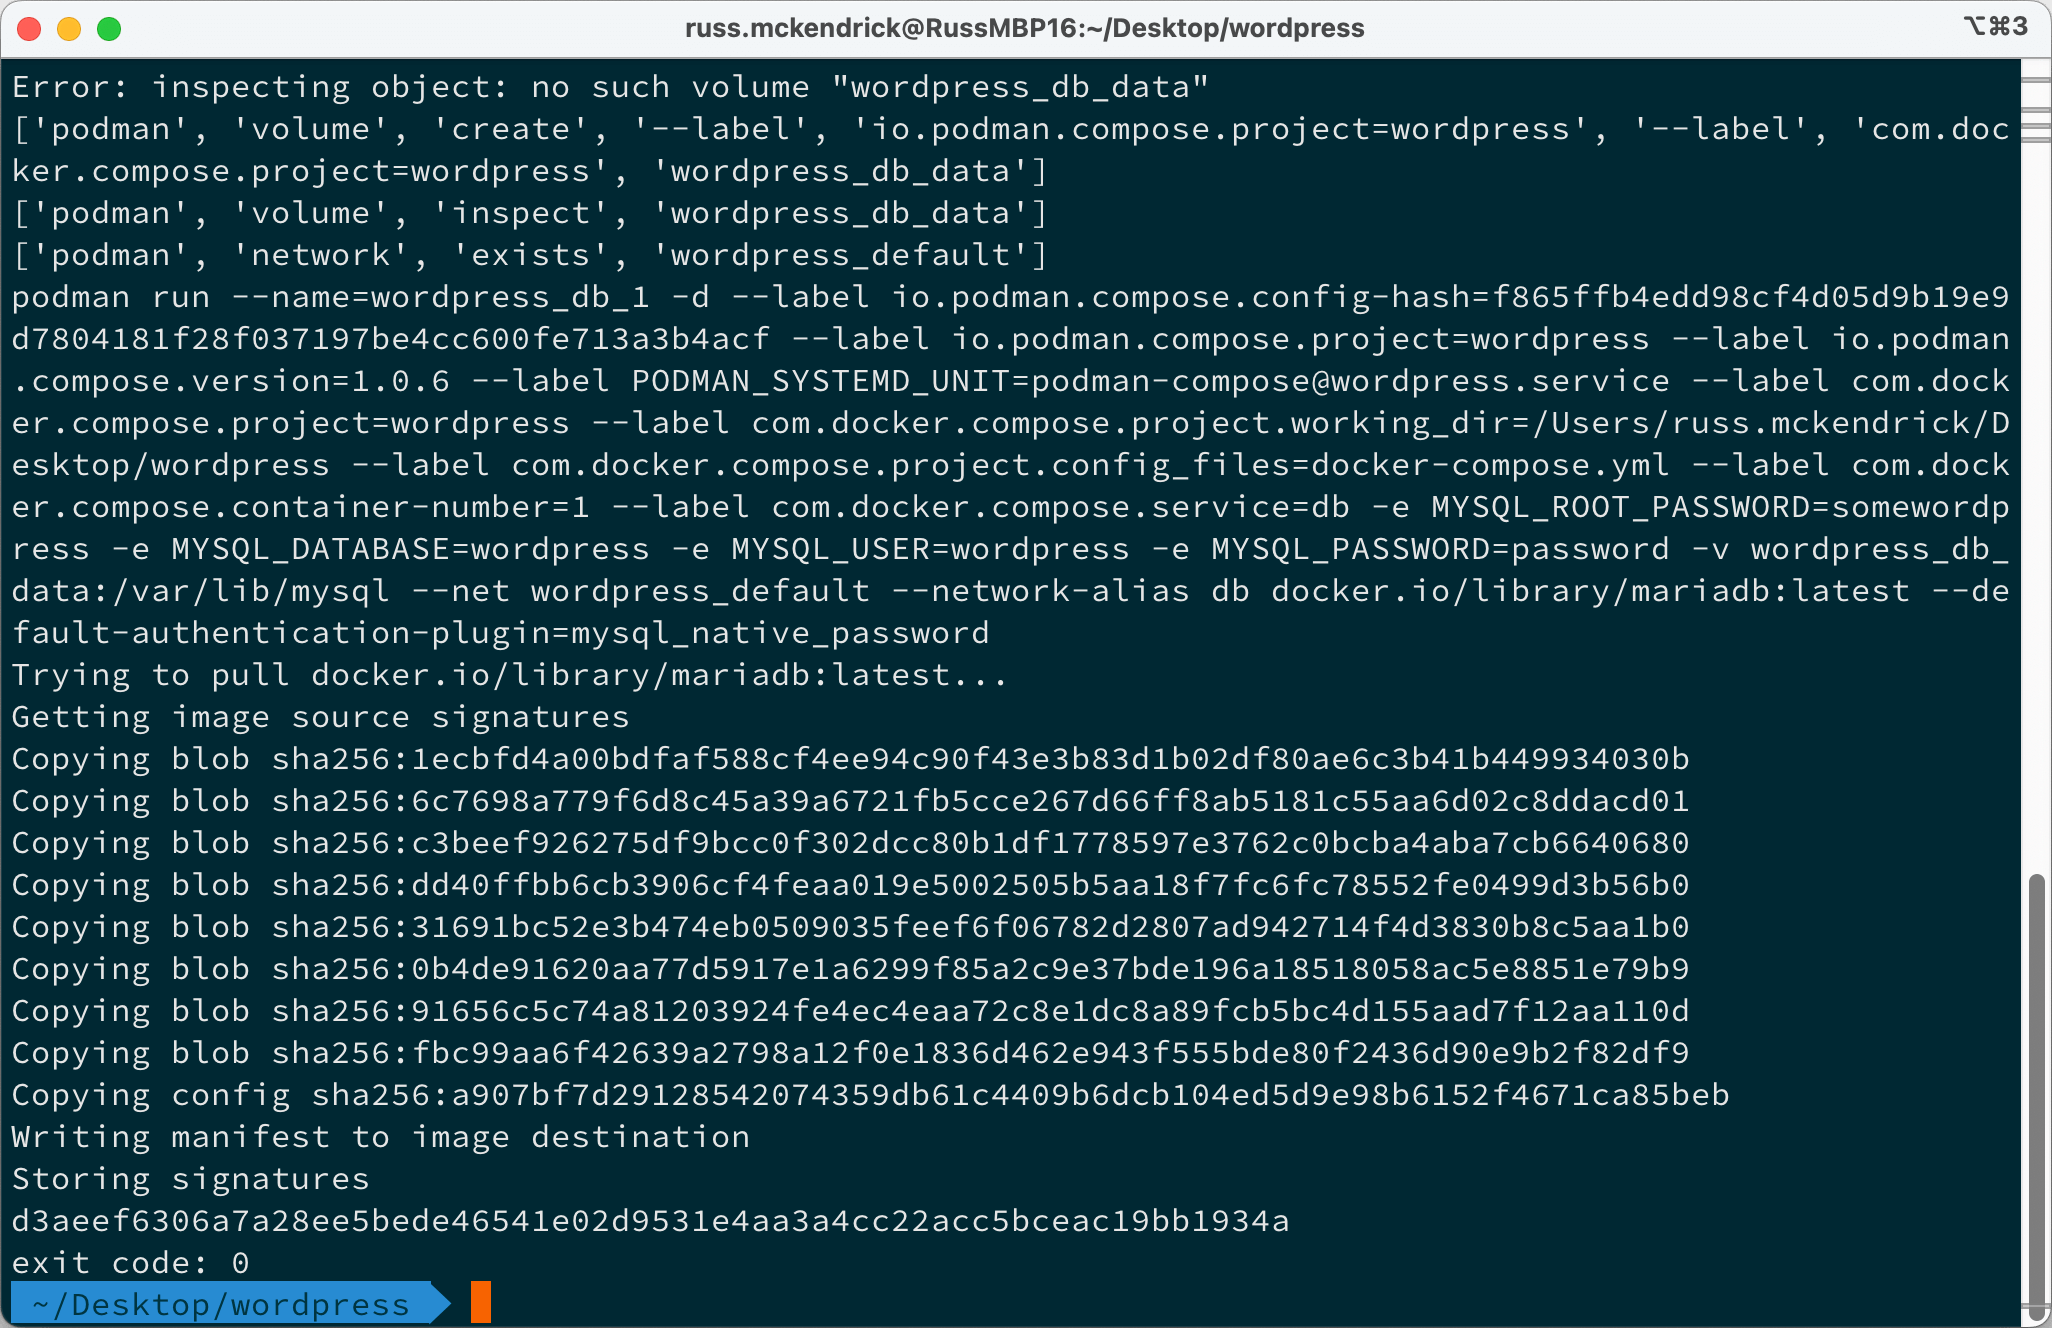
Save the above docker-compose.yml file to a folder called ‘wordpress’ on your local machine. Then, execute the following command to start the containers:
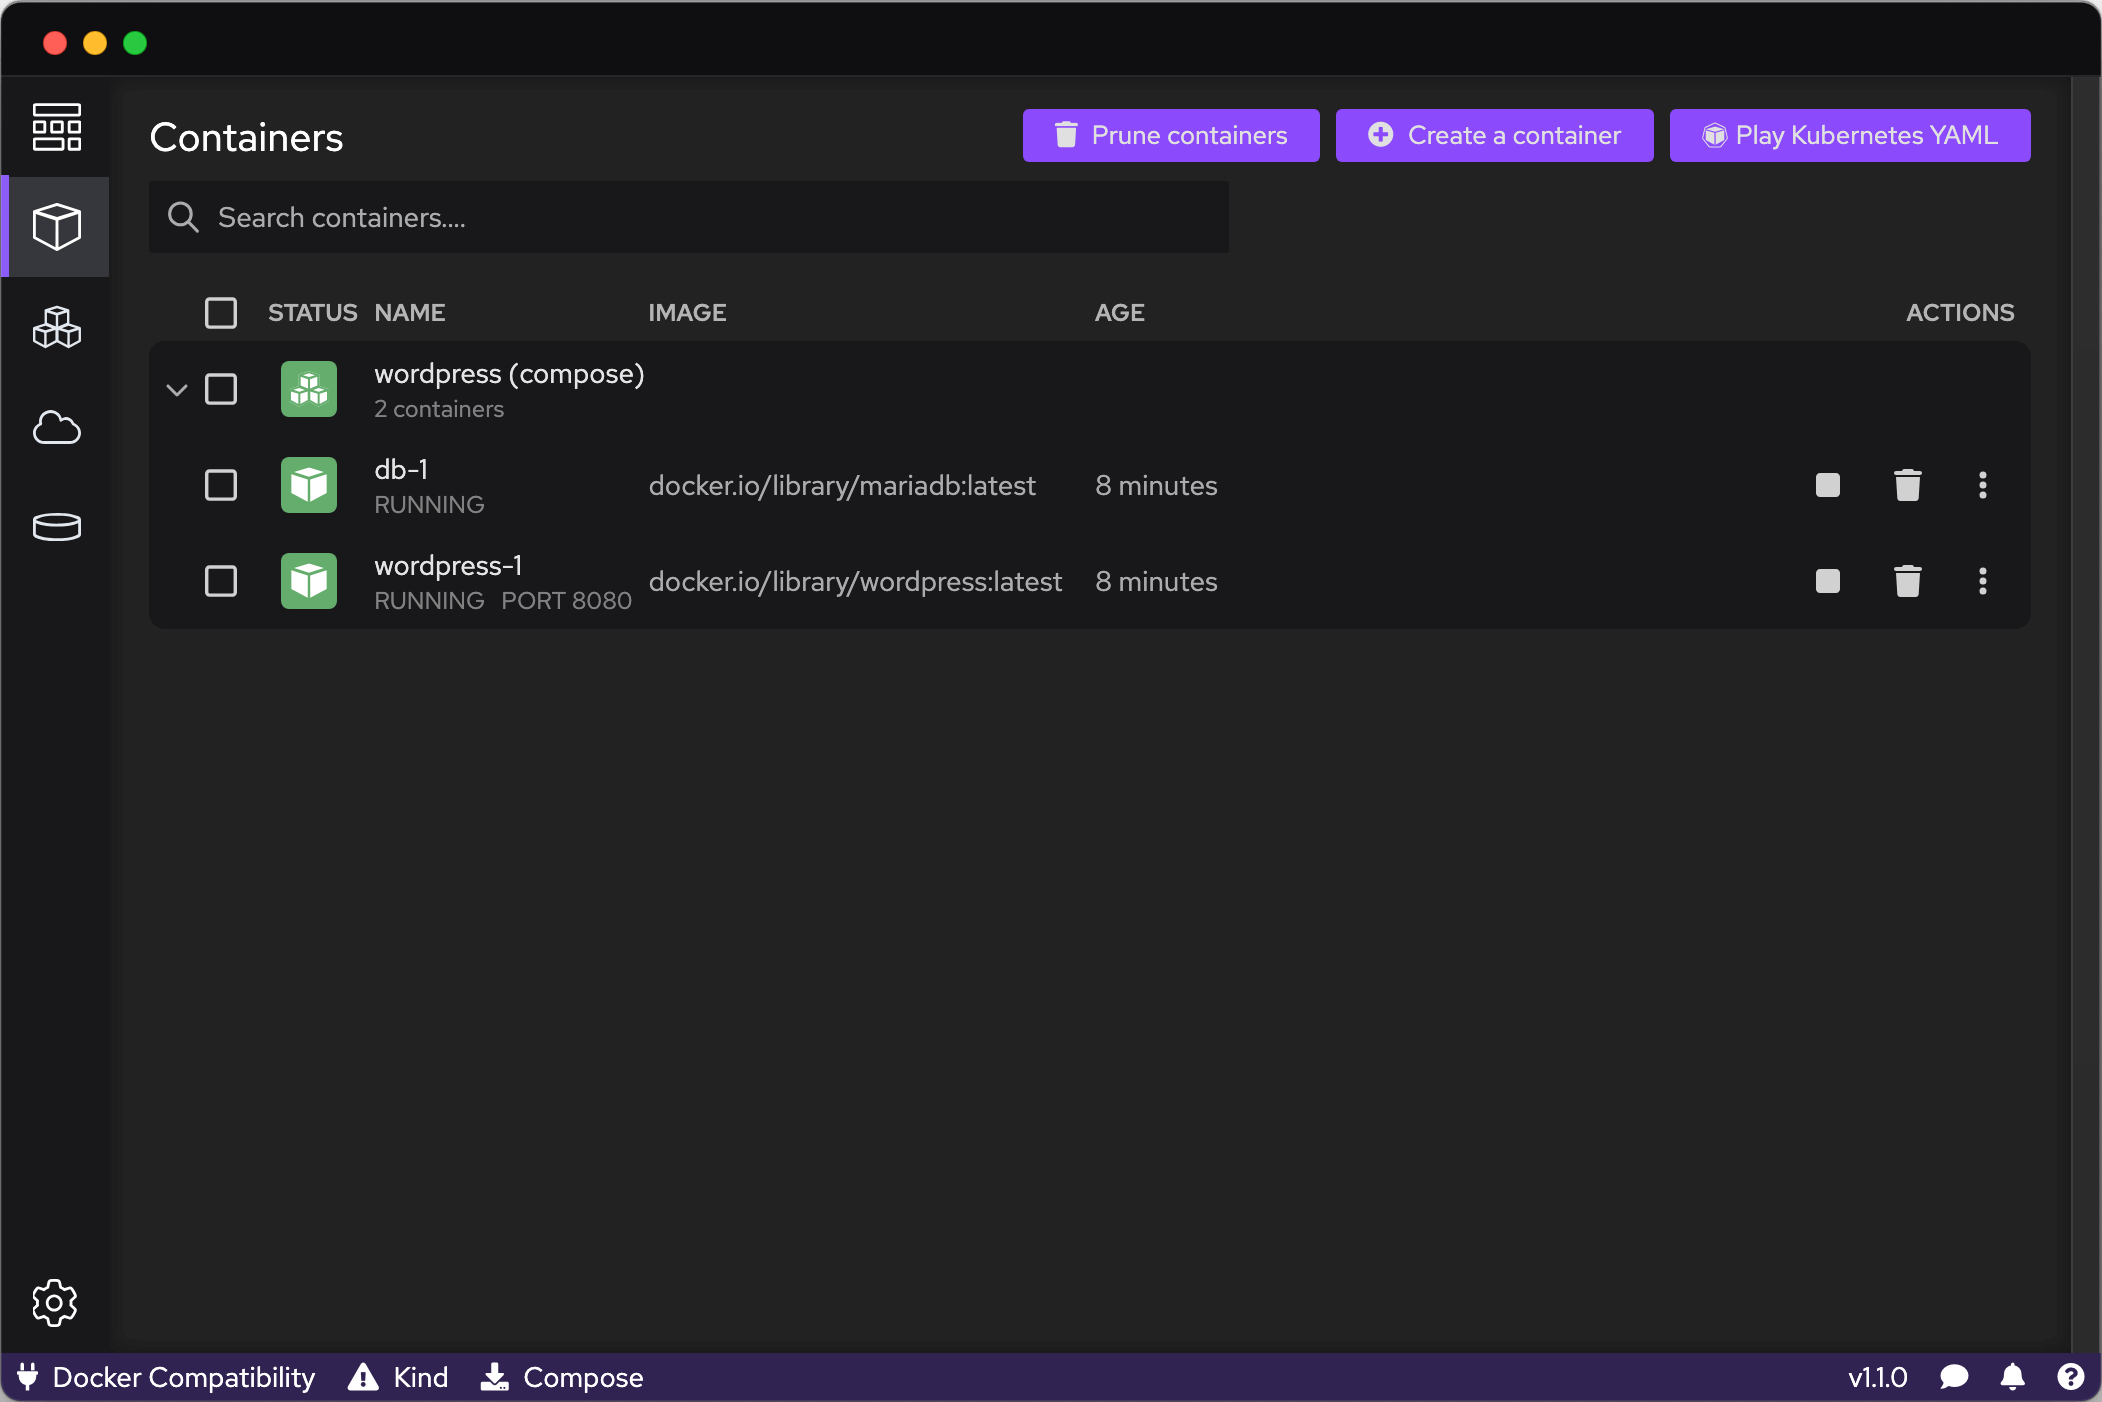
$ podman-compose up -d
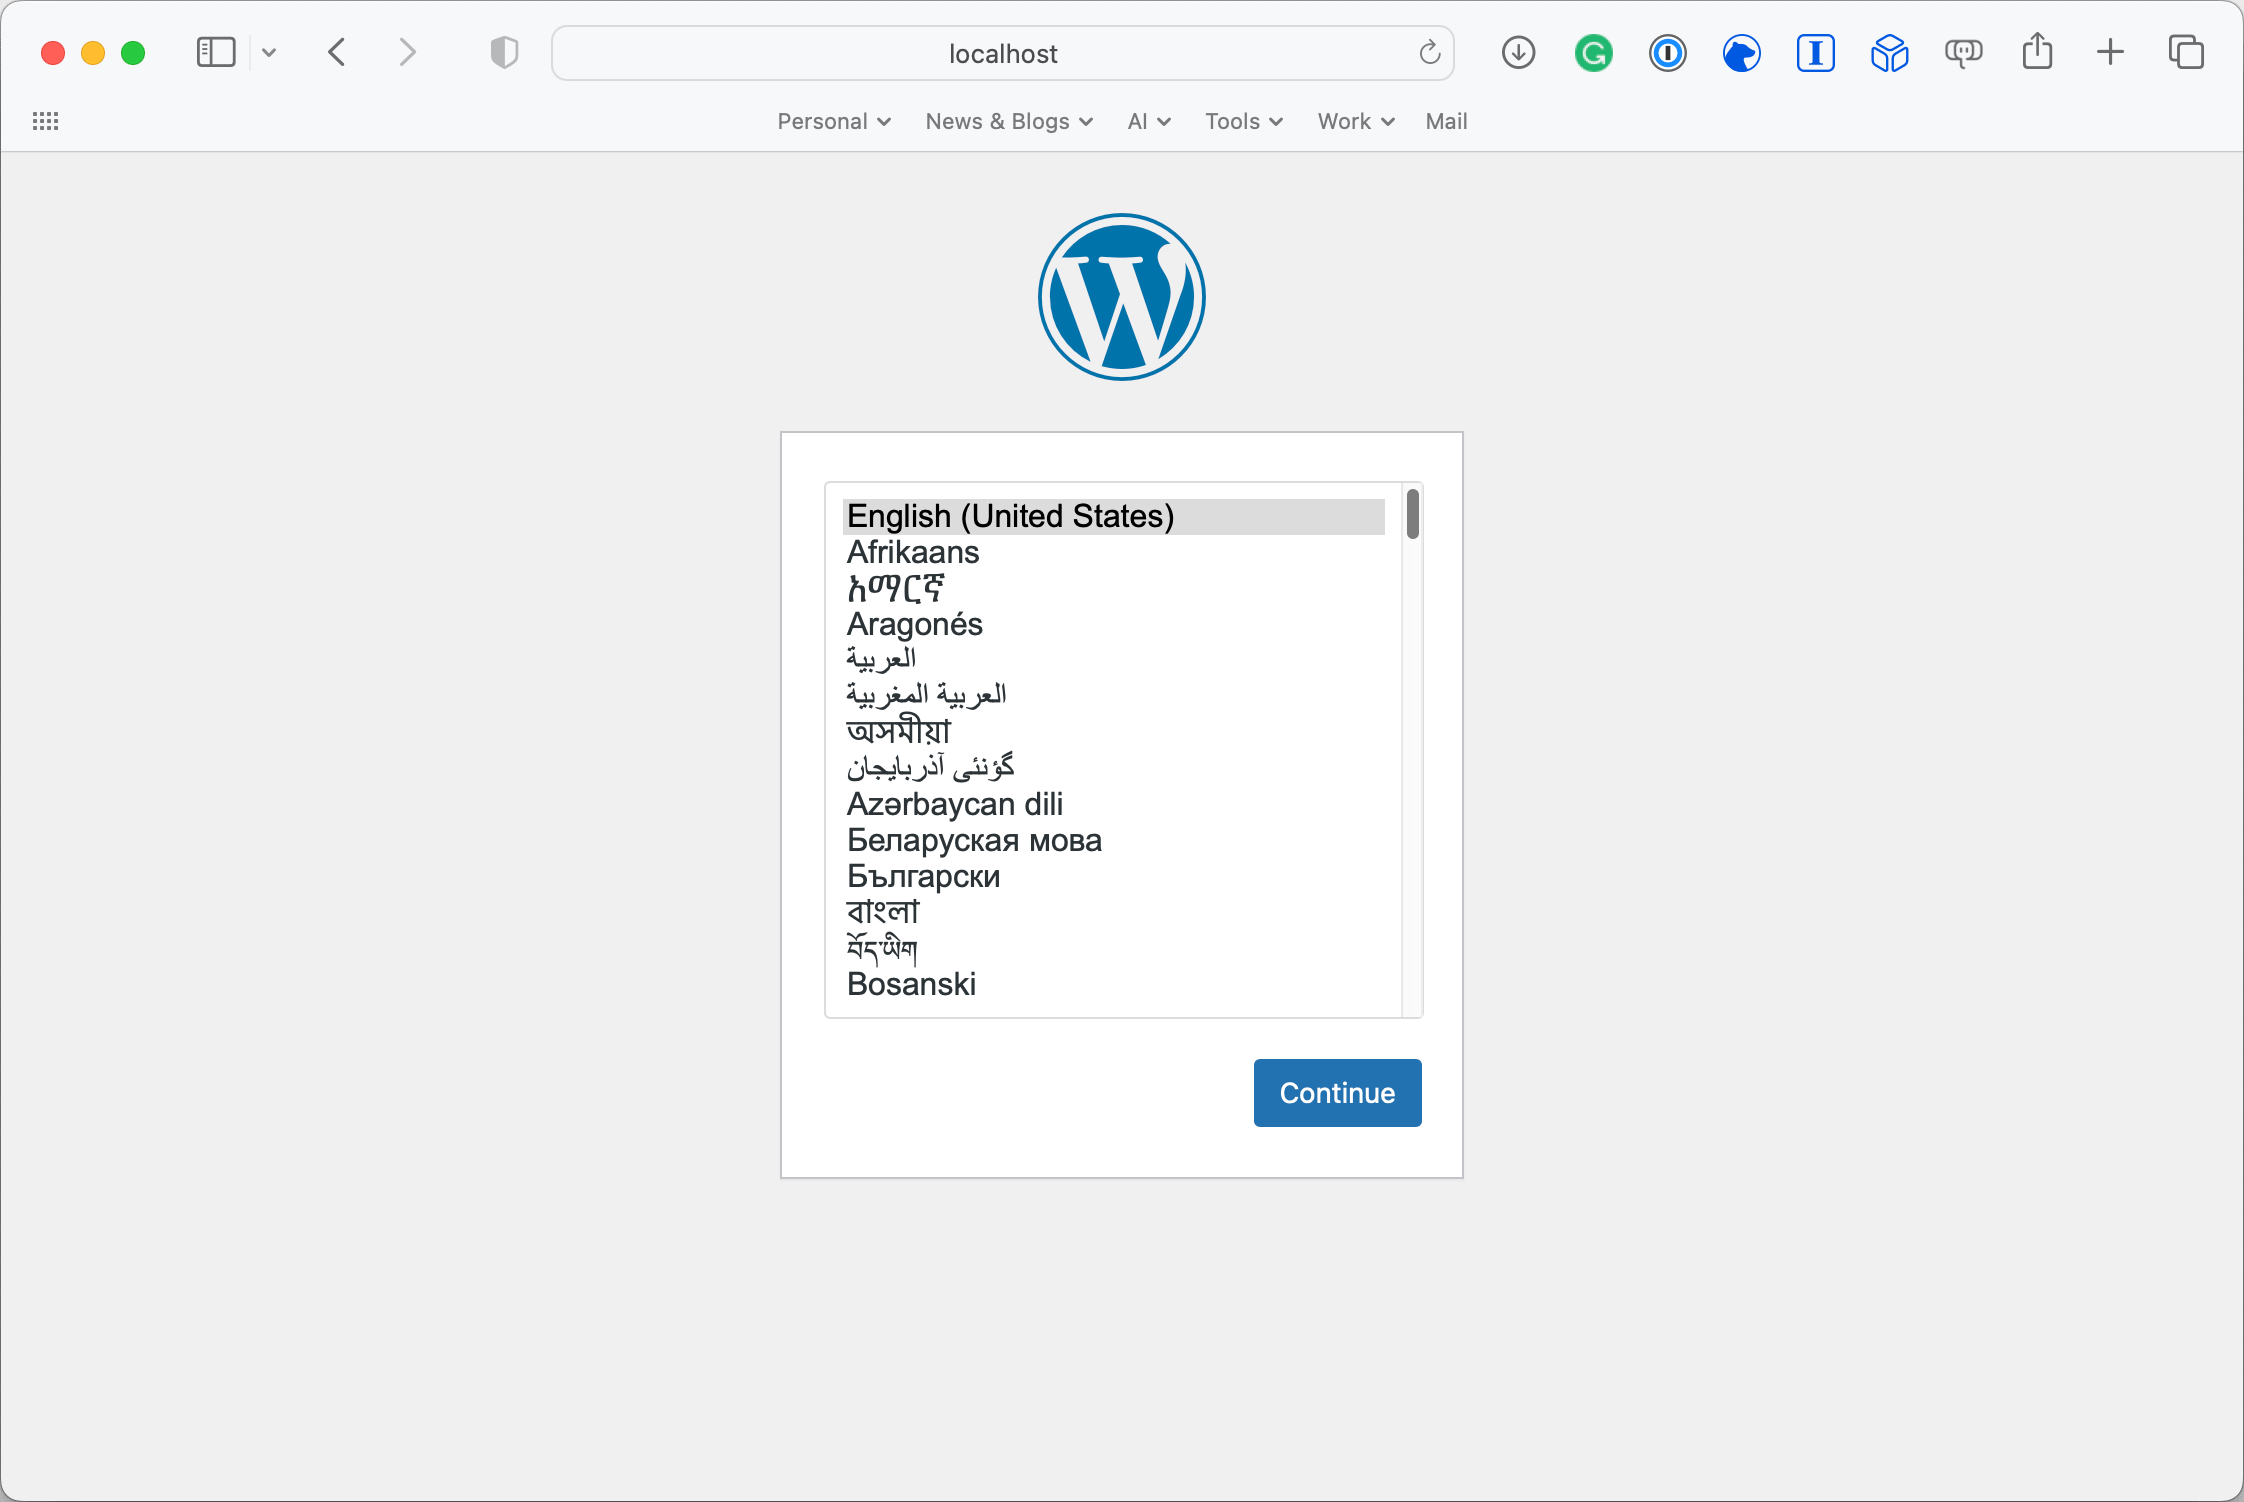
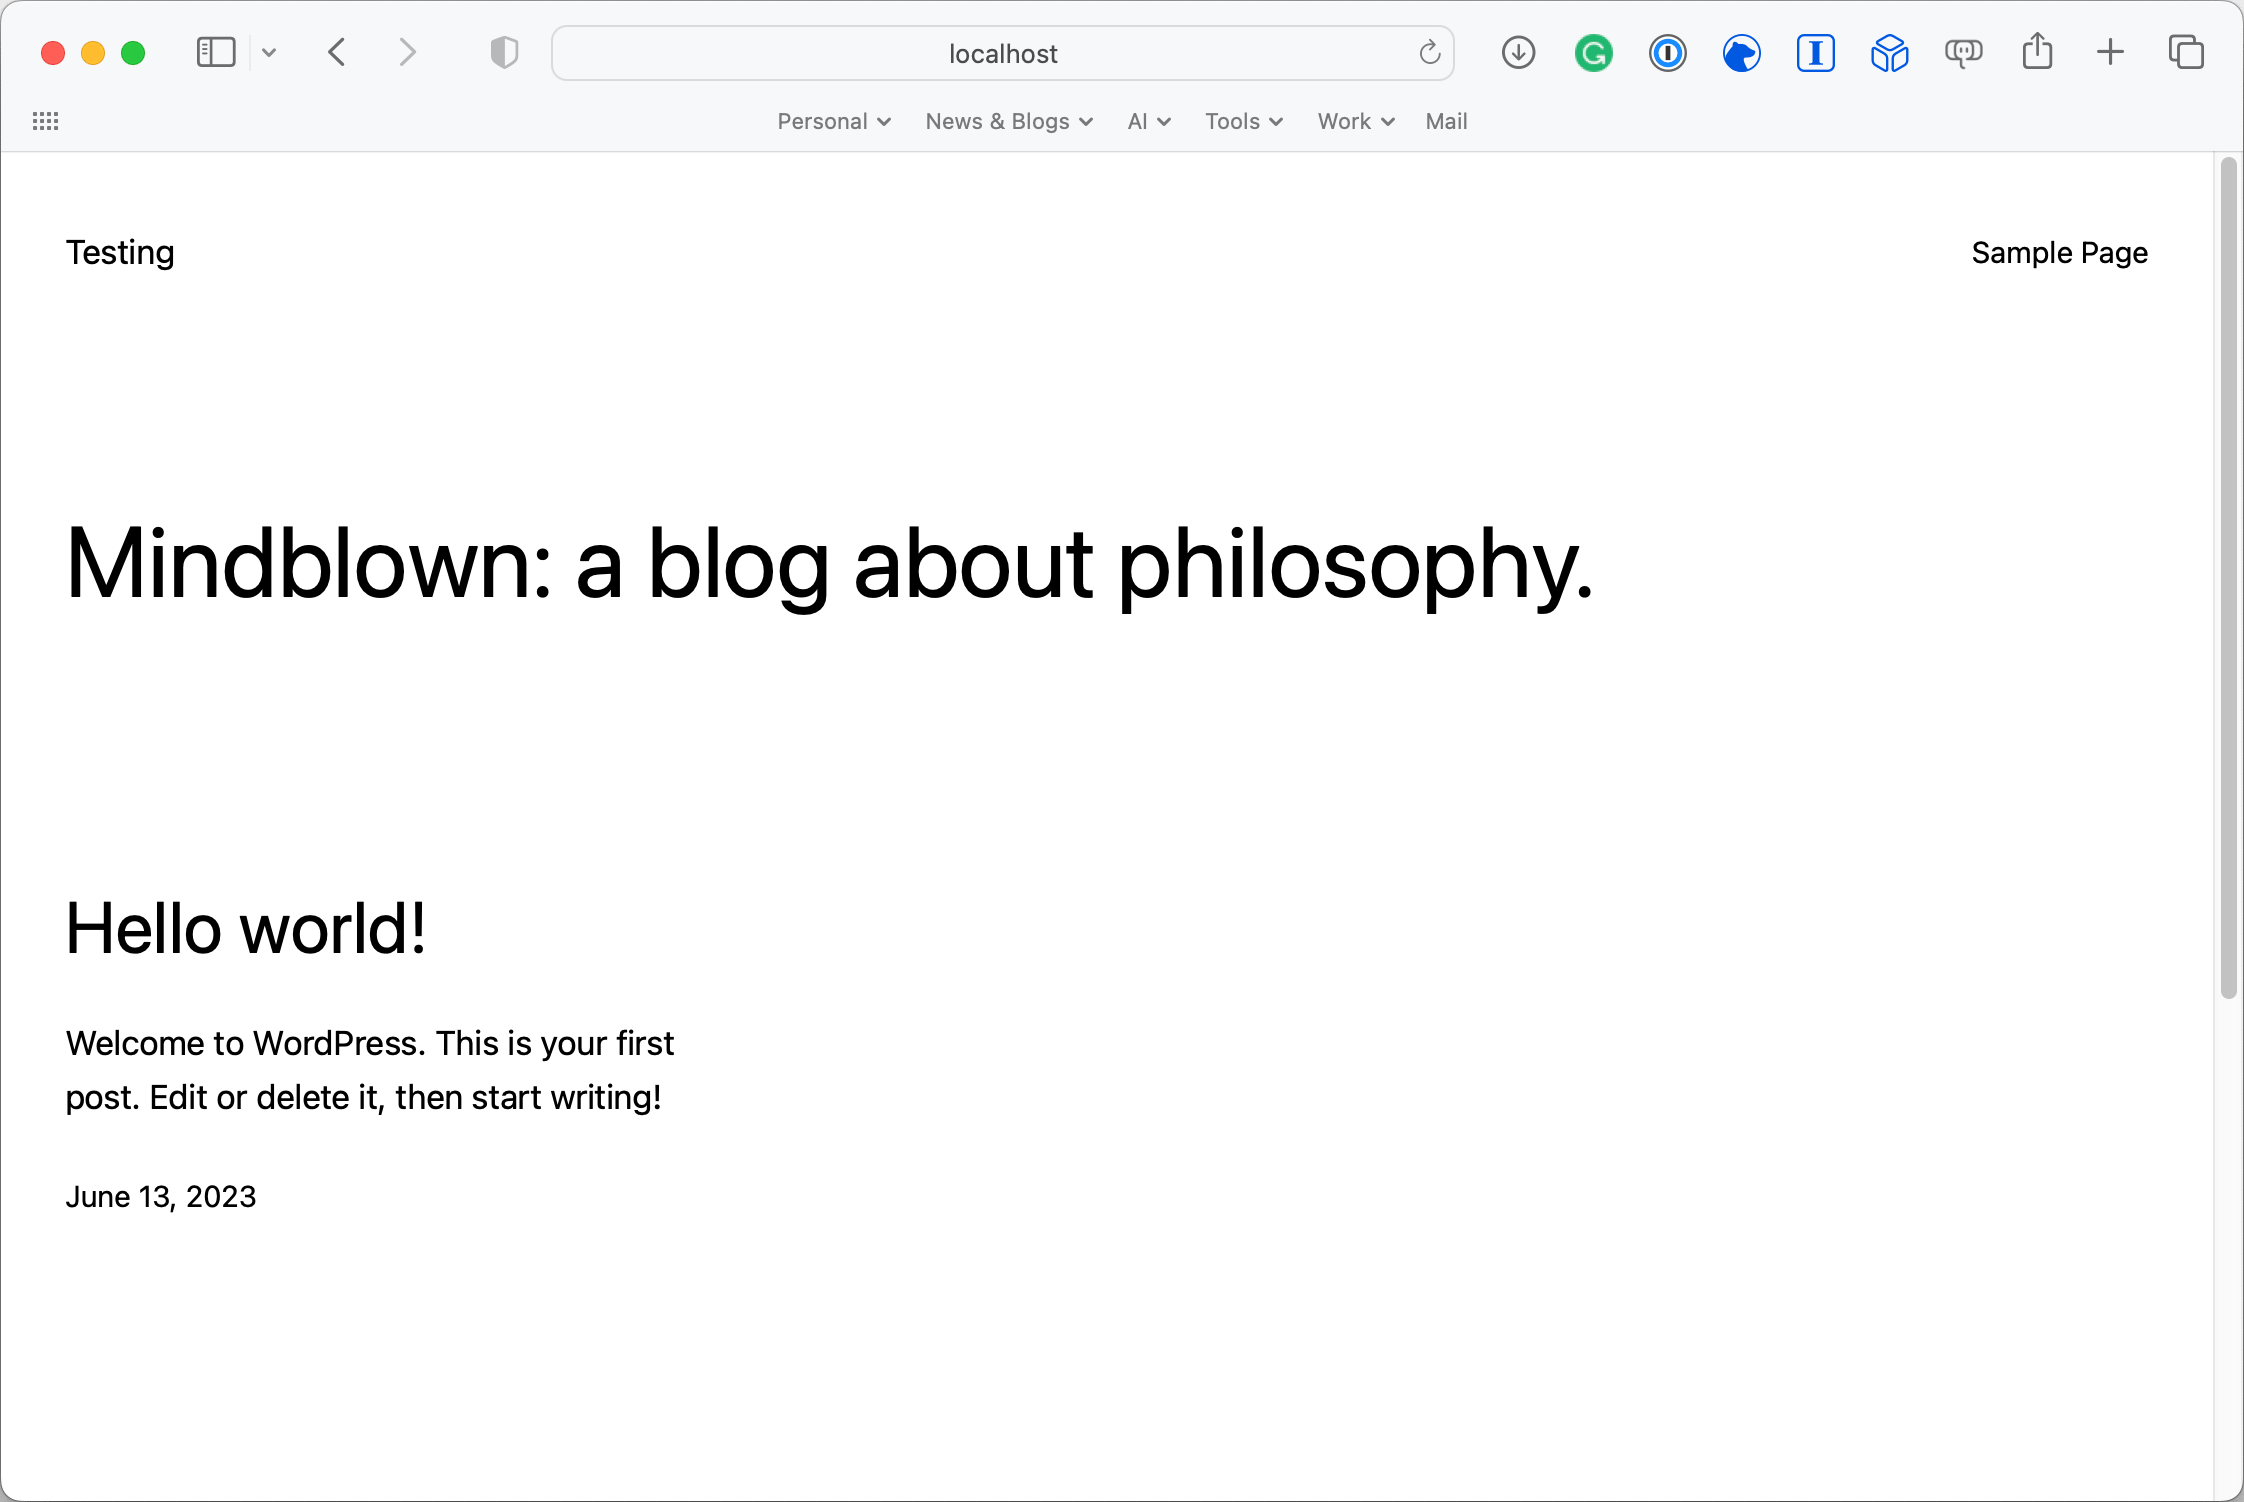
Once started, you should see a group of containers running, and visiting http://localhost:8080 in your browser will take you to the WordPress installation screen.
When finished, you can execute the command below to halt the containers:
$ podman-compose stop
Summing up
I must admit, I’m impressed with Podman Desktop. It’s a user-friendly GUI for Podman, and the compatibility with Docker is a significant advantage. While I might not utilize it consistently, having the option is beneficial.
The sentiment extends to Podman Compose too. Having a comprehensive Docker replacement available locally when the need to run containers arises is indeed a plus. Whether you’re dabbling with containers out of curiosity or managing complex multi-container applications, Podman, Podman Desktop, and Podman Compose prove to be robust and reliable tools for the task.