Just a quick post this week, following on from my last post last week about using Conda and also the one from a few weeks about about running LLMs locally using ollama I decided to explore the world of AI image generation on my local macOS machine.
To do this I thought I would revisit a tool I dabbled with about a year ago called InvokeAI , the tool is described as follows:
InvokeAI is a leading creative engine for Stable Diffusion models, empowering professionals, artists, and enthusiasts to generate and create visual media using the latest AI-driven technologies. The solution offers an industry leading WebUI, supports terminal use through a CLI, and serves as the foundation for multiple commercial products.
Installing InvokeAI
While there is an automated installer, I thought it best to run through a manual installation so I have a little more control over what is installed and where on my machine.
Preparing the Python environment
I am going to use Conda so I don’t end up messing up my newly organized Python environment:
conda create -n InvokeAI python=3.11
conda activate InvokeAI
As you can see, we are setting up the environment using Python 3.11, this is because not everything that InvokeAI uses has been updated to use Python 3.12, yet.
Setting the path and installing
With our Python environment ready we can now set the path where InvokeAI will store its config, database and files:
export INVOKEAI_ROOT=~/invokeai
mkdir $INVOKEAI_ROOT
The path I have used, ~/invokeai is the default one, if you change this I would recommend adding export INVOKEAI_ROOT=~/your/own/path/to/invokeai to your ~/.zshrc or Dotfiles.
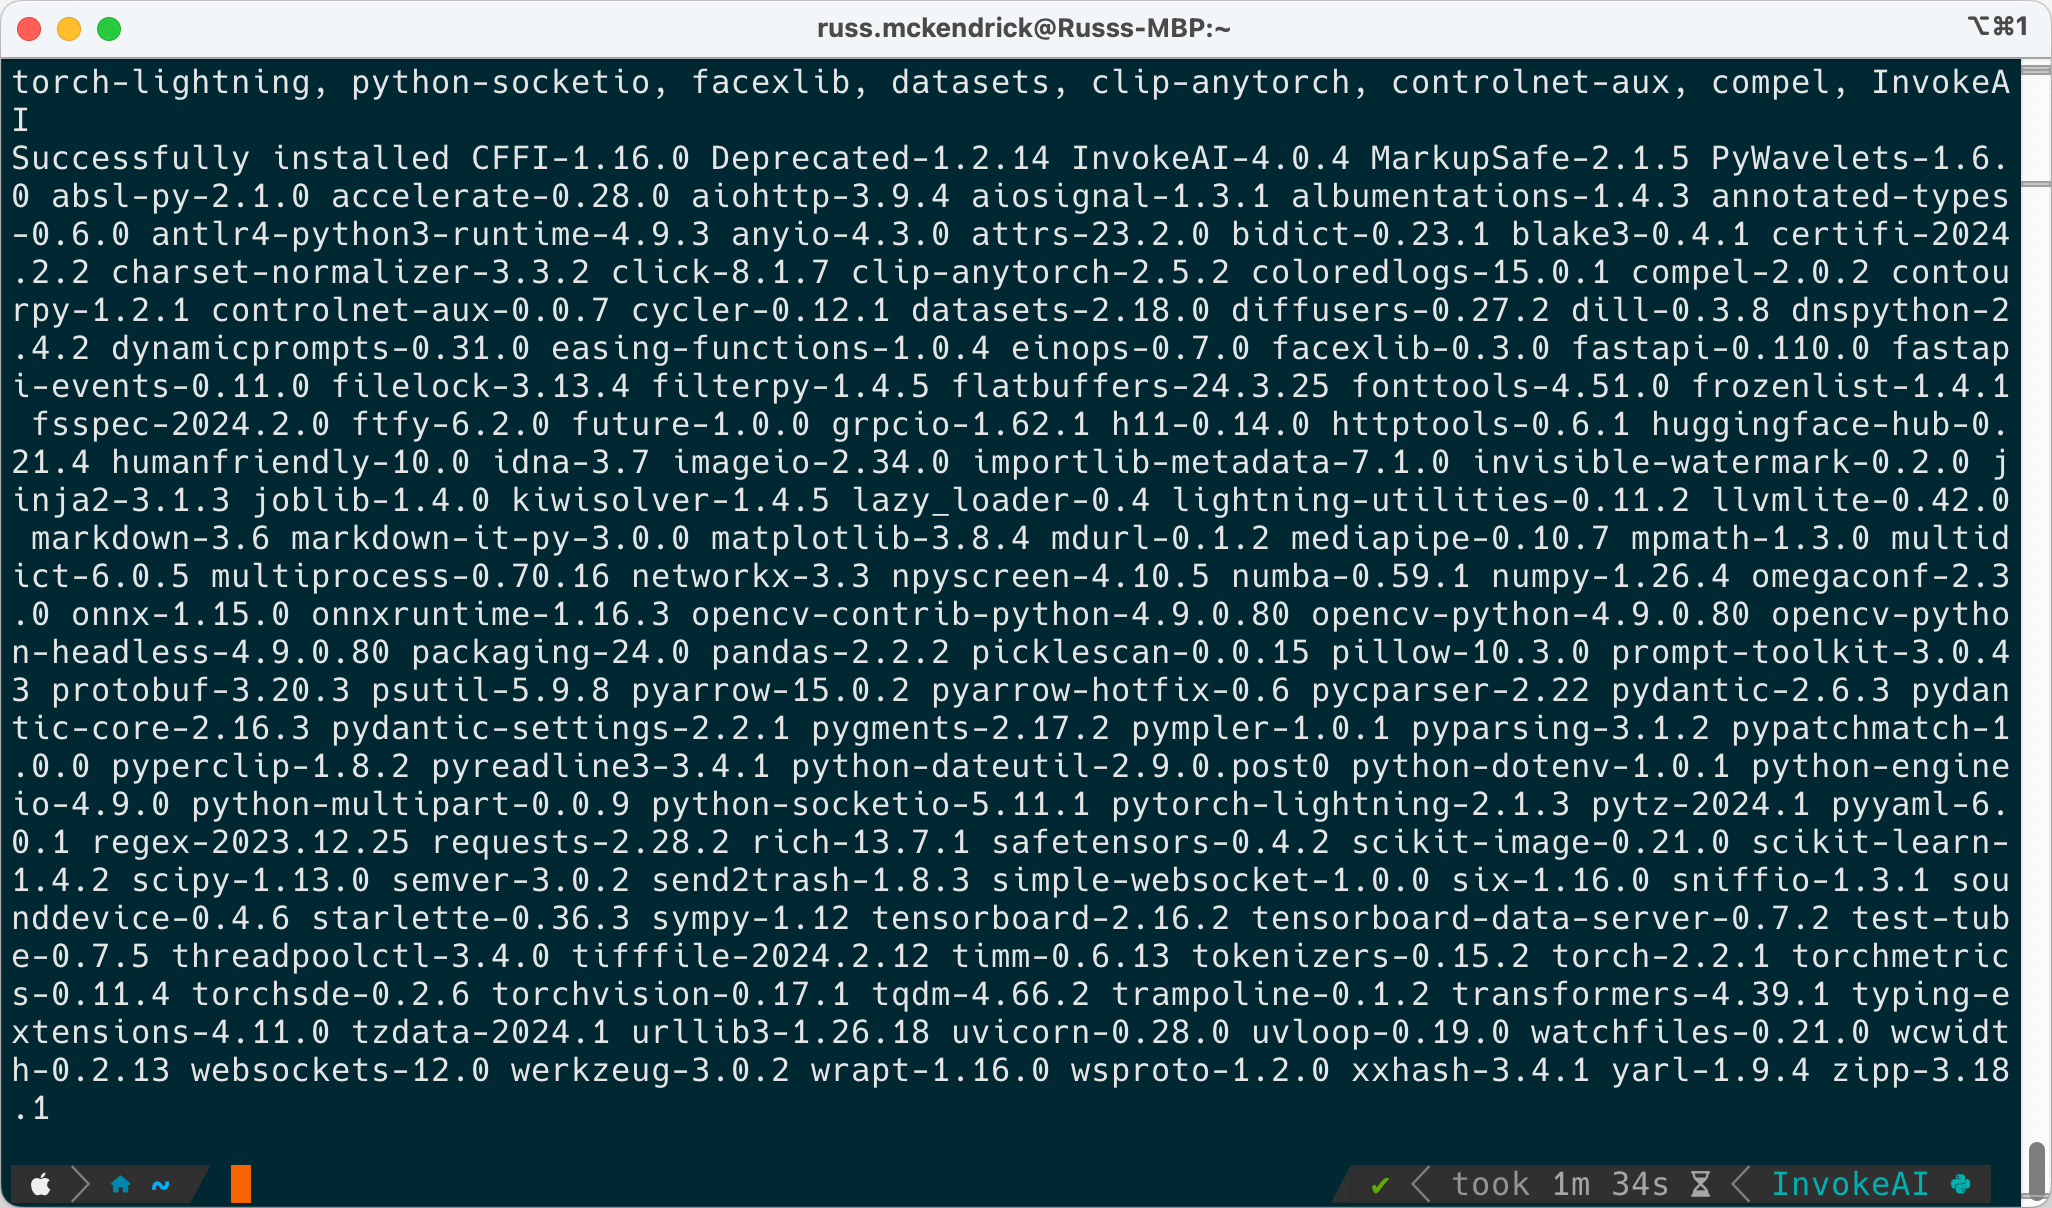
We can now install InvokeAI itself, to do this run the following command:
pip install InvokeAI --use-pep517 --extra-index-url https://download.pytorch.org/whl/cu121
As you can see, it installs alot of packages and takes a few minutes to download and install everything.
Starting the web interface
Once installed, all that is left to do is to start the web interface - to do this run the following command:
invokeai-web
The first time you run this command it will take slightly longer than it normally would take due to it creating the configuration files and databases etc.
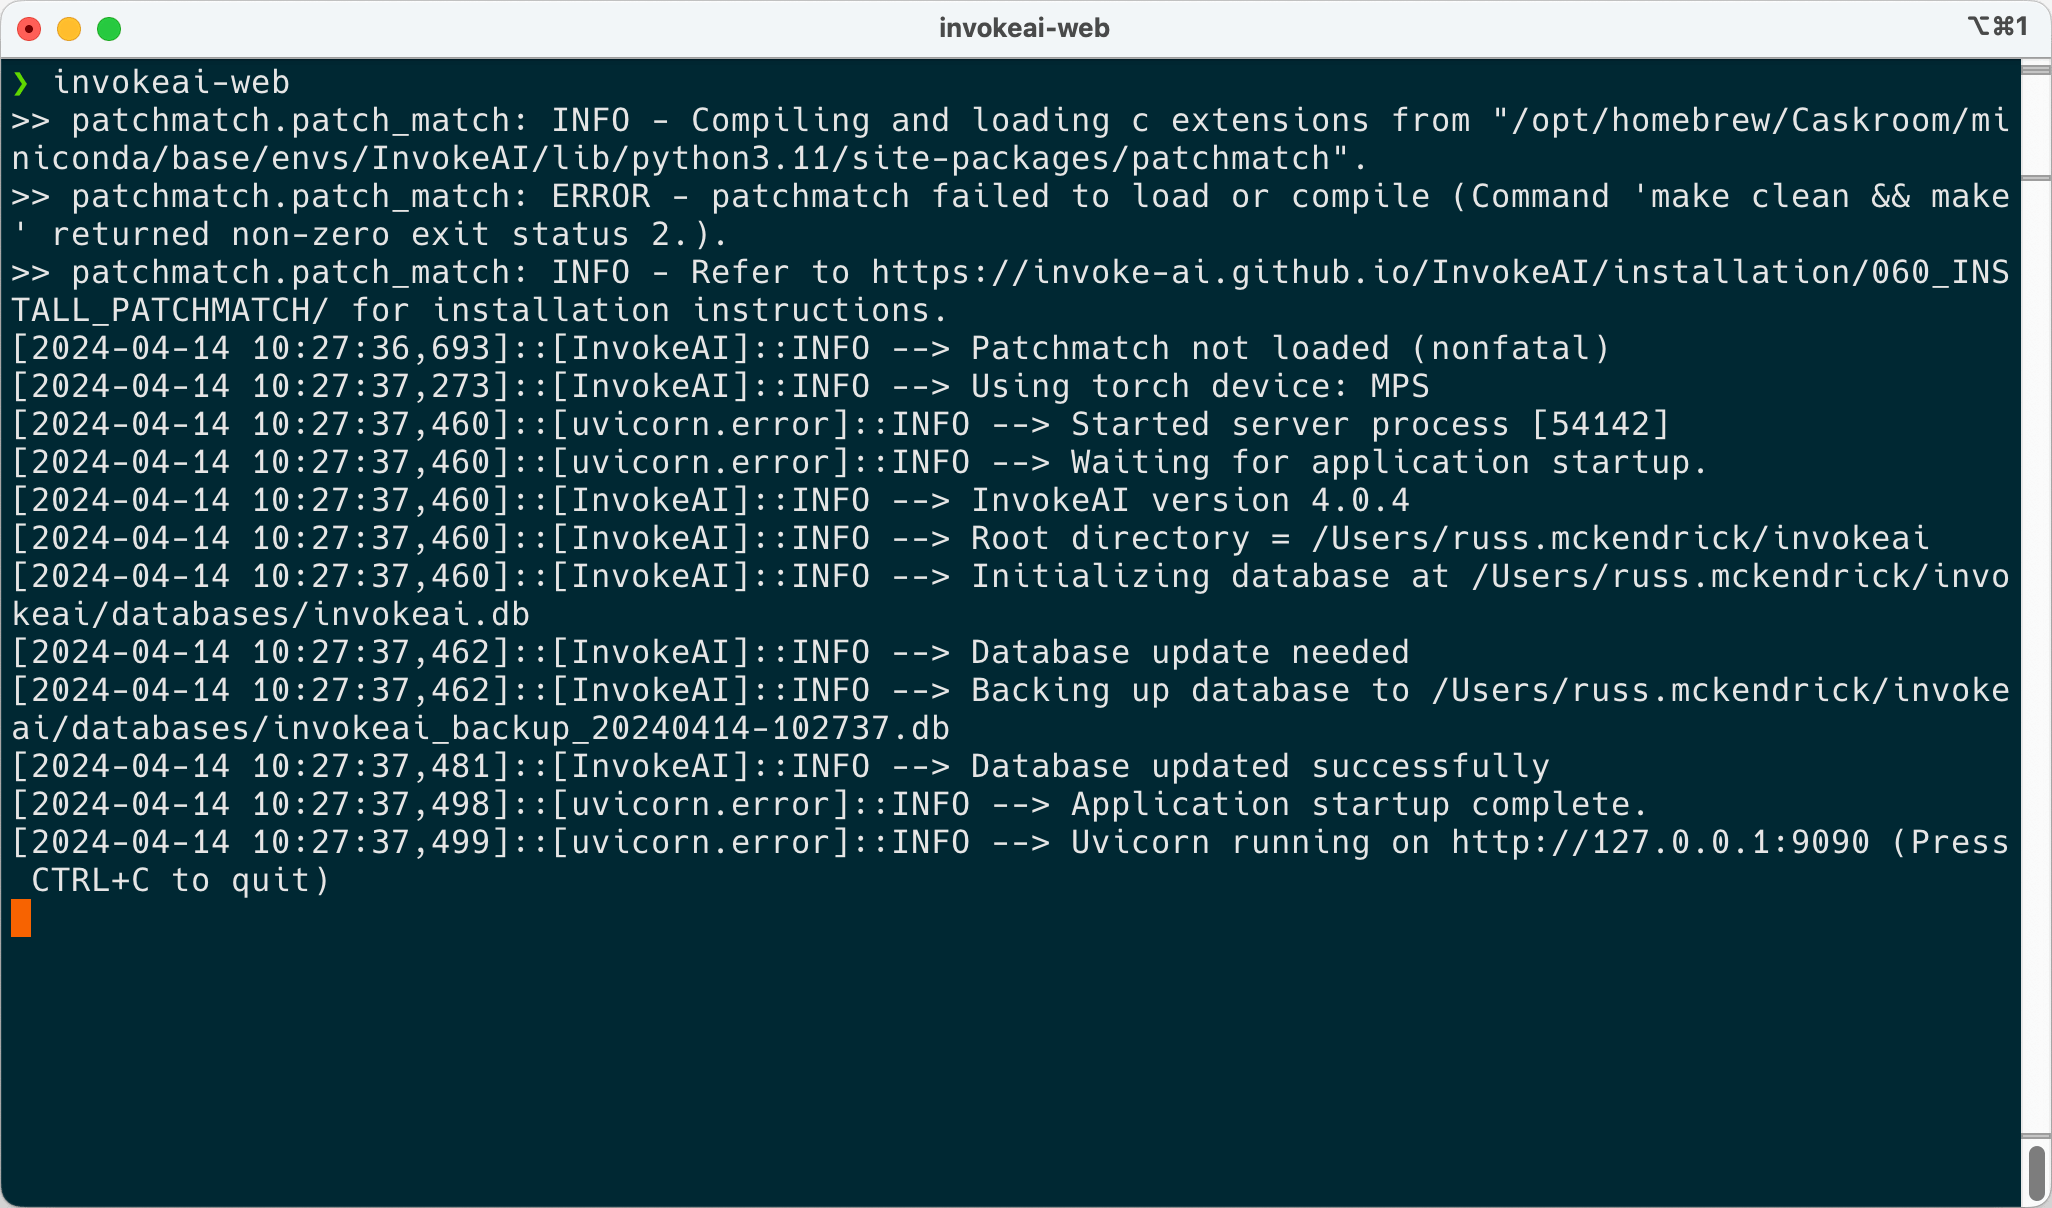
As you can see from the output above, once it has started you will prompted to open your browser and entering http://127.0.0.1:9090/.
Using InvokeAI
Upon first opening the web UI you will be presented with a screen which looks like one below:
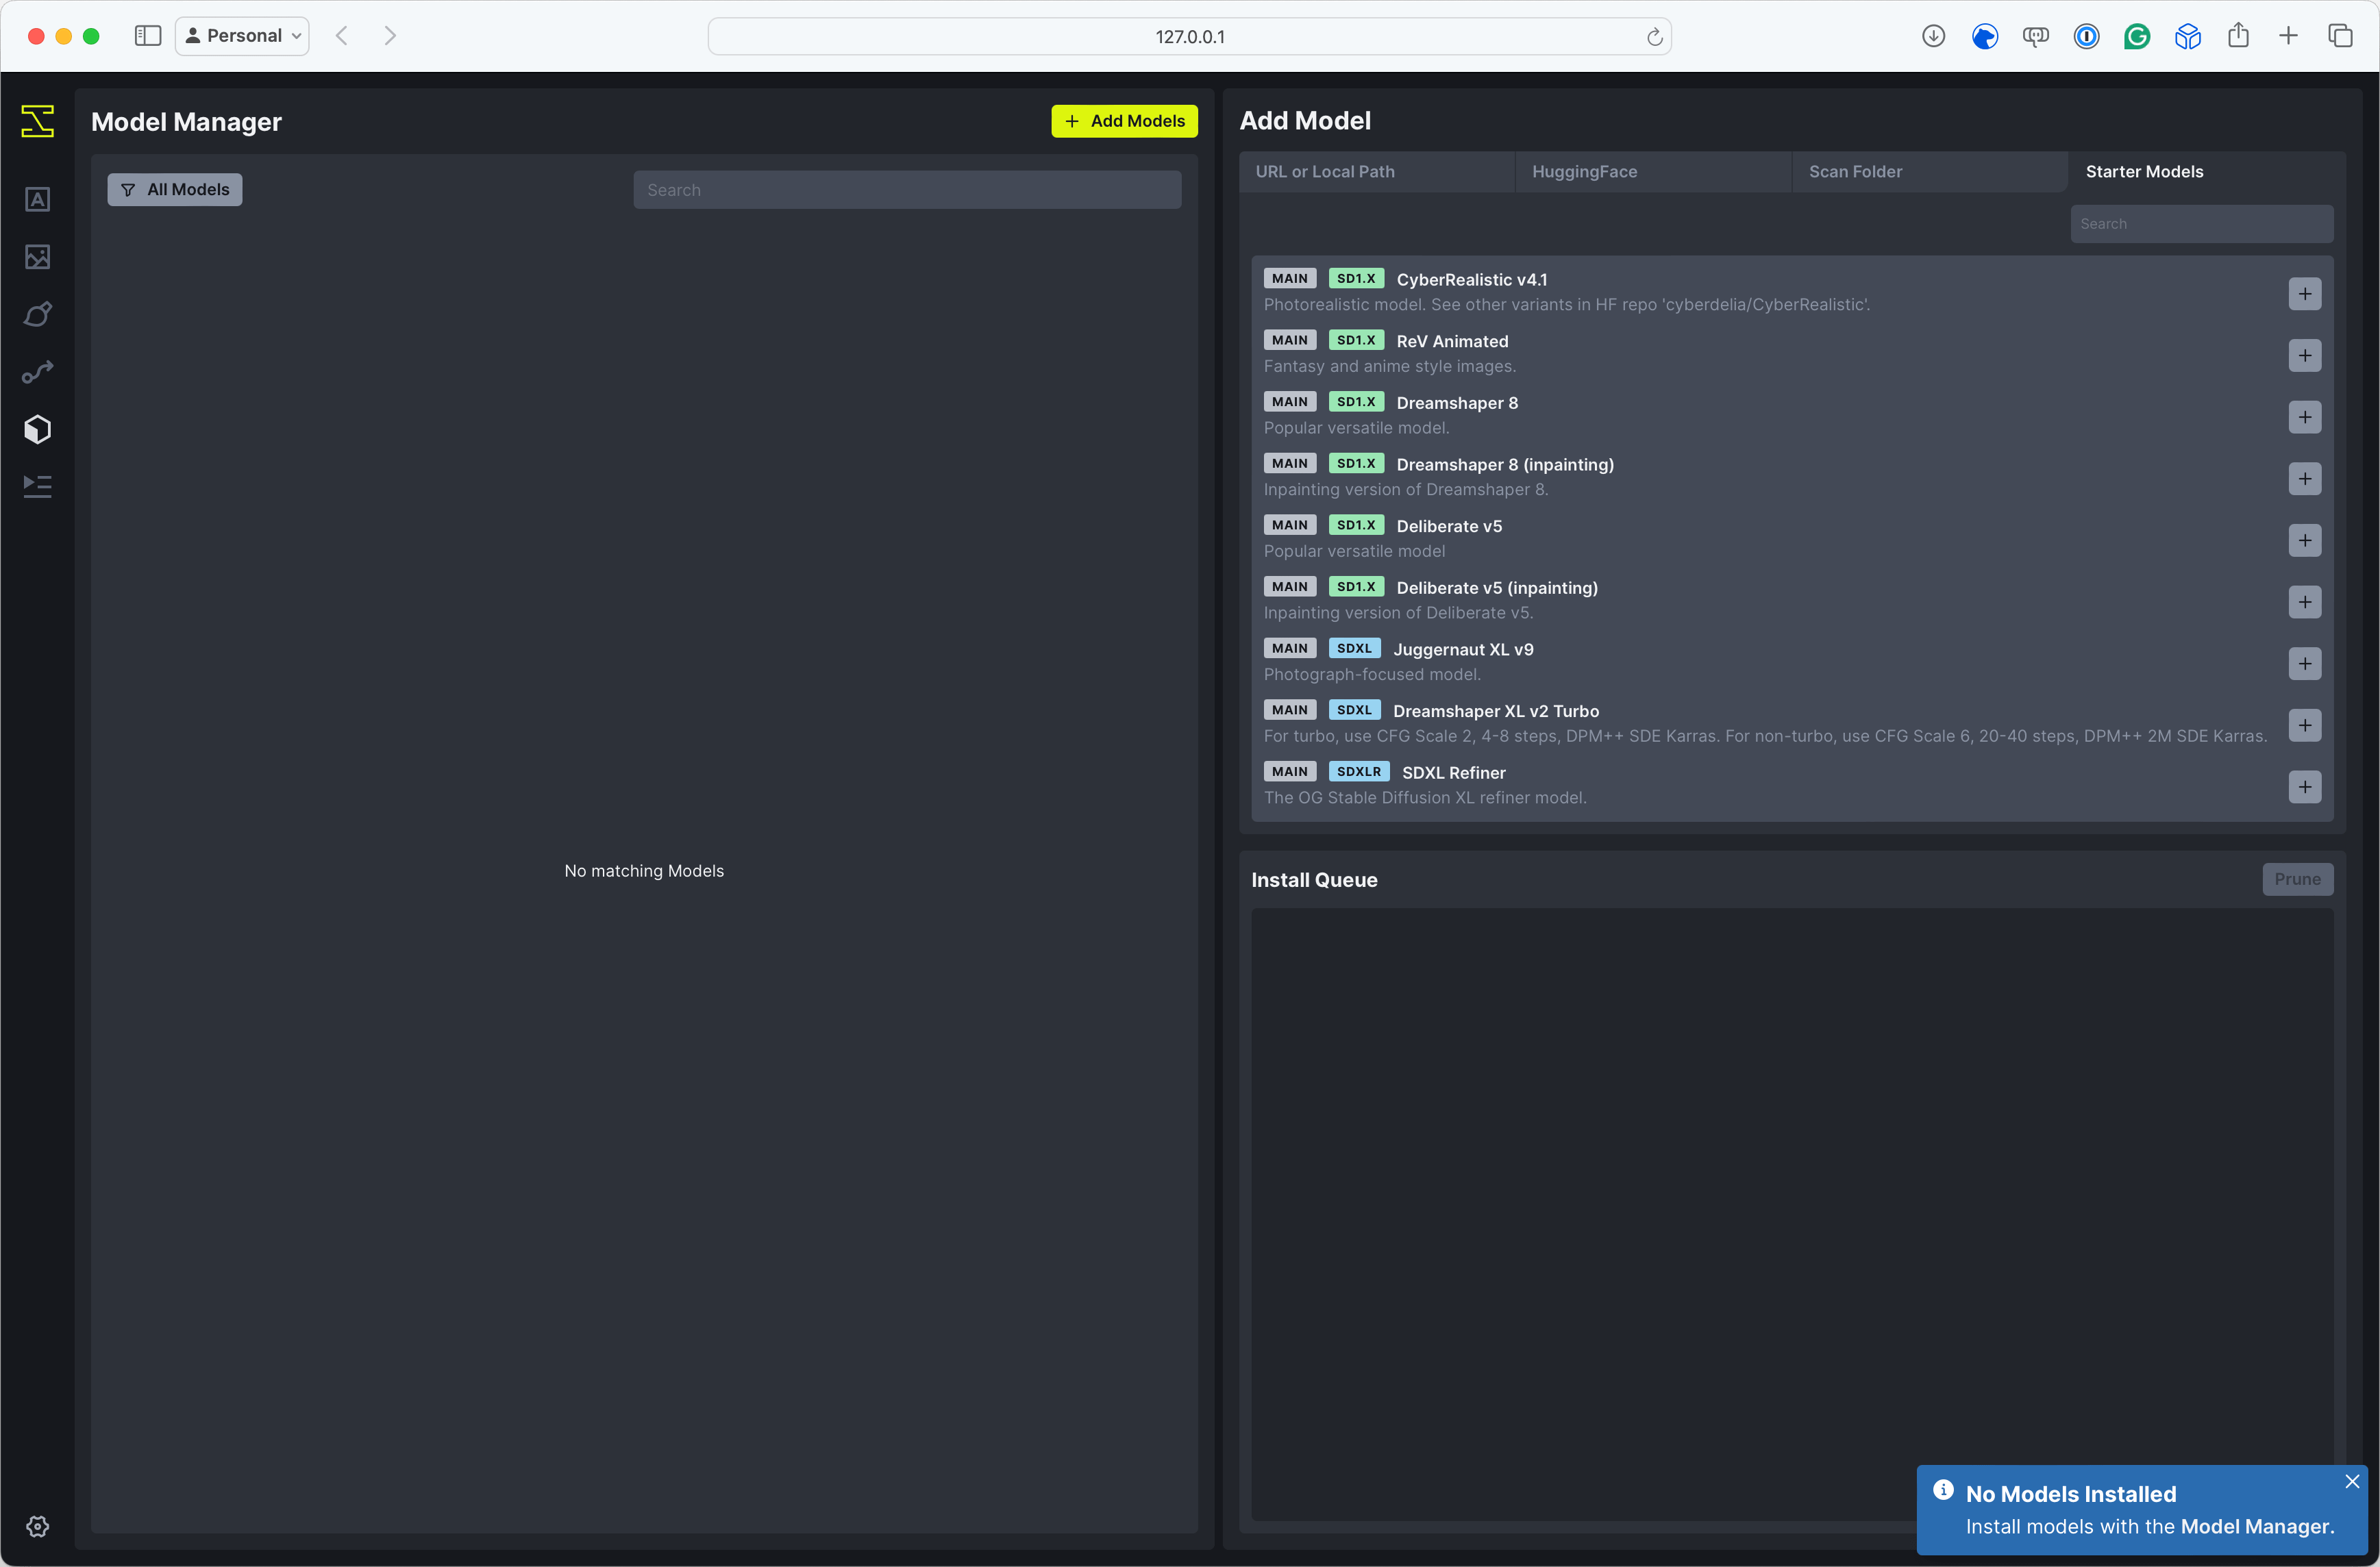
Downloading a model
Before we can generate an image we need to download a model, I chose to download Juggernaut XL v9 which is one of the ones listed in the model manager - as you can see from the samples below, it is capable of quite a few different styles of images:
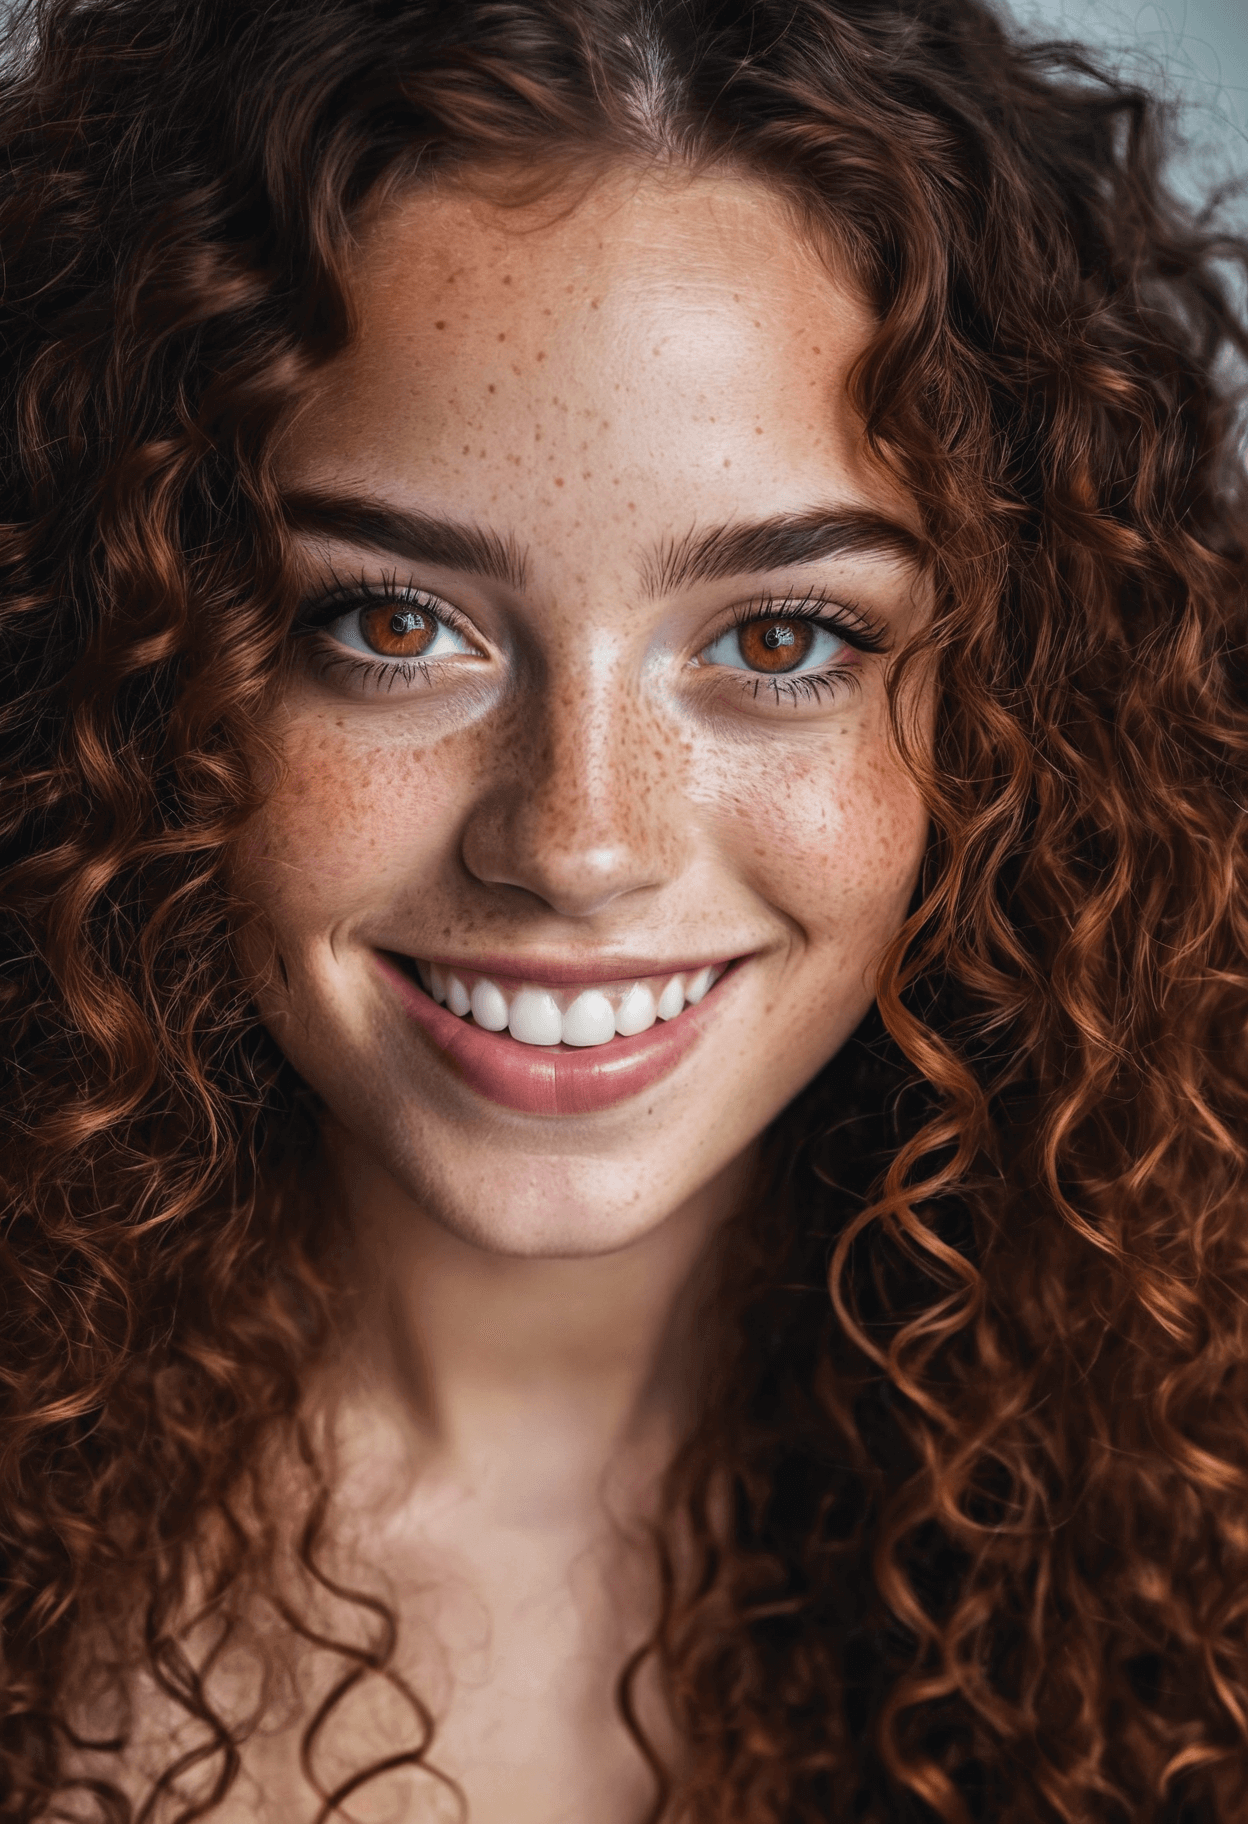
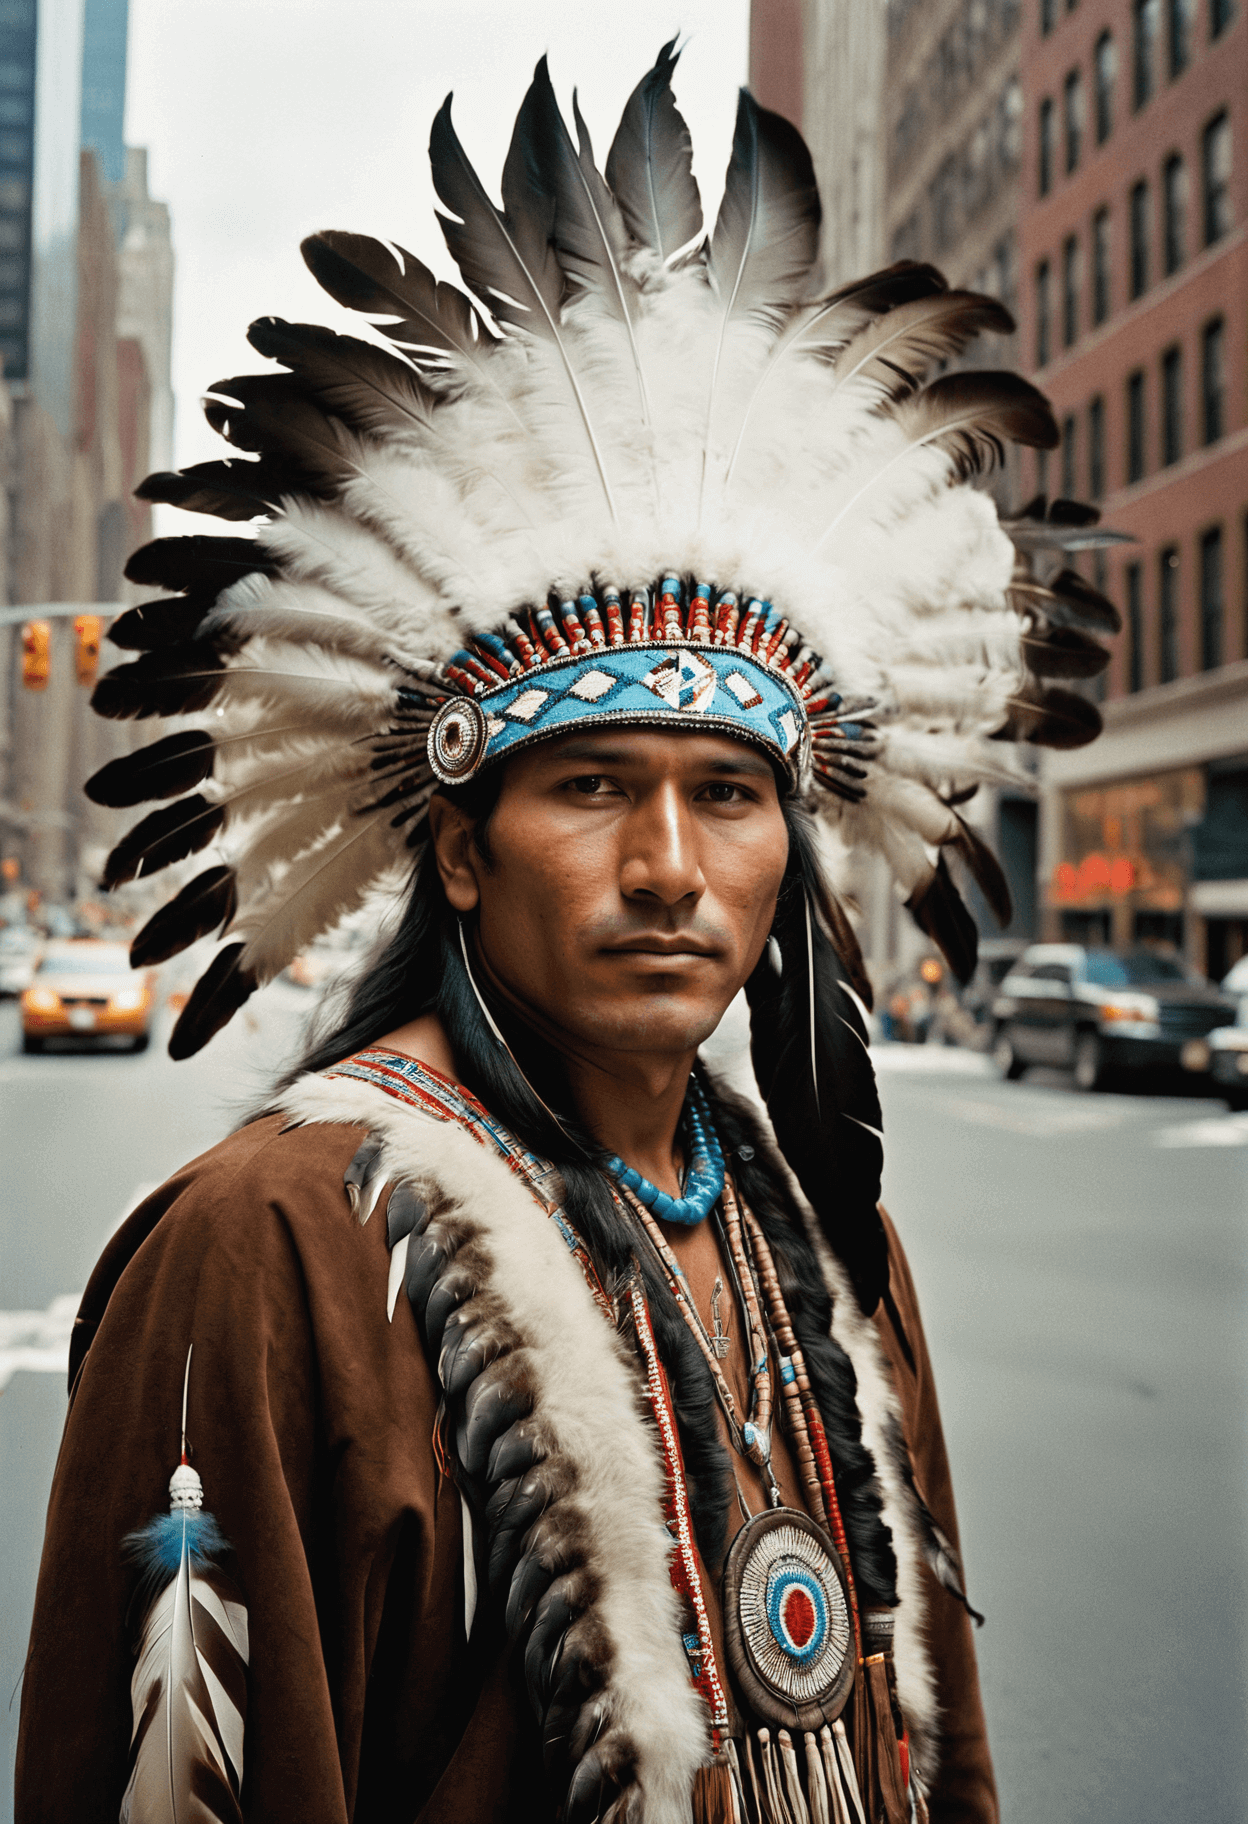
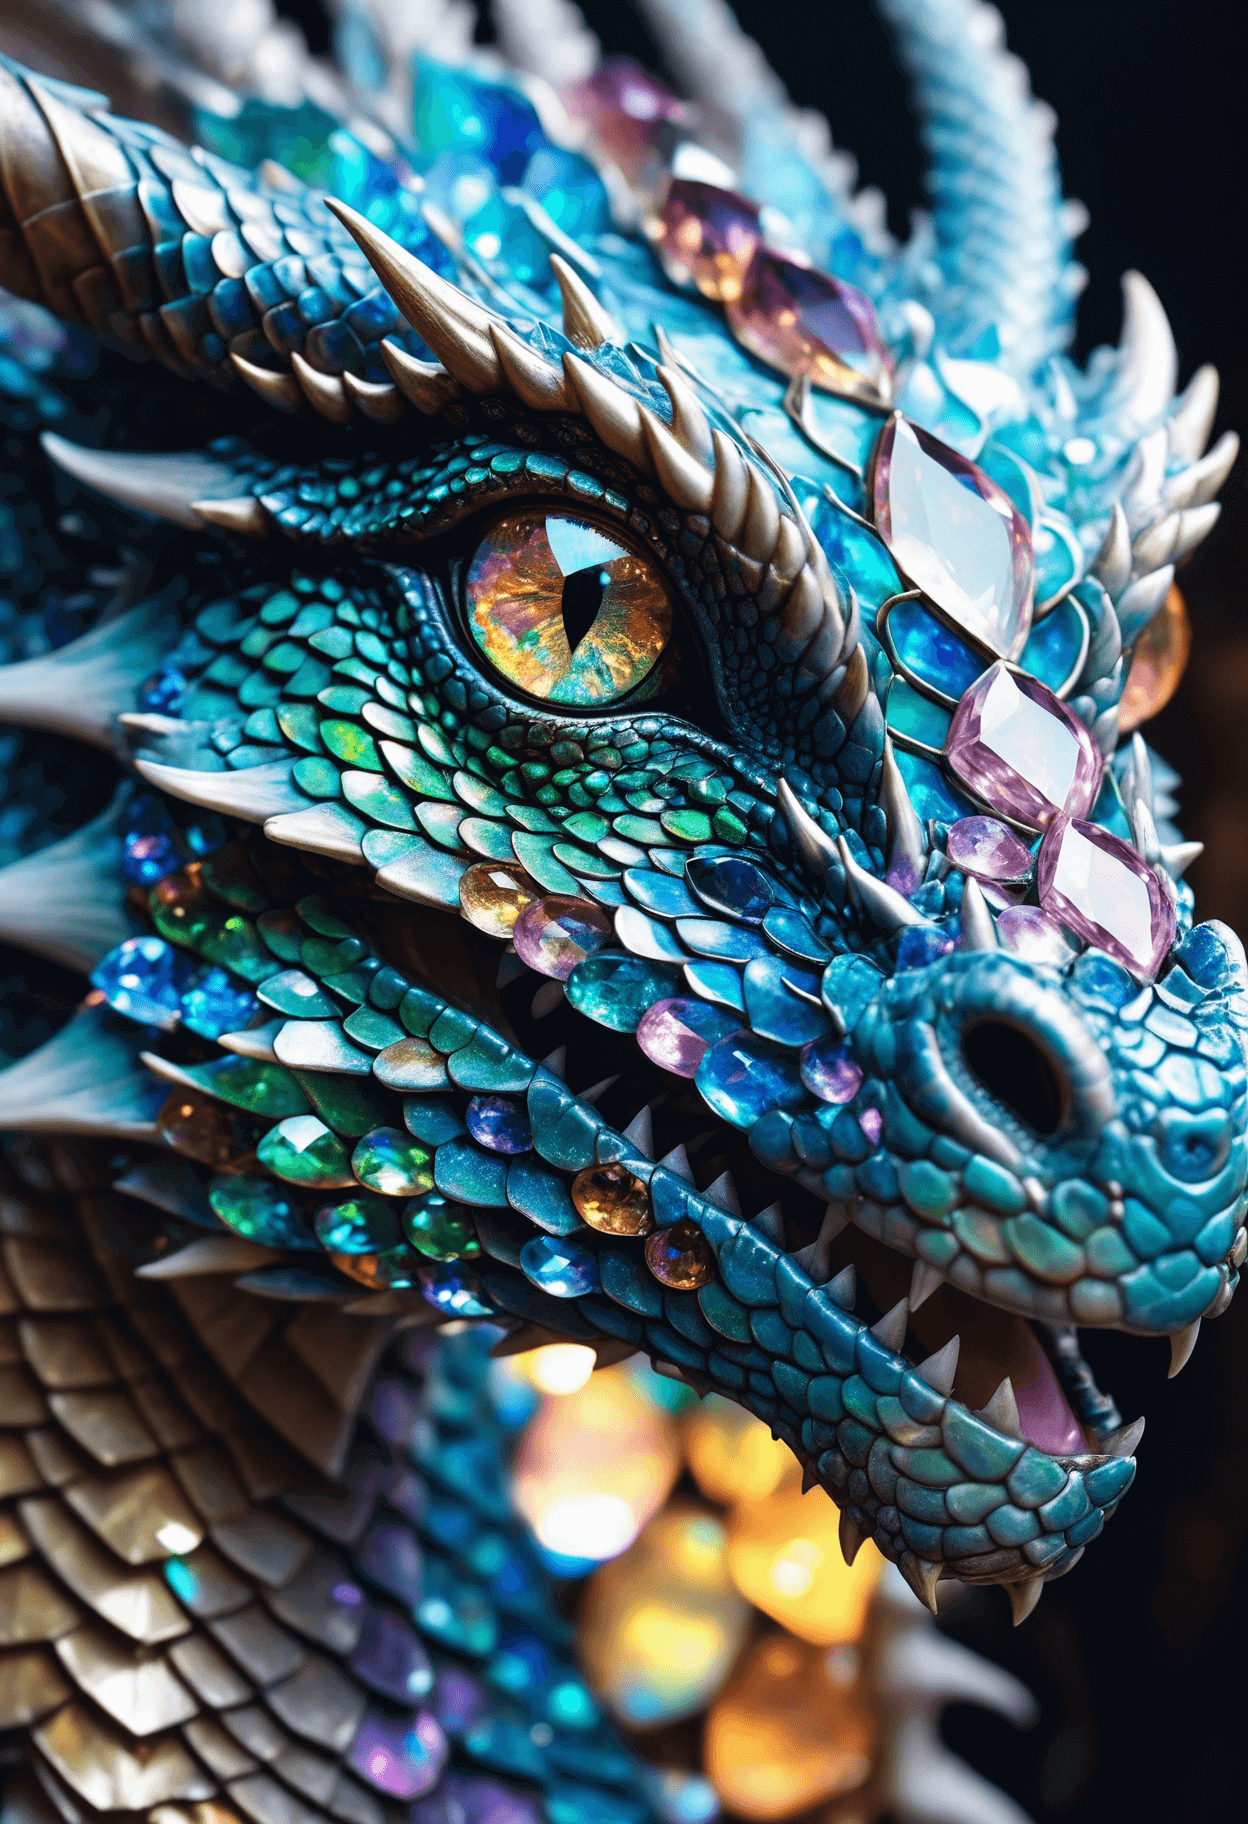
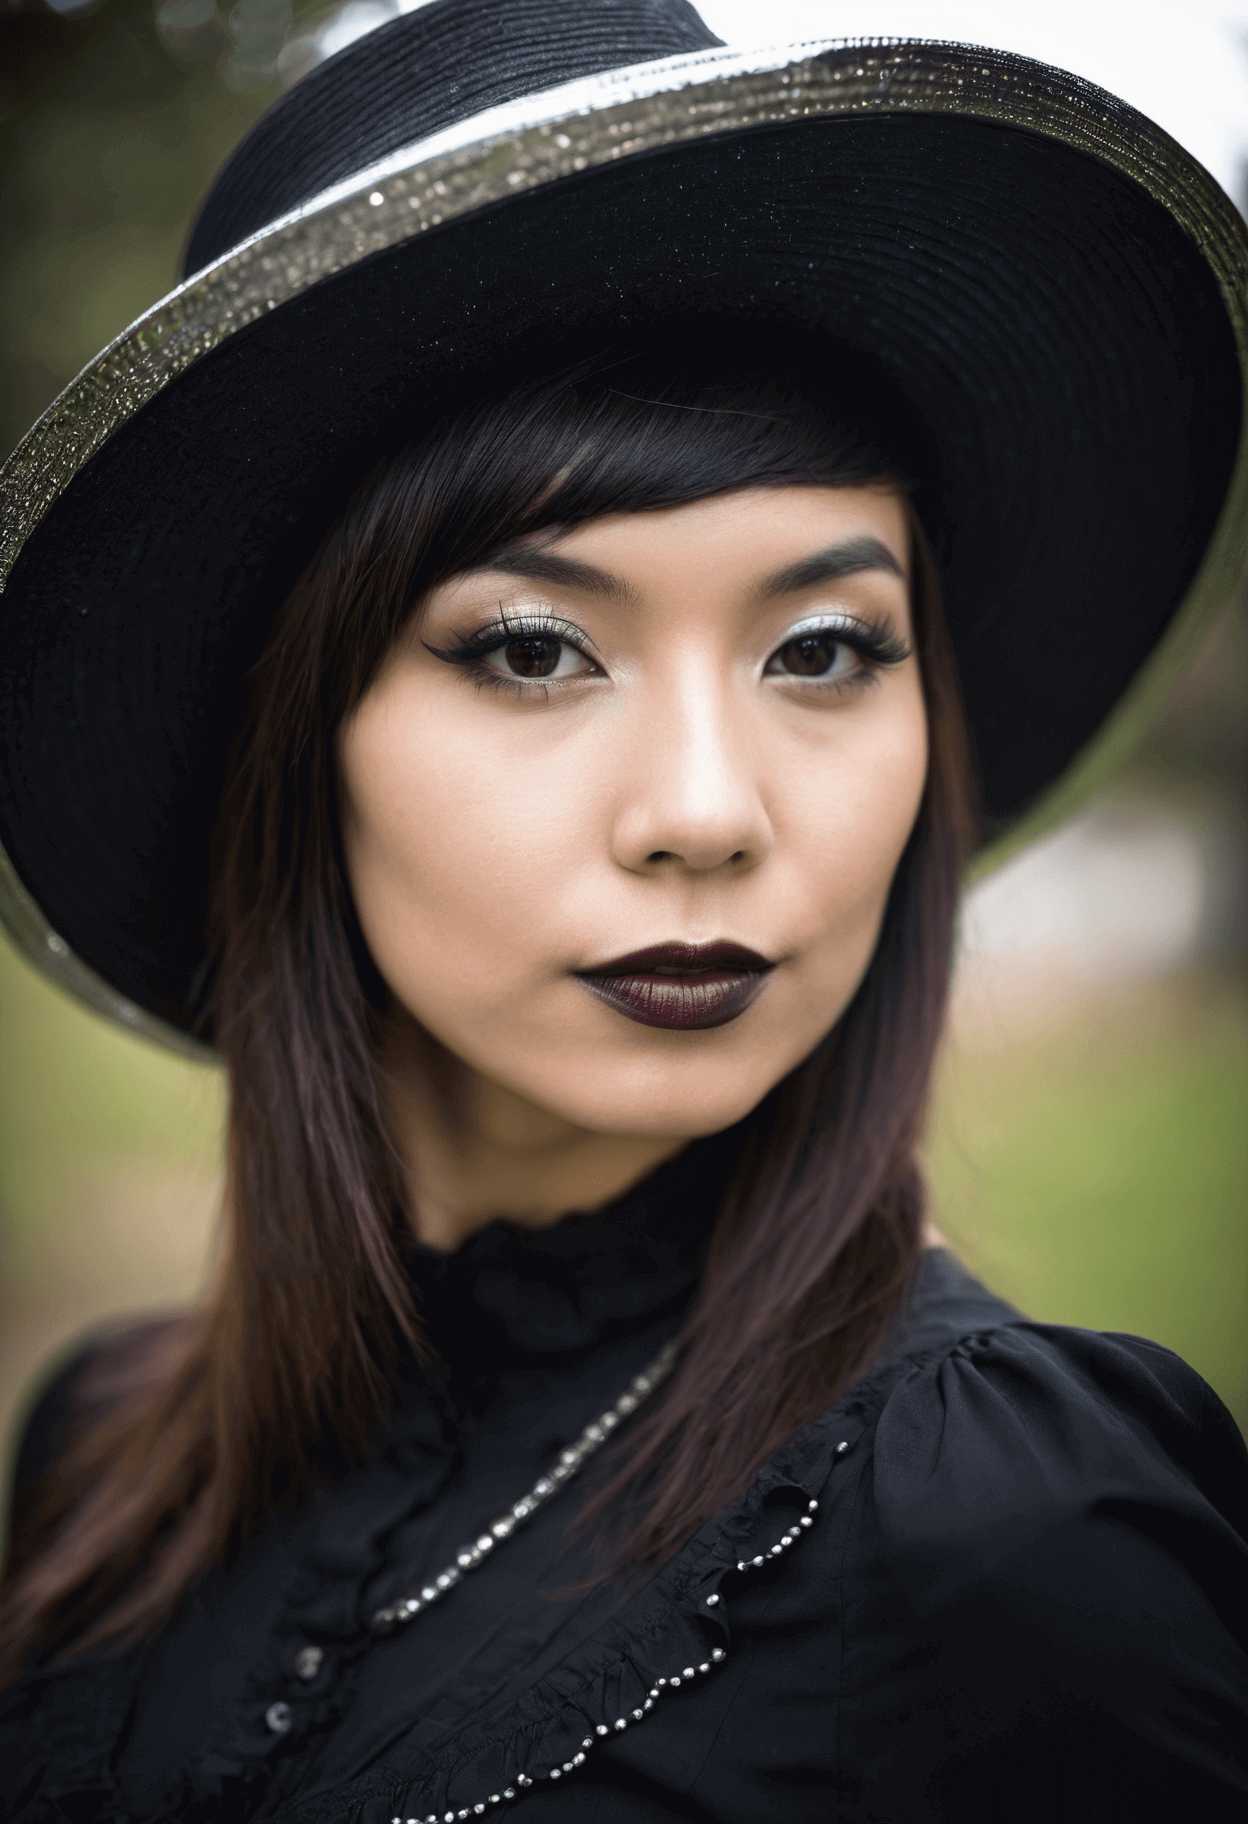
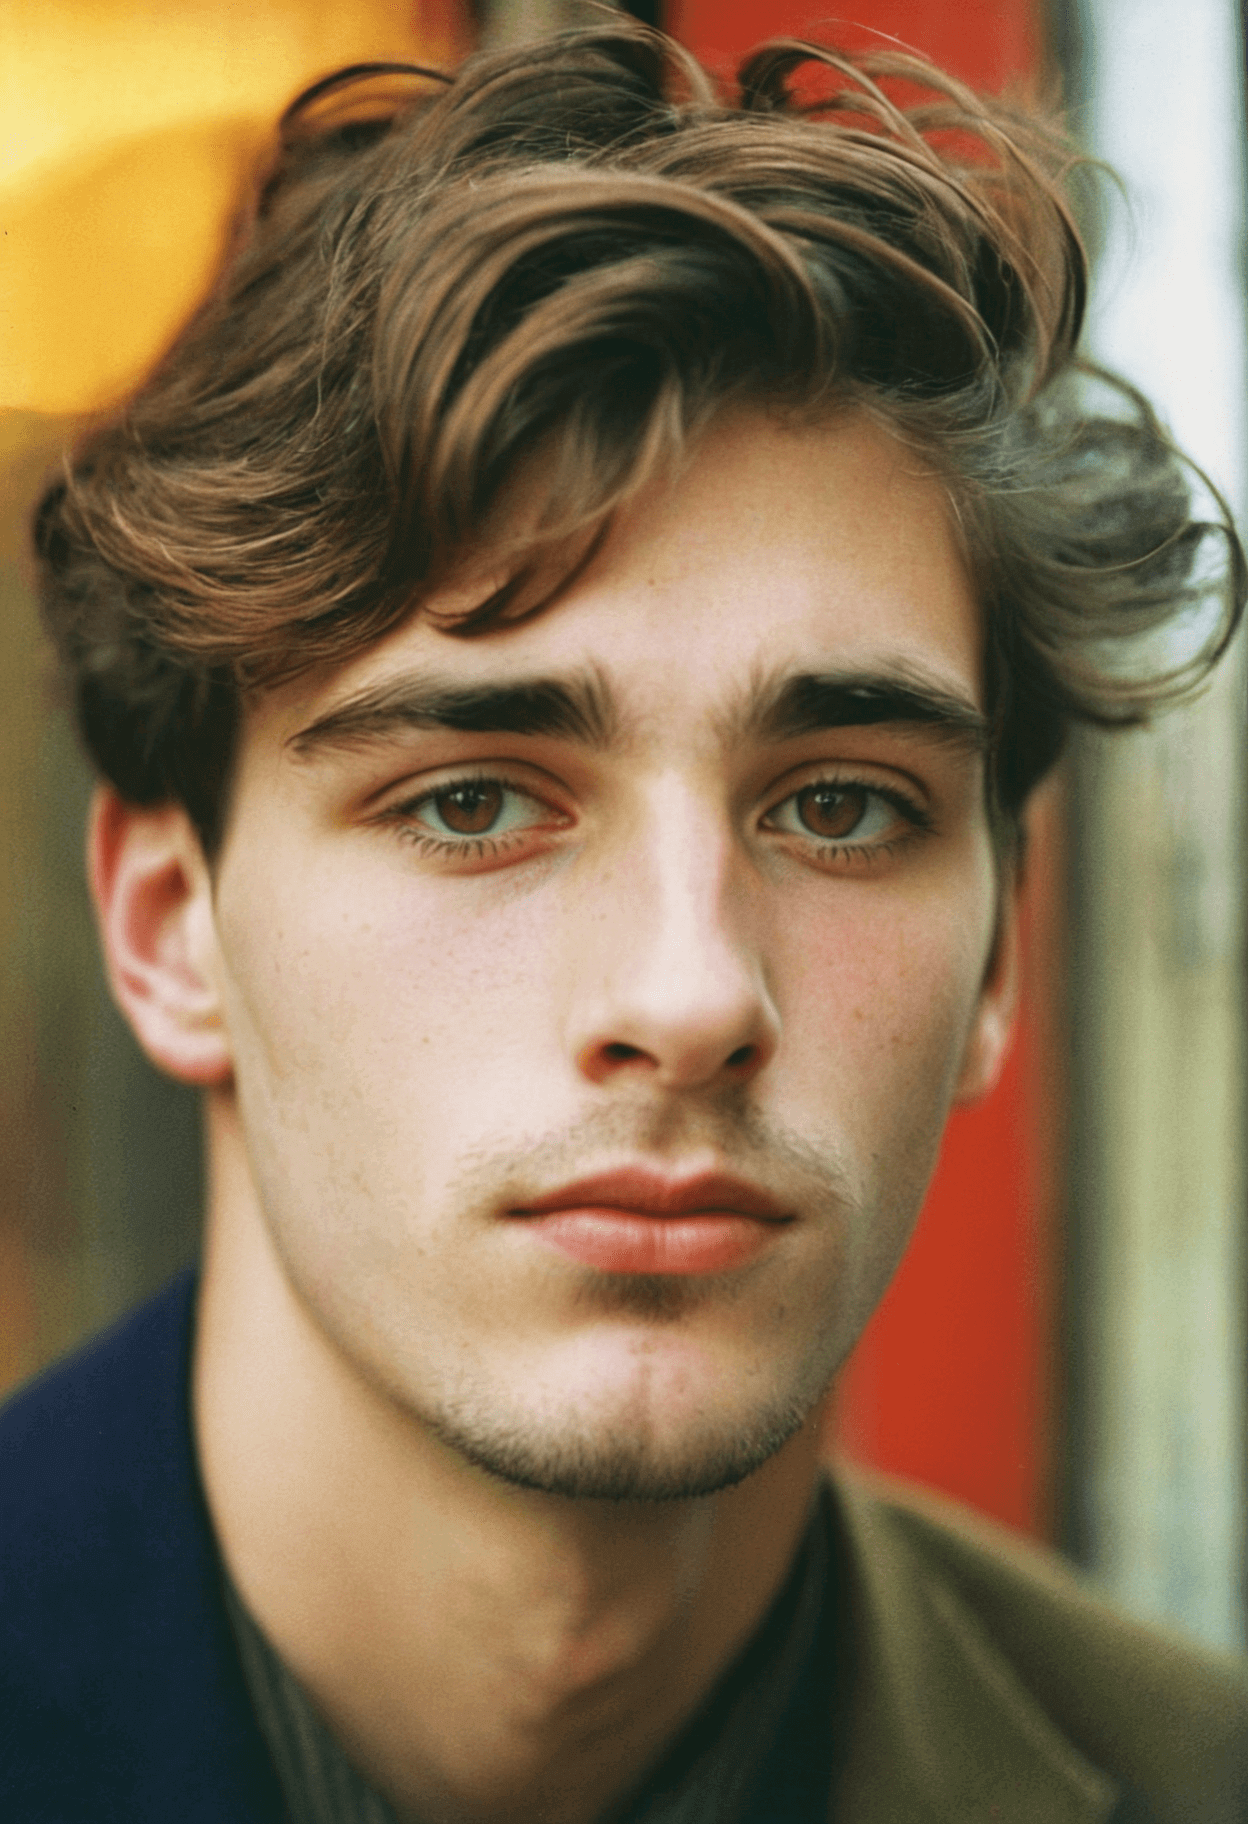
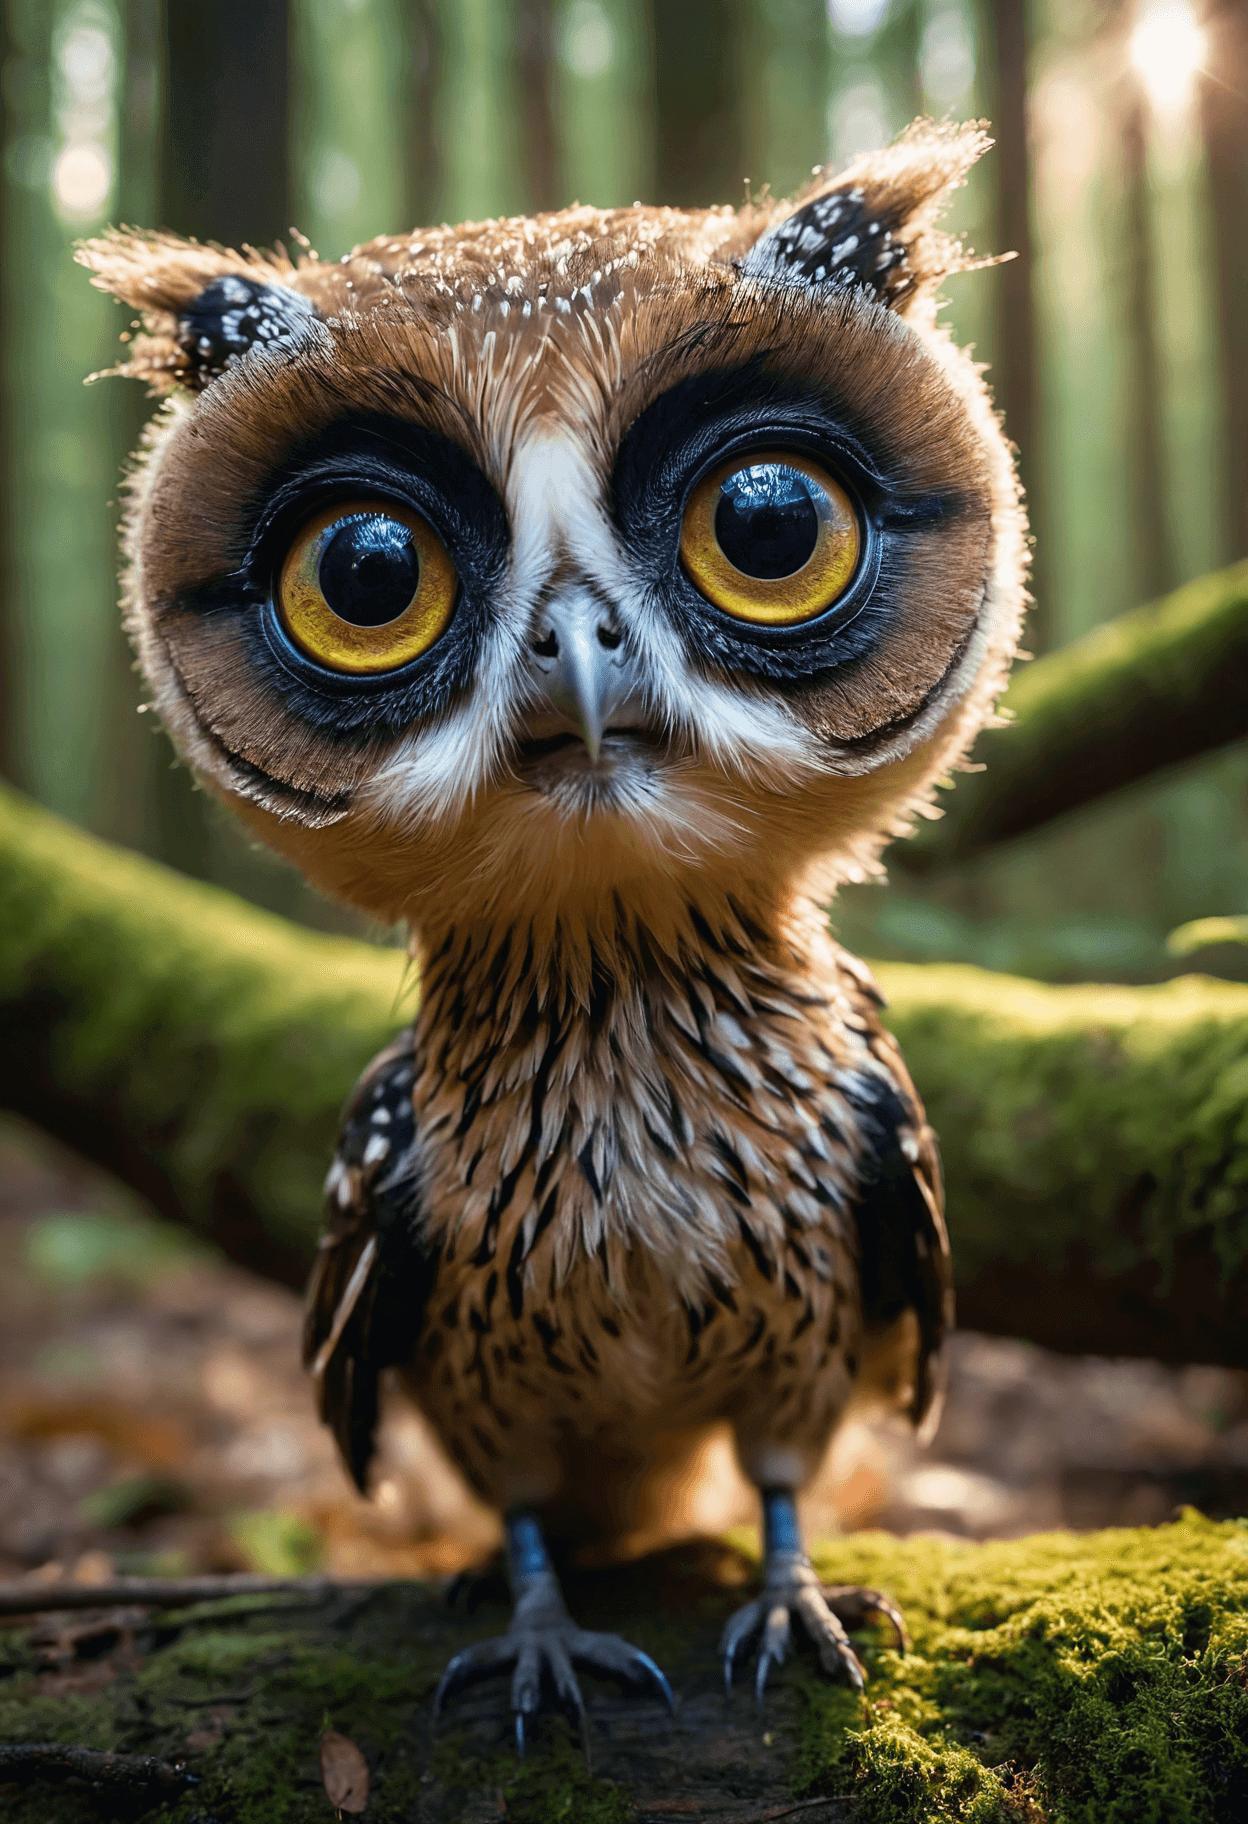
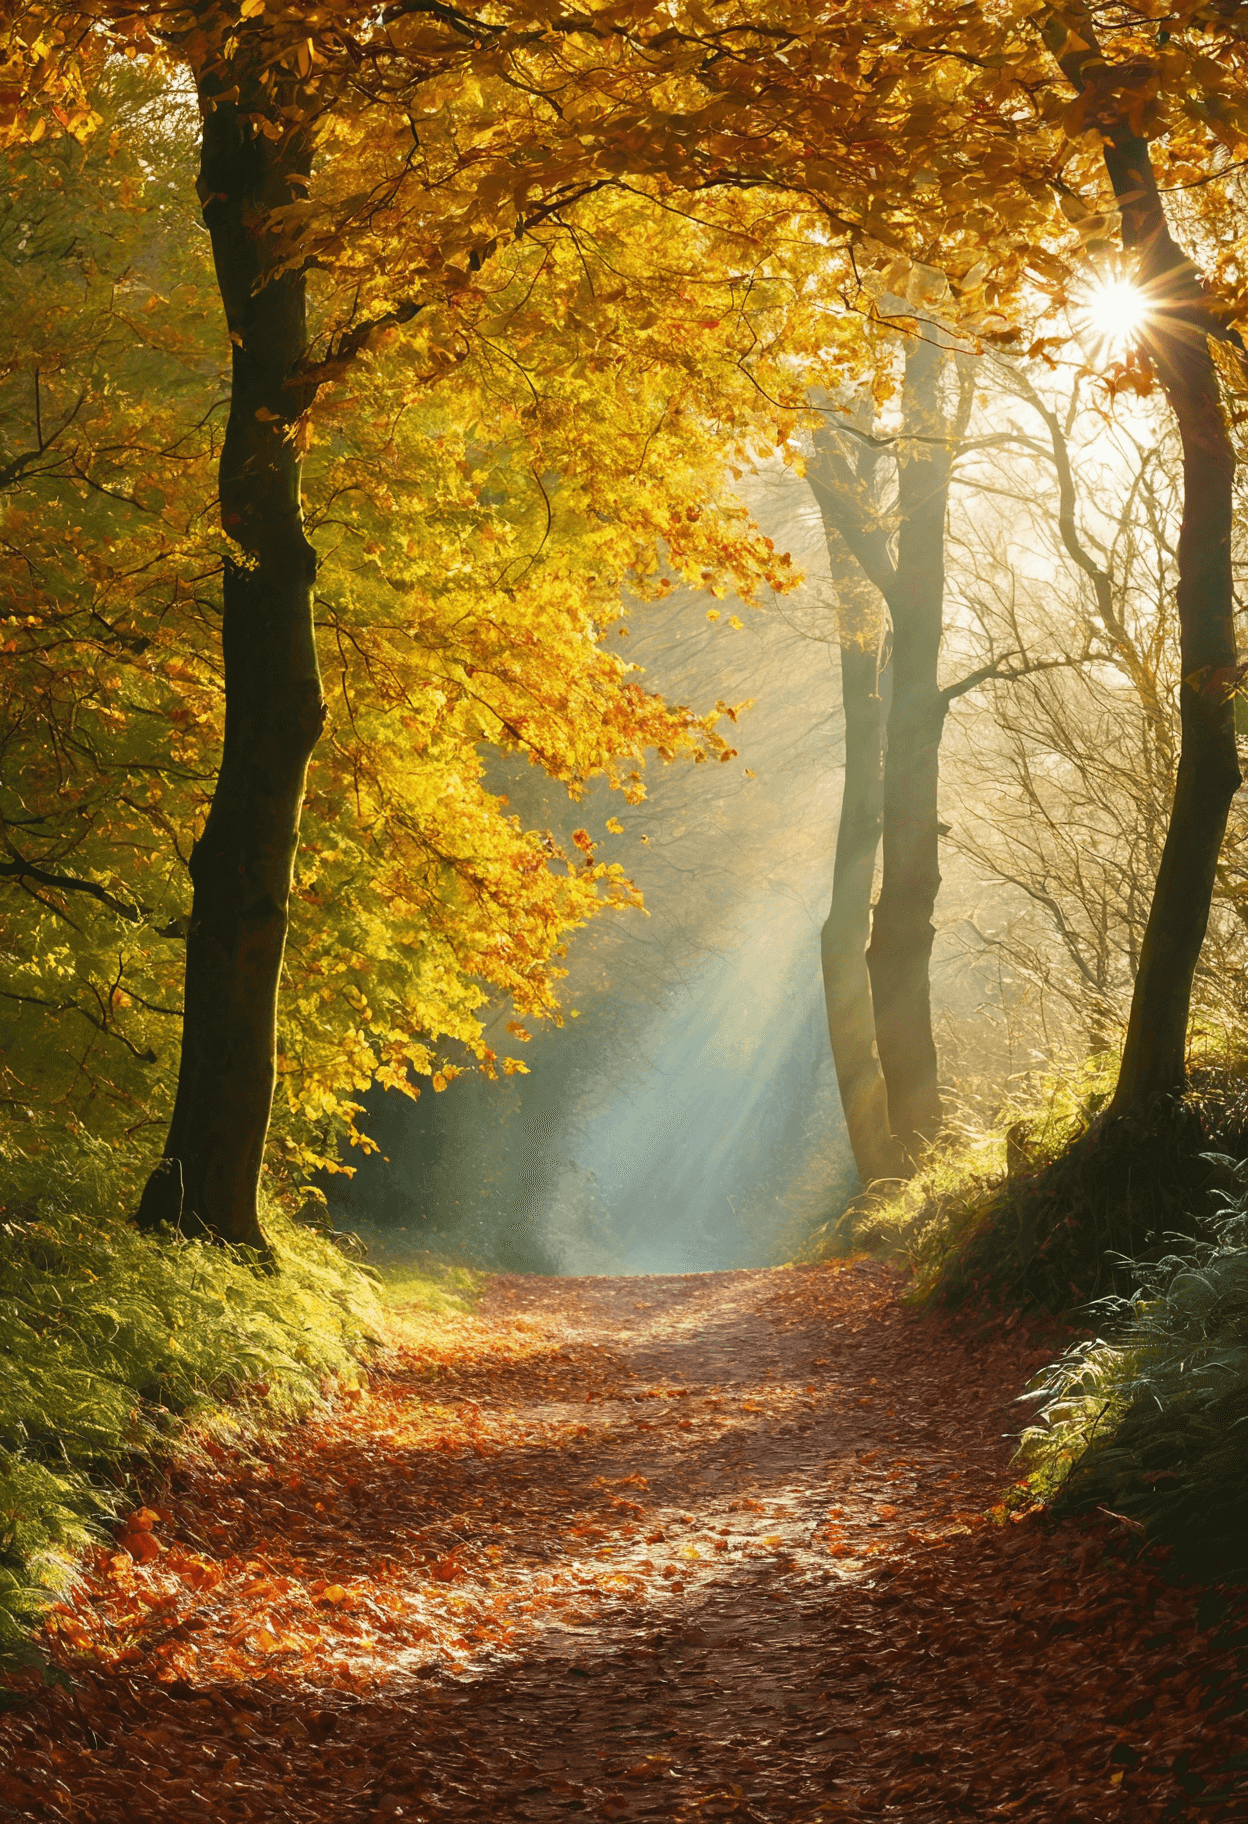
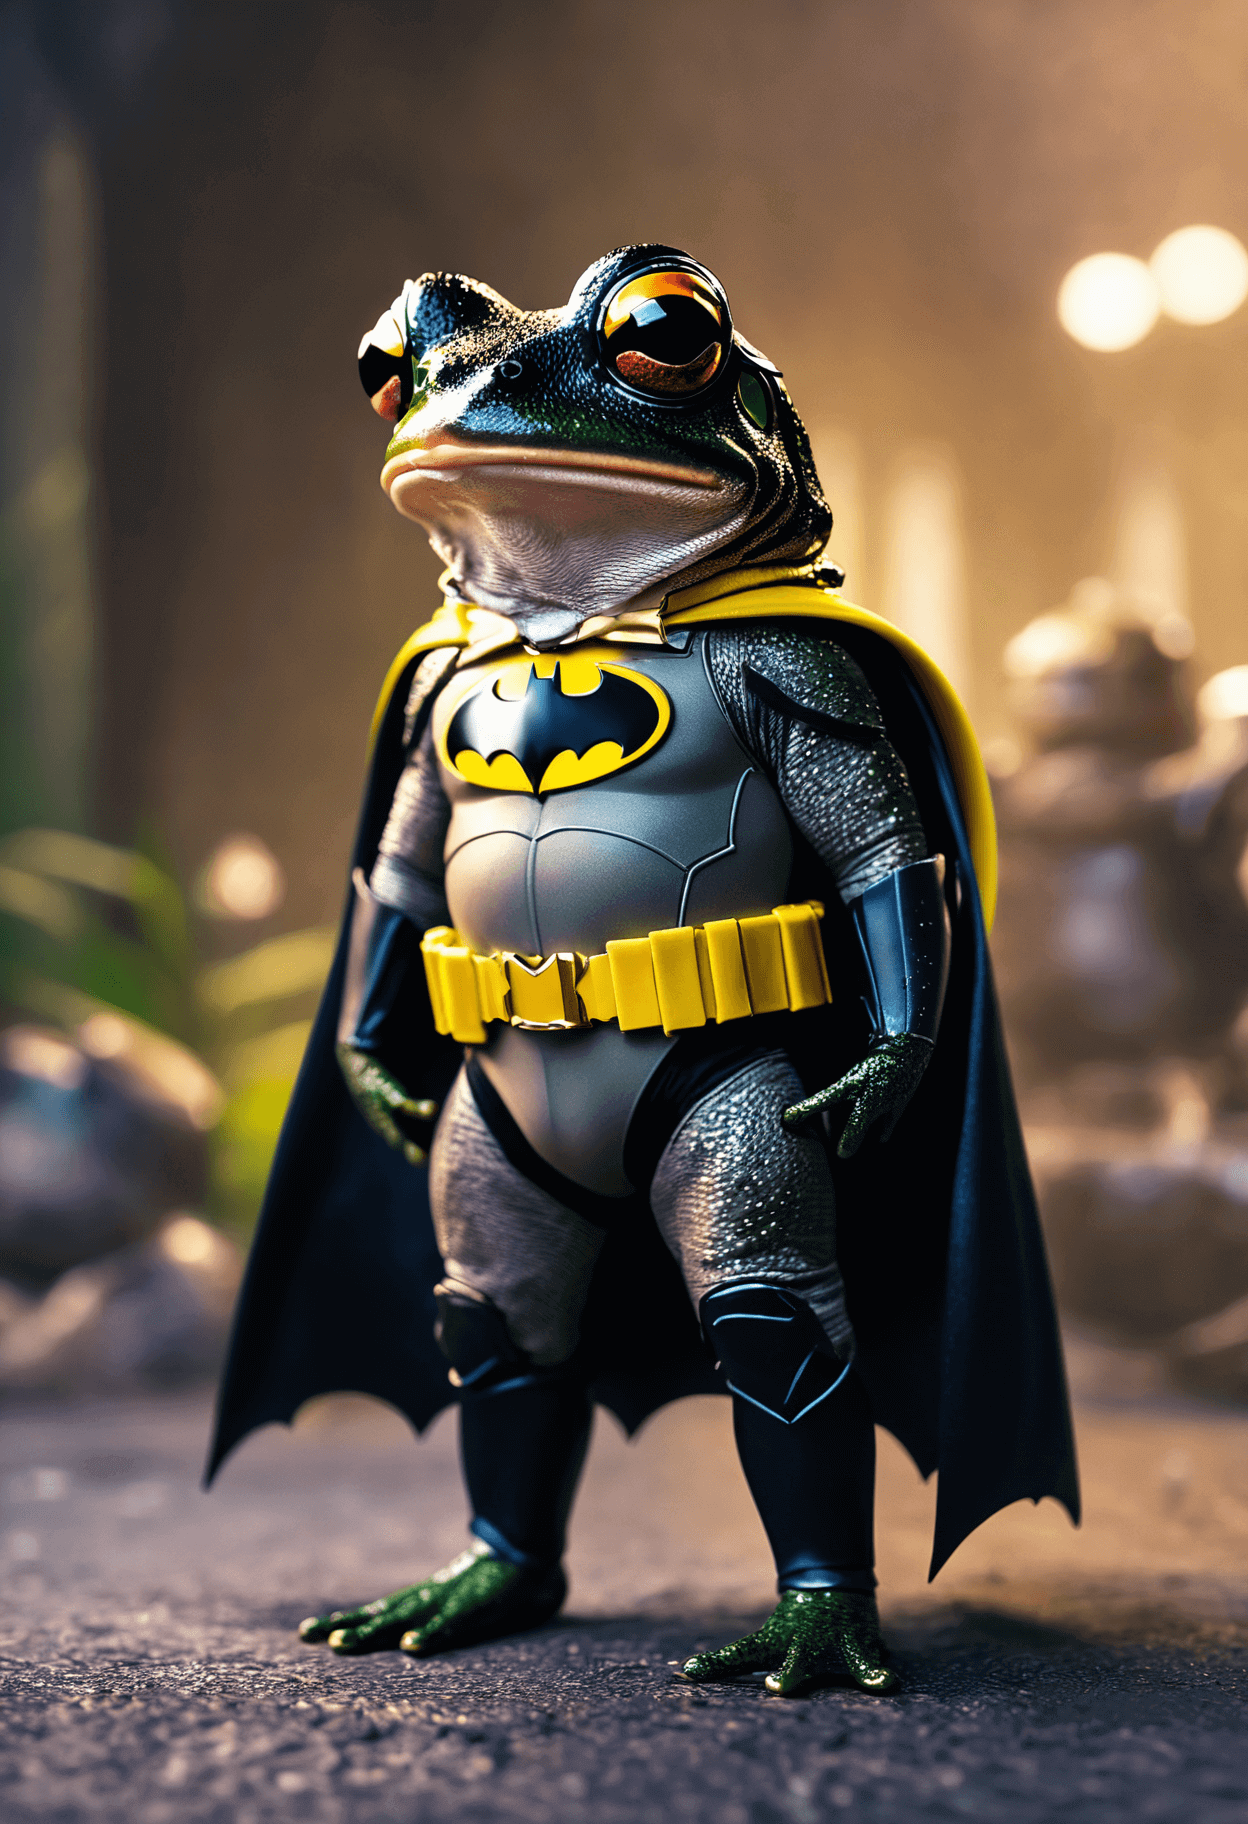
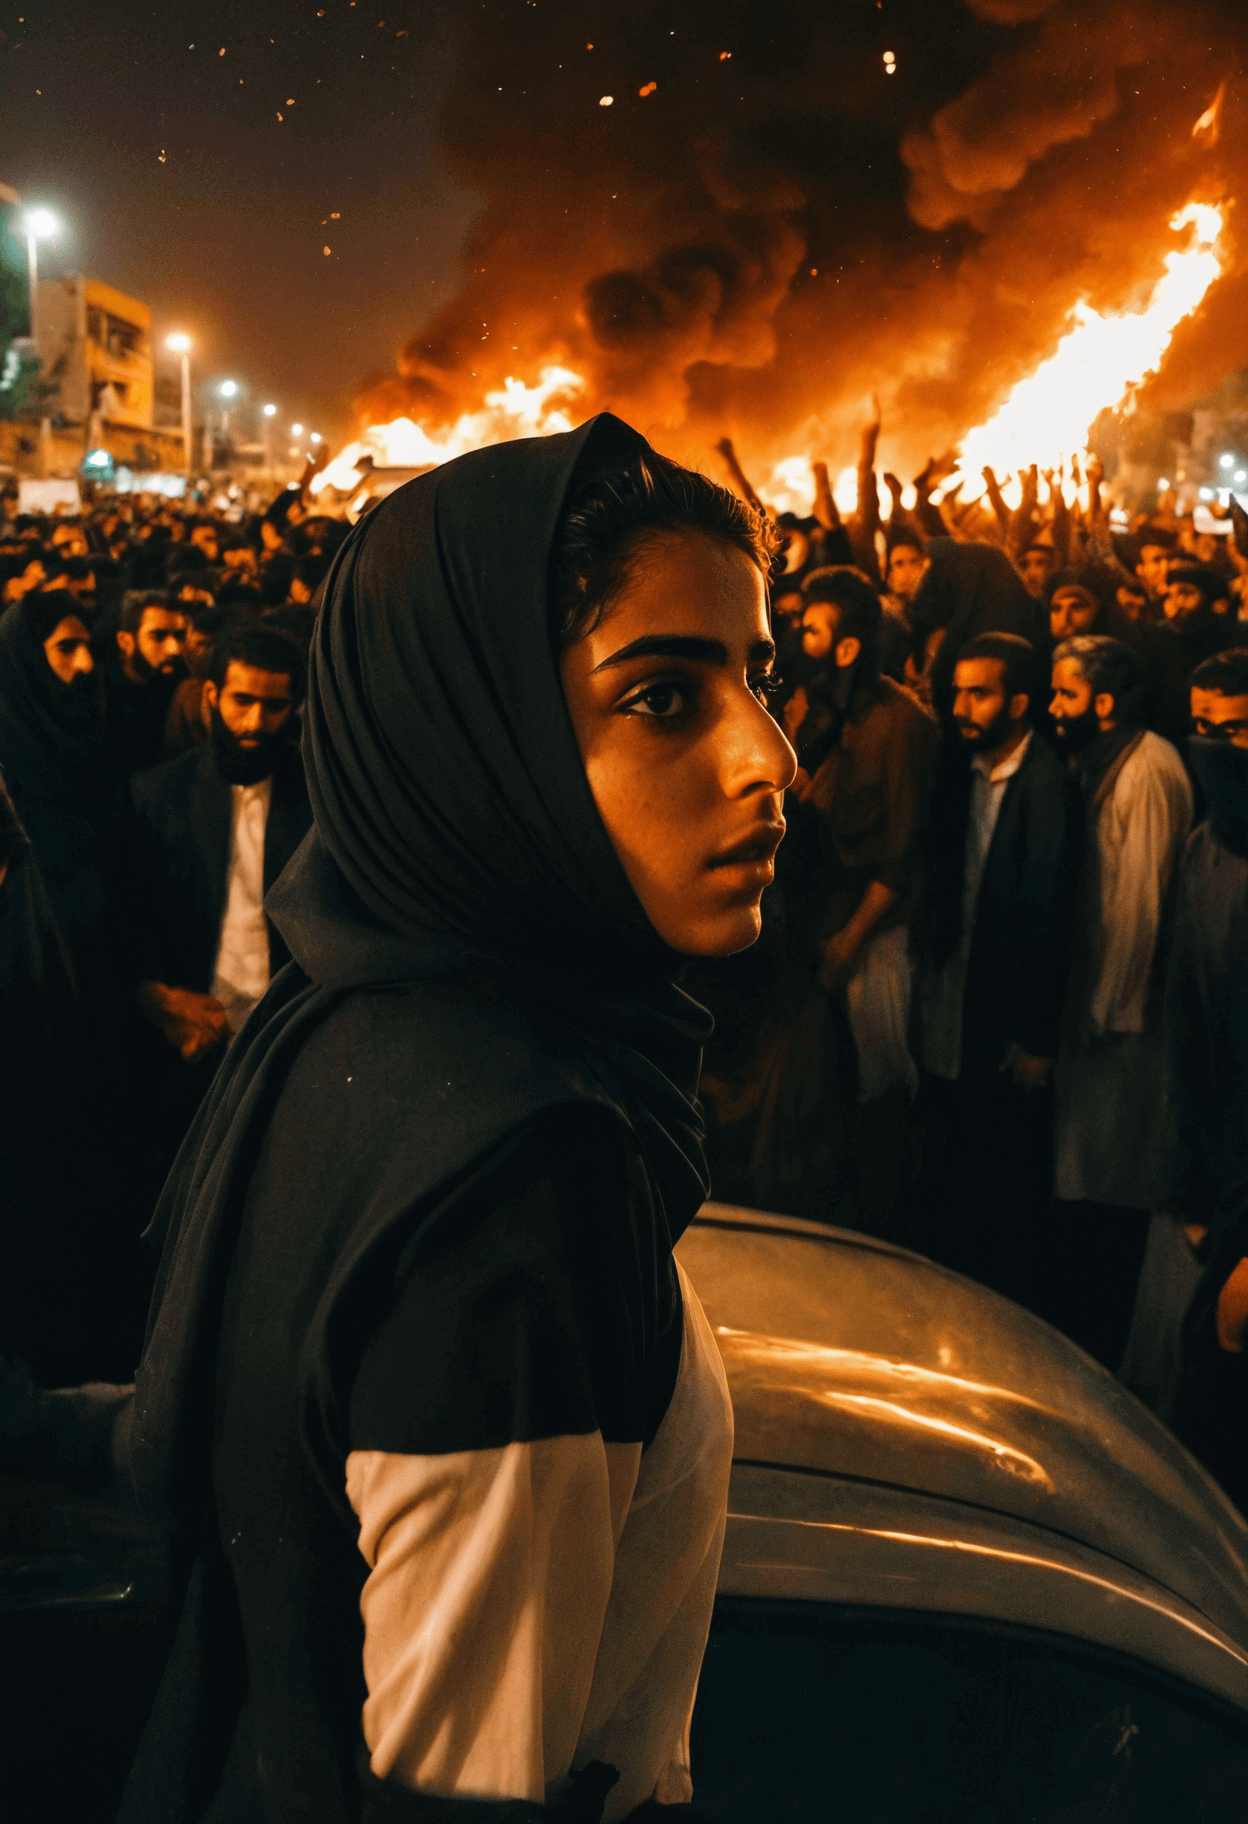
Info
All of the images above are taken from the Juggernaut XL v9 page at CivitAI
Creating the cover image for this post
With the model downloaded, I went to the test prompt page and entered the following as the prompt:
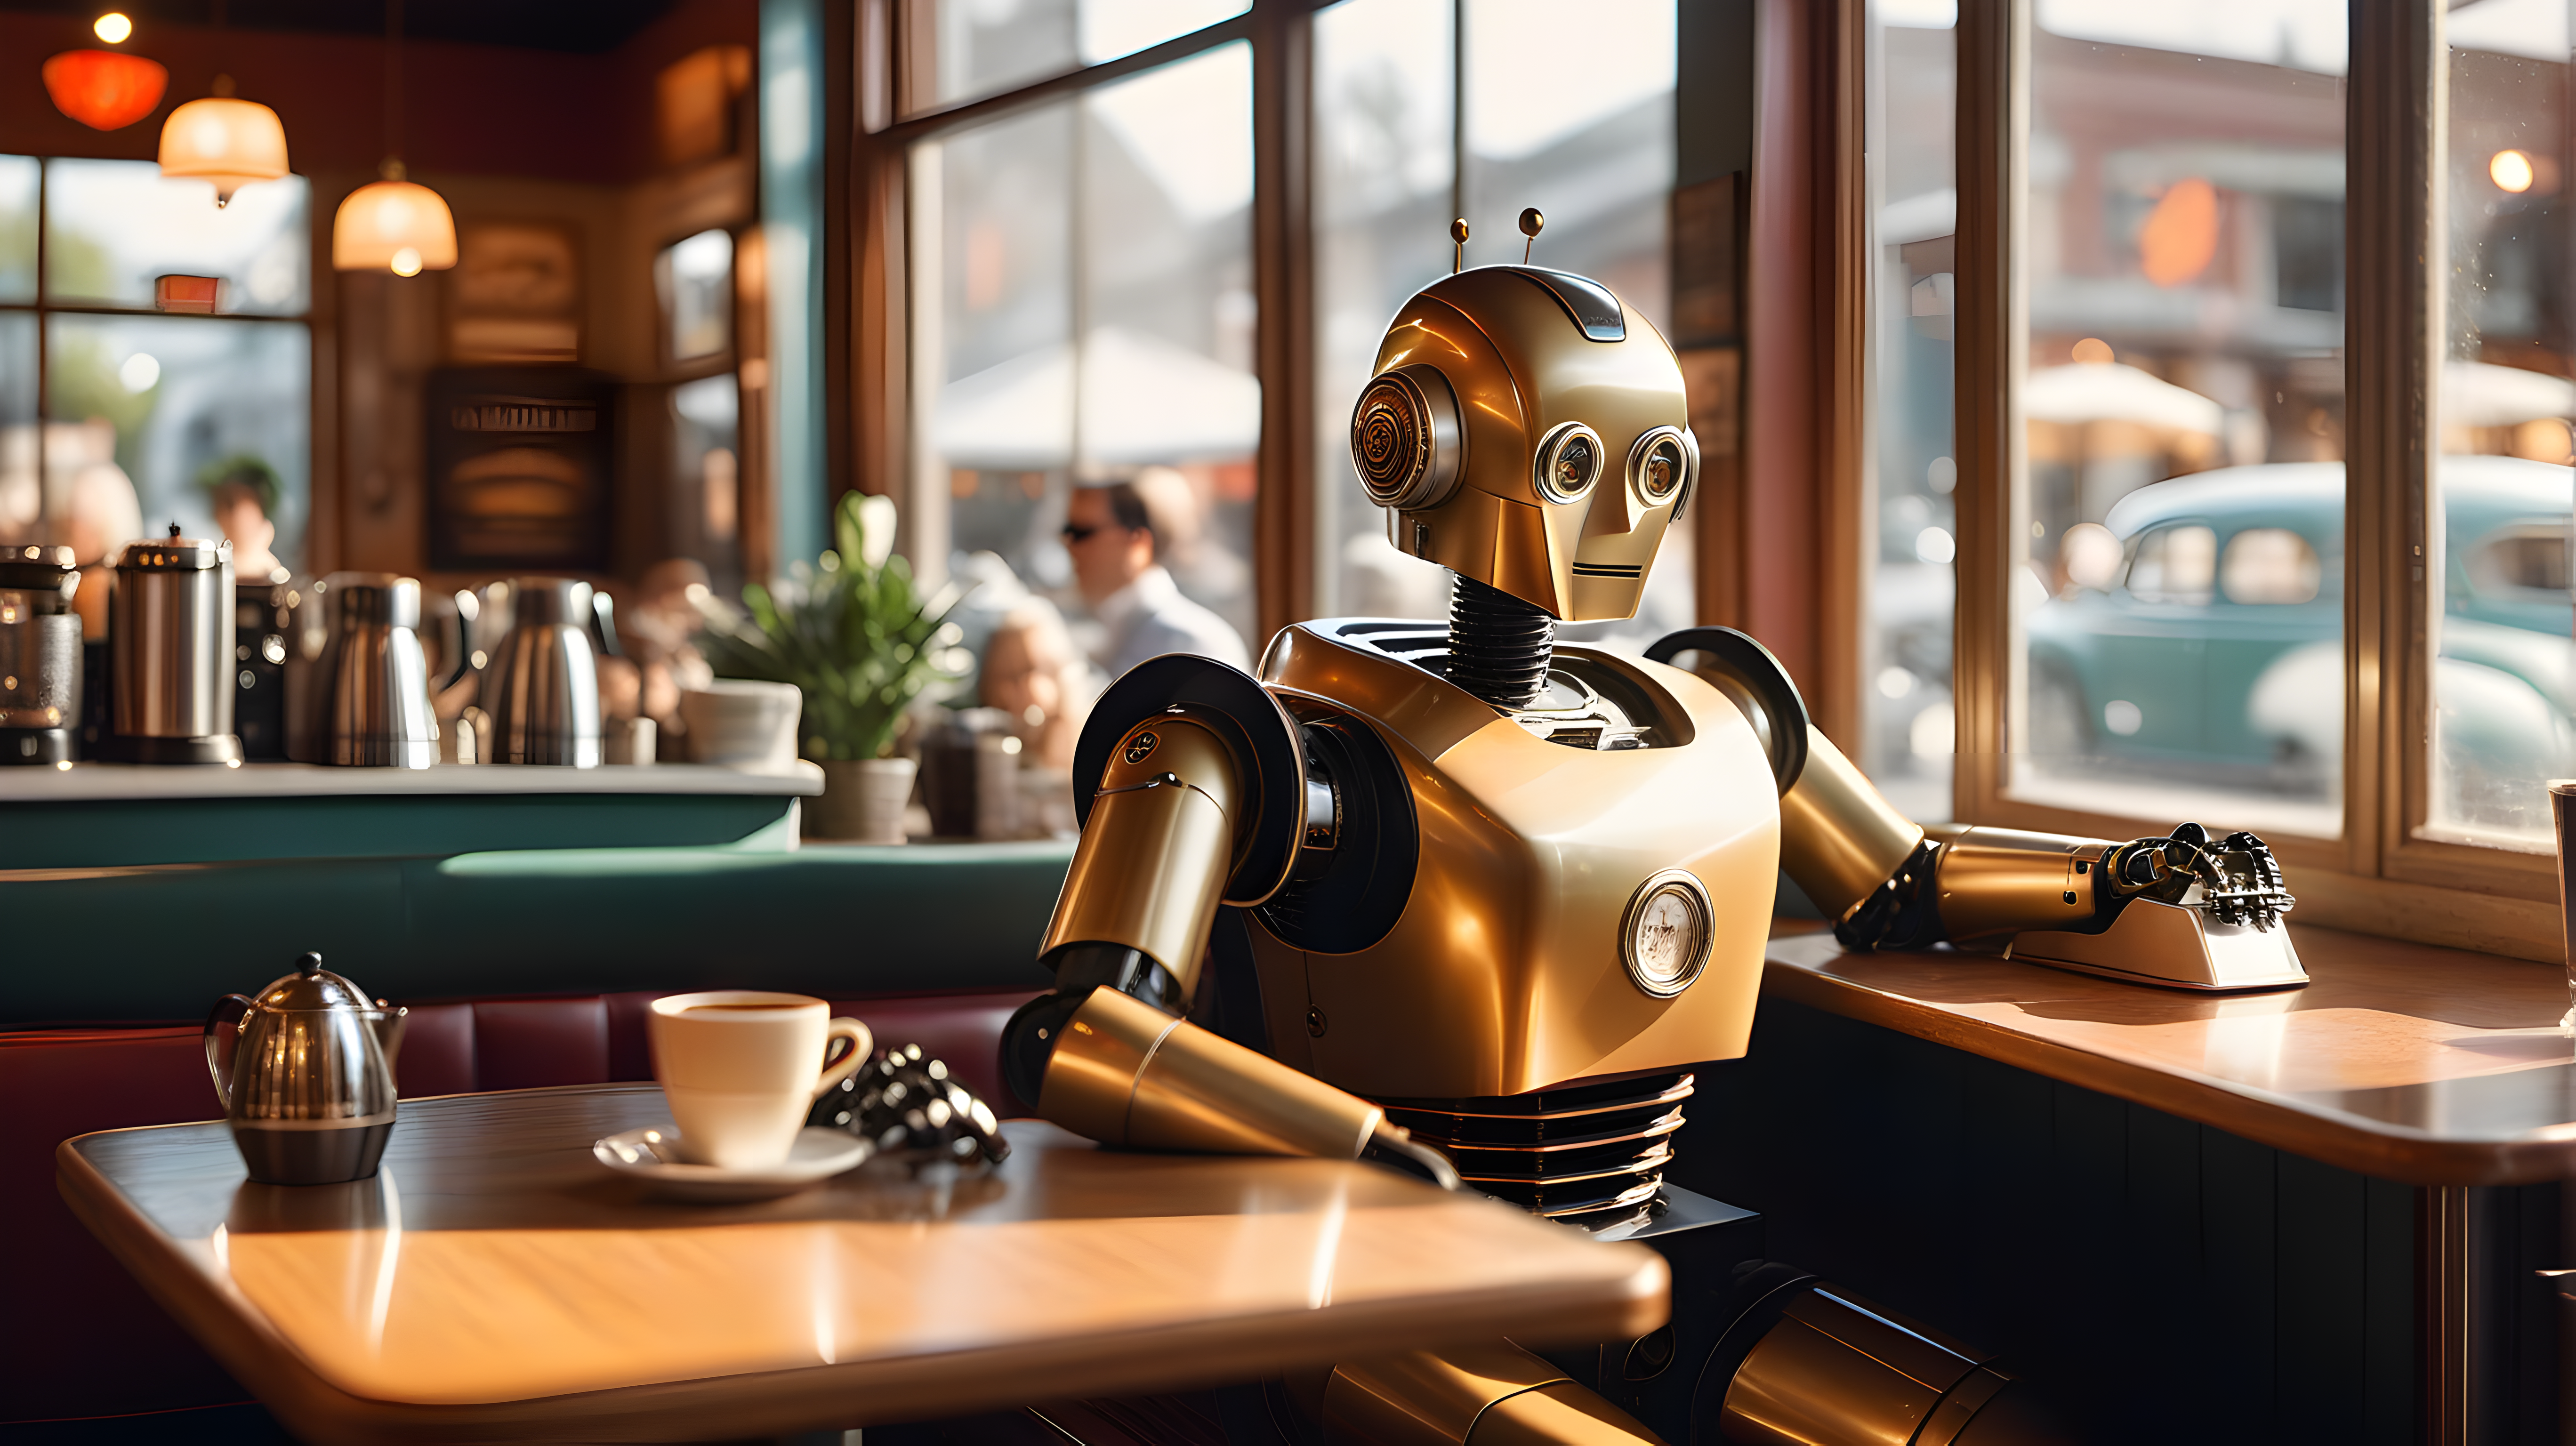
Photo of a 1950s vintage retro robot working intently on his laptop, seated in a bustling coffee shop. The scene captures a realistic setting with natural lighting from the window, reflecting off his detailed, focused expression. Surrounding him are blurred patrons and baristas, adding depth and life to the image, complemented by the ambient coffee shop interior with wooden tables and cozy decor. Natural light, 35mm photograph, film, professional, 4k, highly detailed, Golden hour lighting, Depth of field F2, Rule of Thirds Composition.
I also entered this as the negative prompt:
malformed, extra limbs, poorly drawn anatomy, badly drawn, extra legs, low resolution, blurry, Watermark, Text, censored, deformed, bad anatomy, disfigured, poorly drawn face, mutated, extra limb, ugly, poorly drawn hands, missing limb, floating limbs, disconnected limbs, disconnected head, malformed hands, long neck, mutated hands and fingers, bad hands, missing fingers, cropped, worst quality, low quality, mutation, poorly drawn, huge calf, bad hands, fused hand, missing hand, disappearing arms, disappearing thigh, disappearing calf, disappearing legs, missing fingers, fused fingers, abnormal eye proportion, Abnormal hands, abnormal legs, abnormal feet, abnormal fingers, drawing, painting, crayon, sketch, graphite, impressionist, noisy, blurry, soft, deformed, ugly.
Then I clicked the button to generate the image:
After a few minutes, and after clicking the upscale button I was left with this:
It wasn’t exactly what I asked for - but as a first effort, not a bad result - you can find the upscaled version here.
Trying again
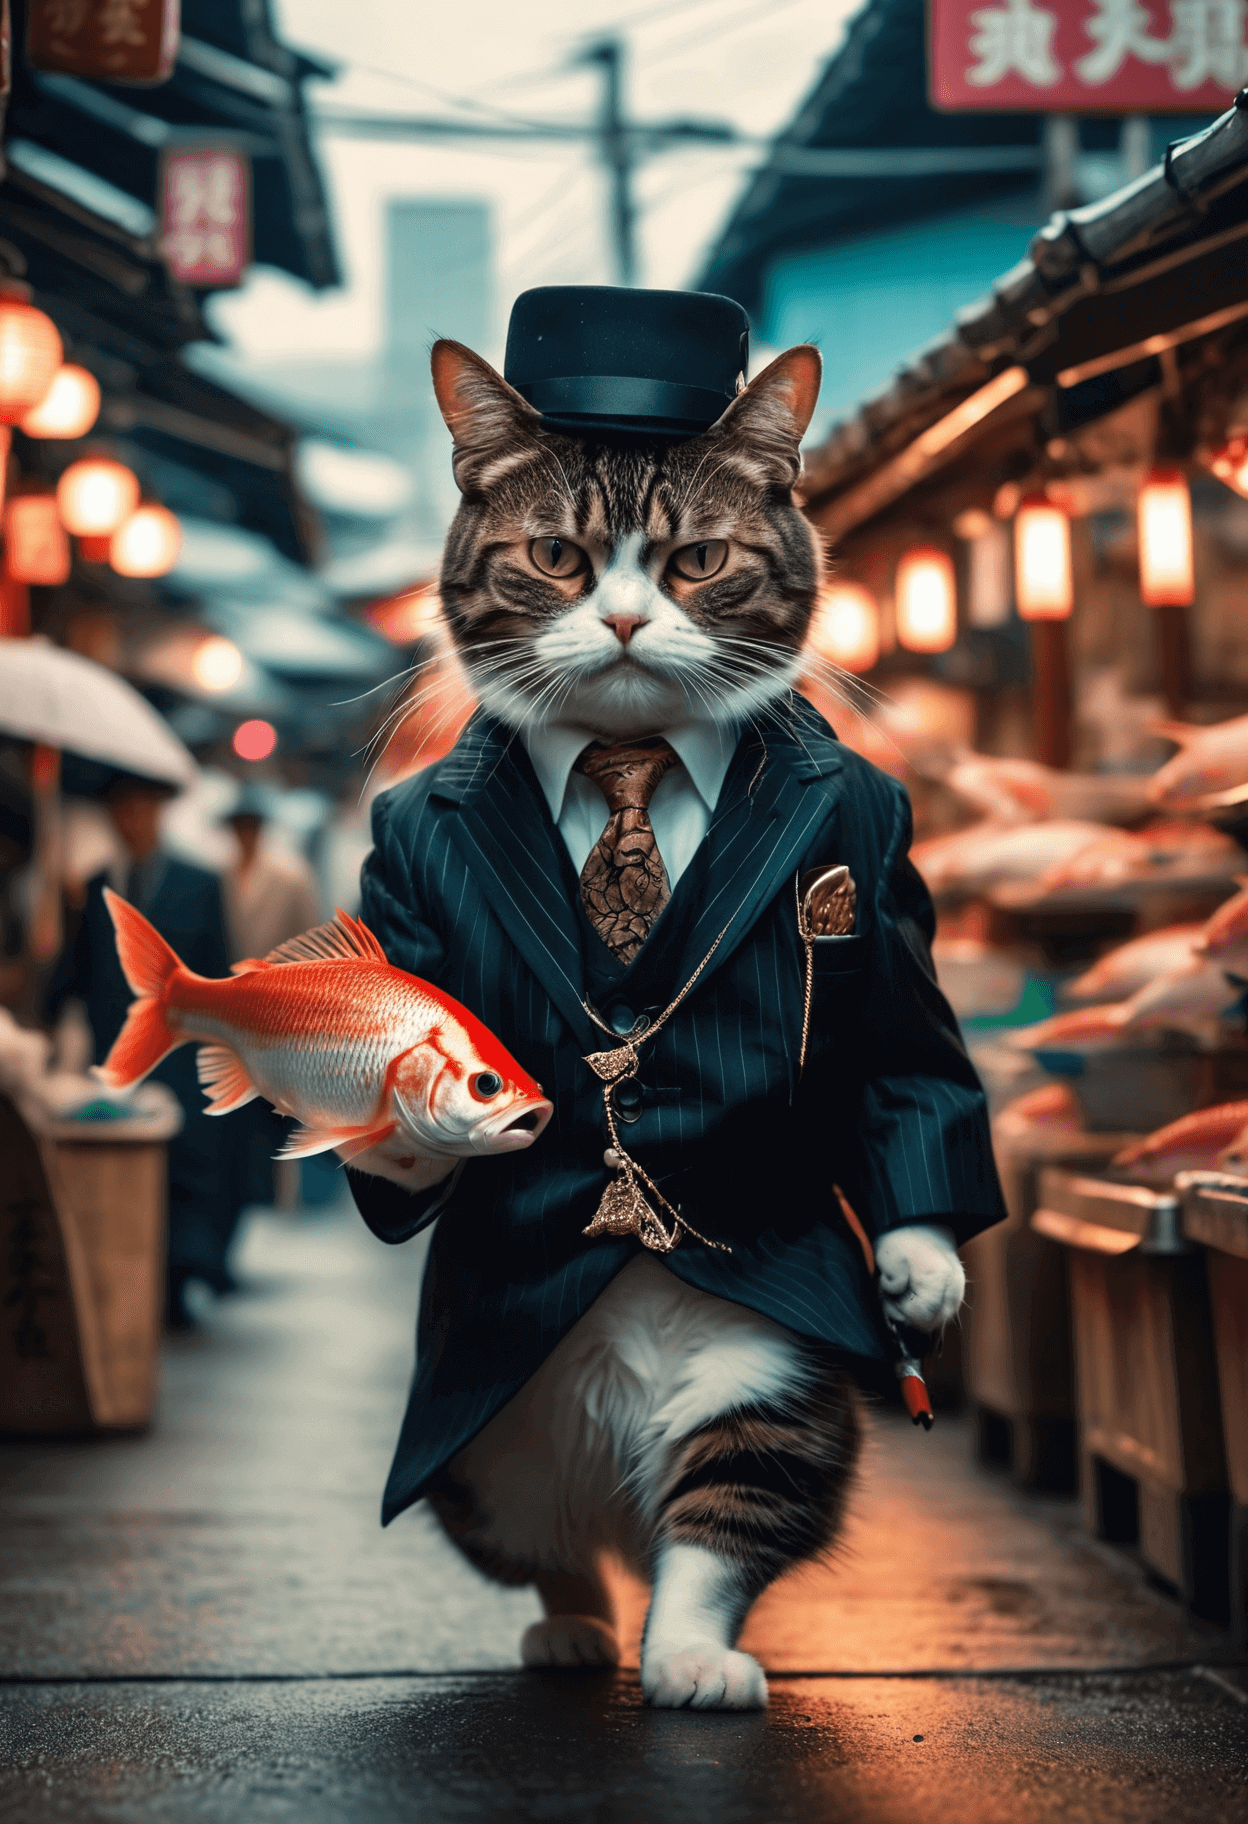
Let’s take the prompts and settings from one of the examples and run that through our own local copy of the model:
A hyperdetailed photograph of a Cat dressed as a mafia boss holding a fish walking down a Japanese fish market with an angry face, 8k resolution, best quality, beautiful photograph, dynamic lighting,
With a negative prompt of:
(worst quality, low quality, normal quality, lowres, low details, oversaturated, undersaturated, overexposed, underexposed, grayscale, bw, bad photo, bad photography, bad art:1.4), (watermark, signature, text font, username, error, logo, words, letters, digits, autograph, trademark, name:1.2), (blur, blurry, grainy), morbid, ugly, asymmetrical, mutated malformed, mutilated, poorly lit, bad shadow, draft, cropped, out of frame, cut off, censored, jpeg artifacts, out of focus, glitch, duplicate, (airbrushed, cartoon, anime, semi-realistic, cgi, render, blender, digital art, manga, amateur:1.3), (3D ,3D Game, 3D Game Scene, 3D Character:1.1), (bad hands, bad anatomy, bad body, bad face, bad teeth, bad arms, bad legs, deformities:1.3
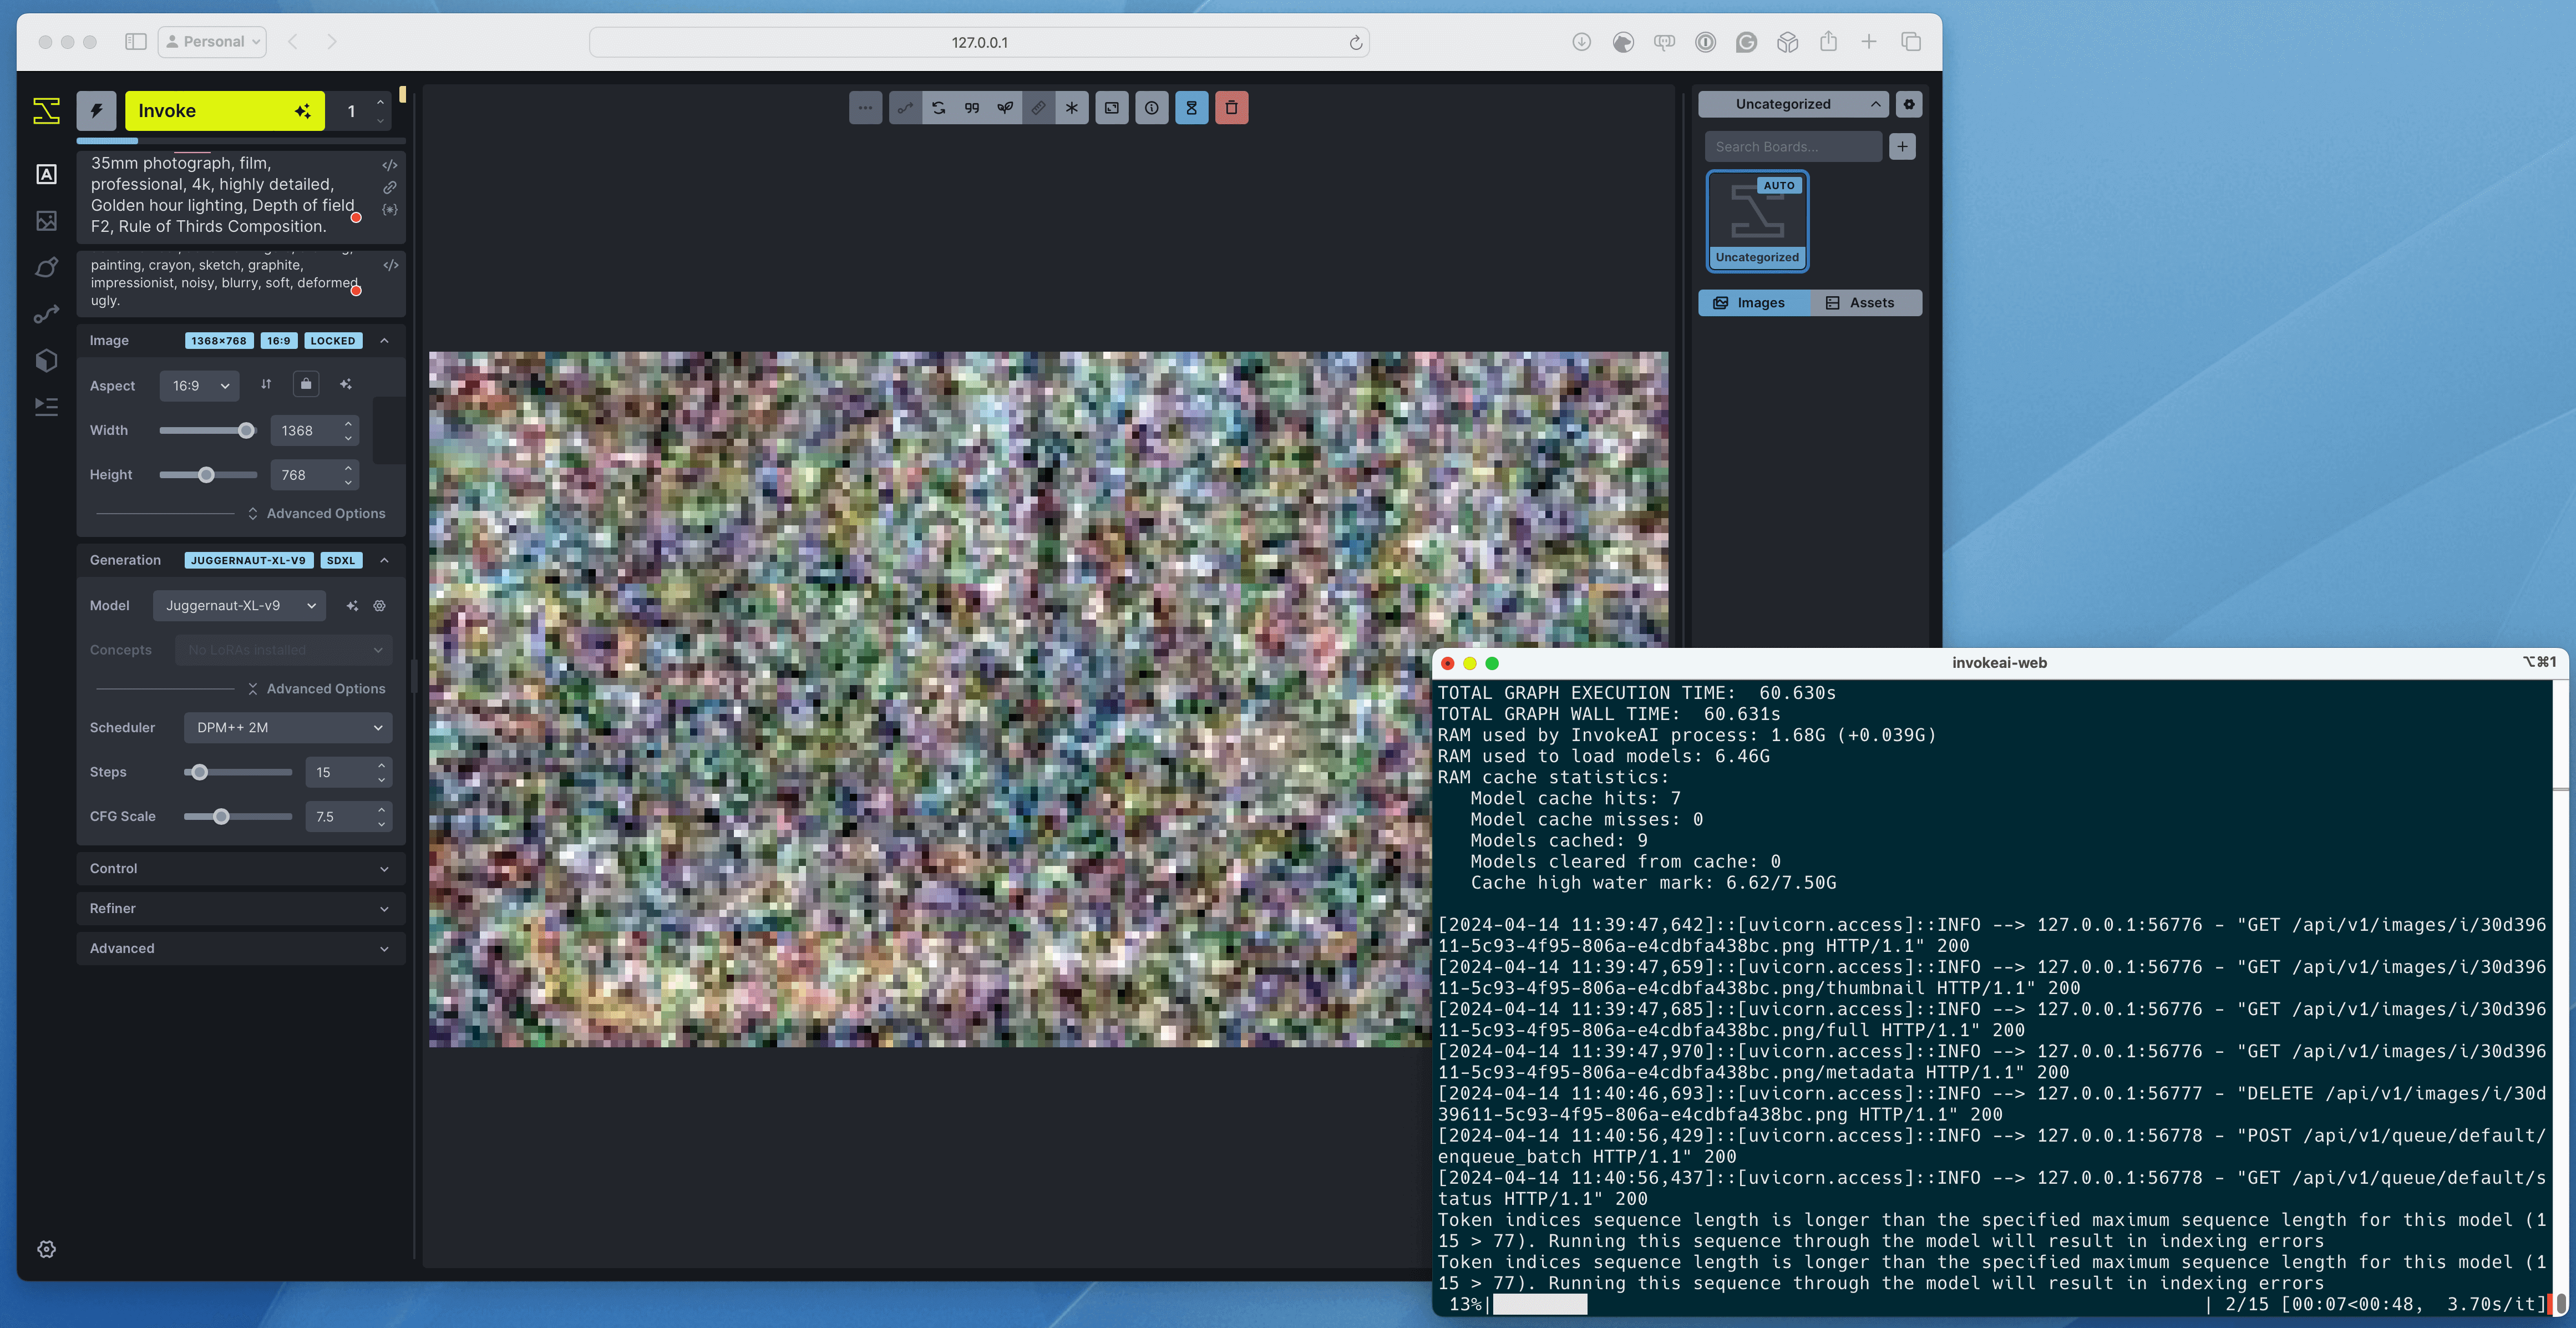
Clicking on the Invoke button gives …
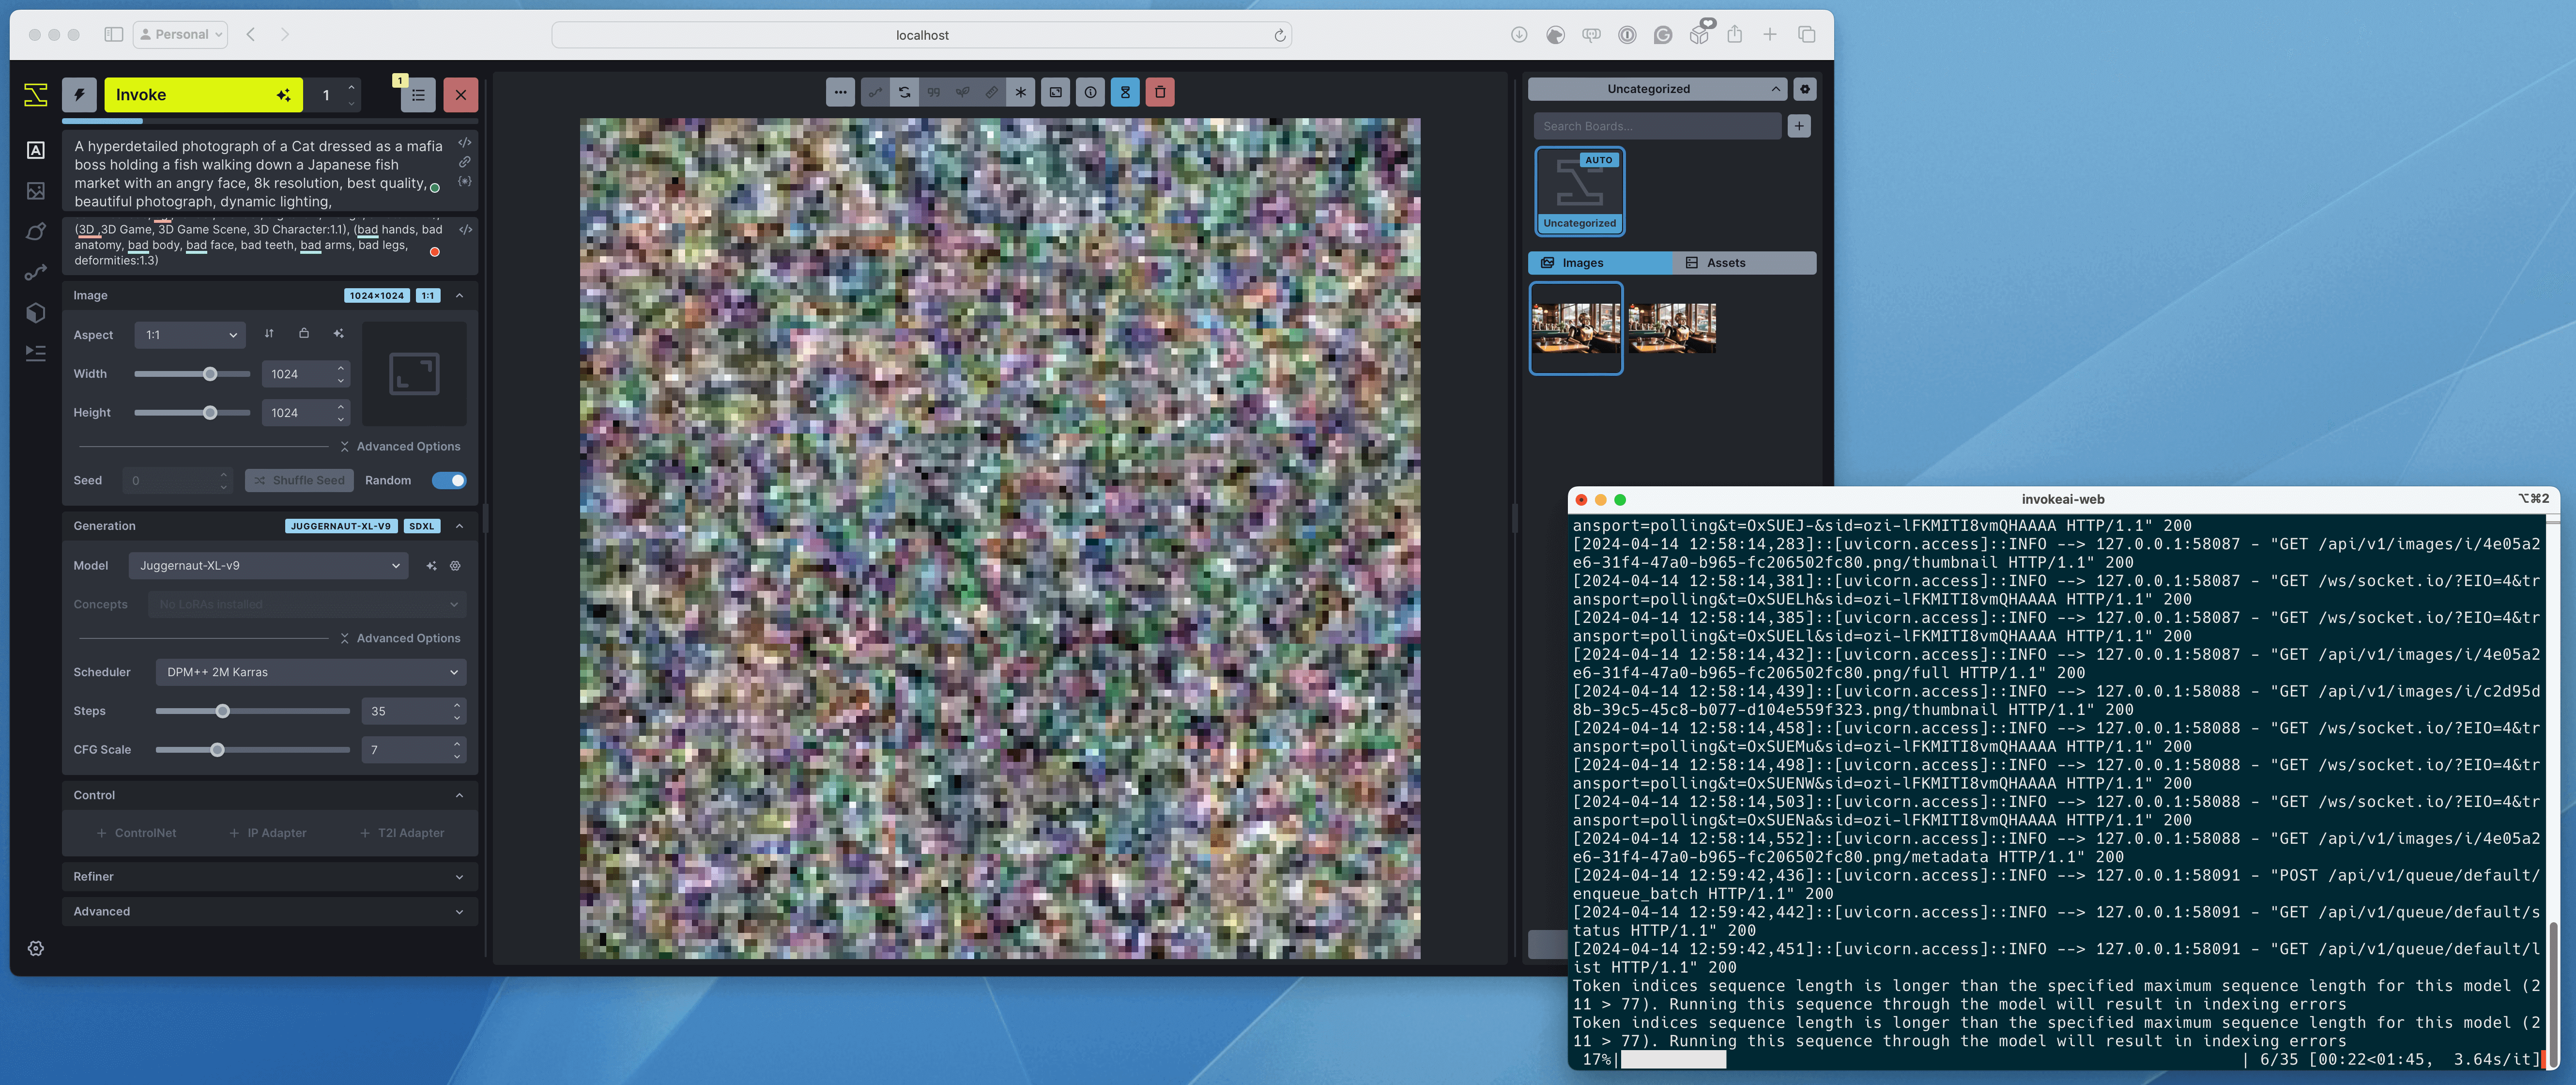
We can soon start to see the image coming together …
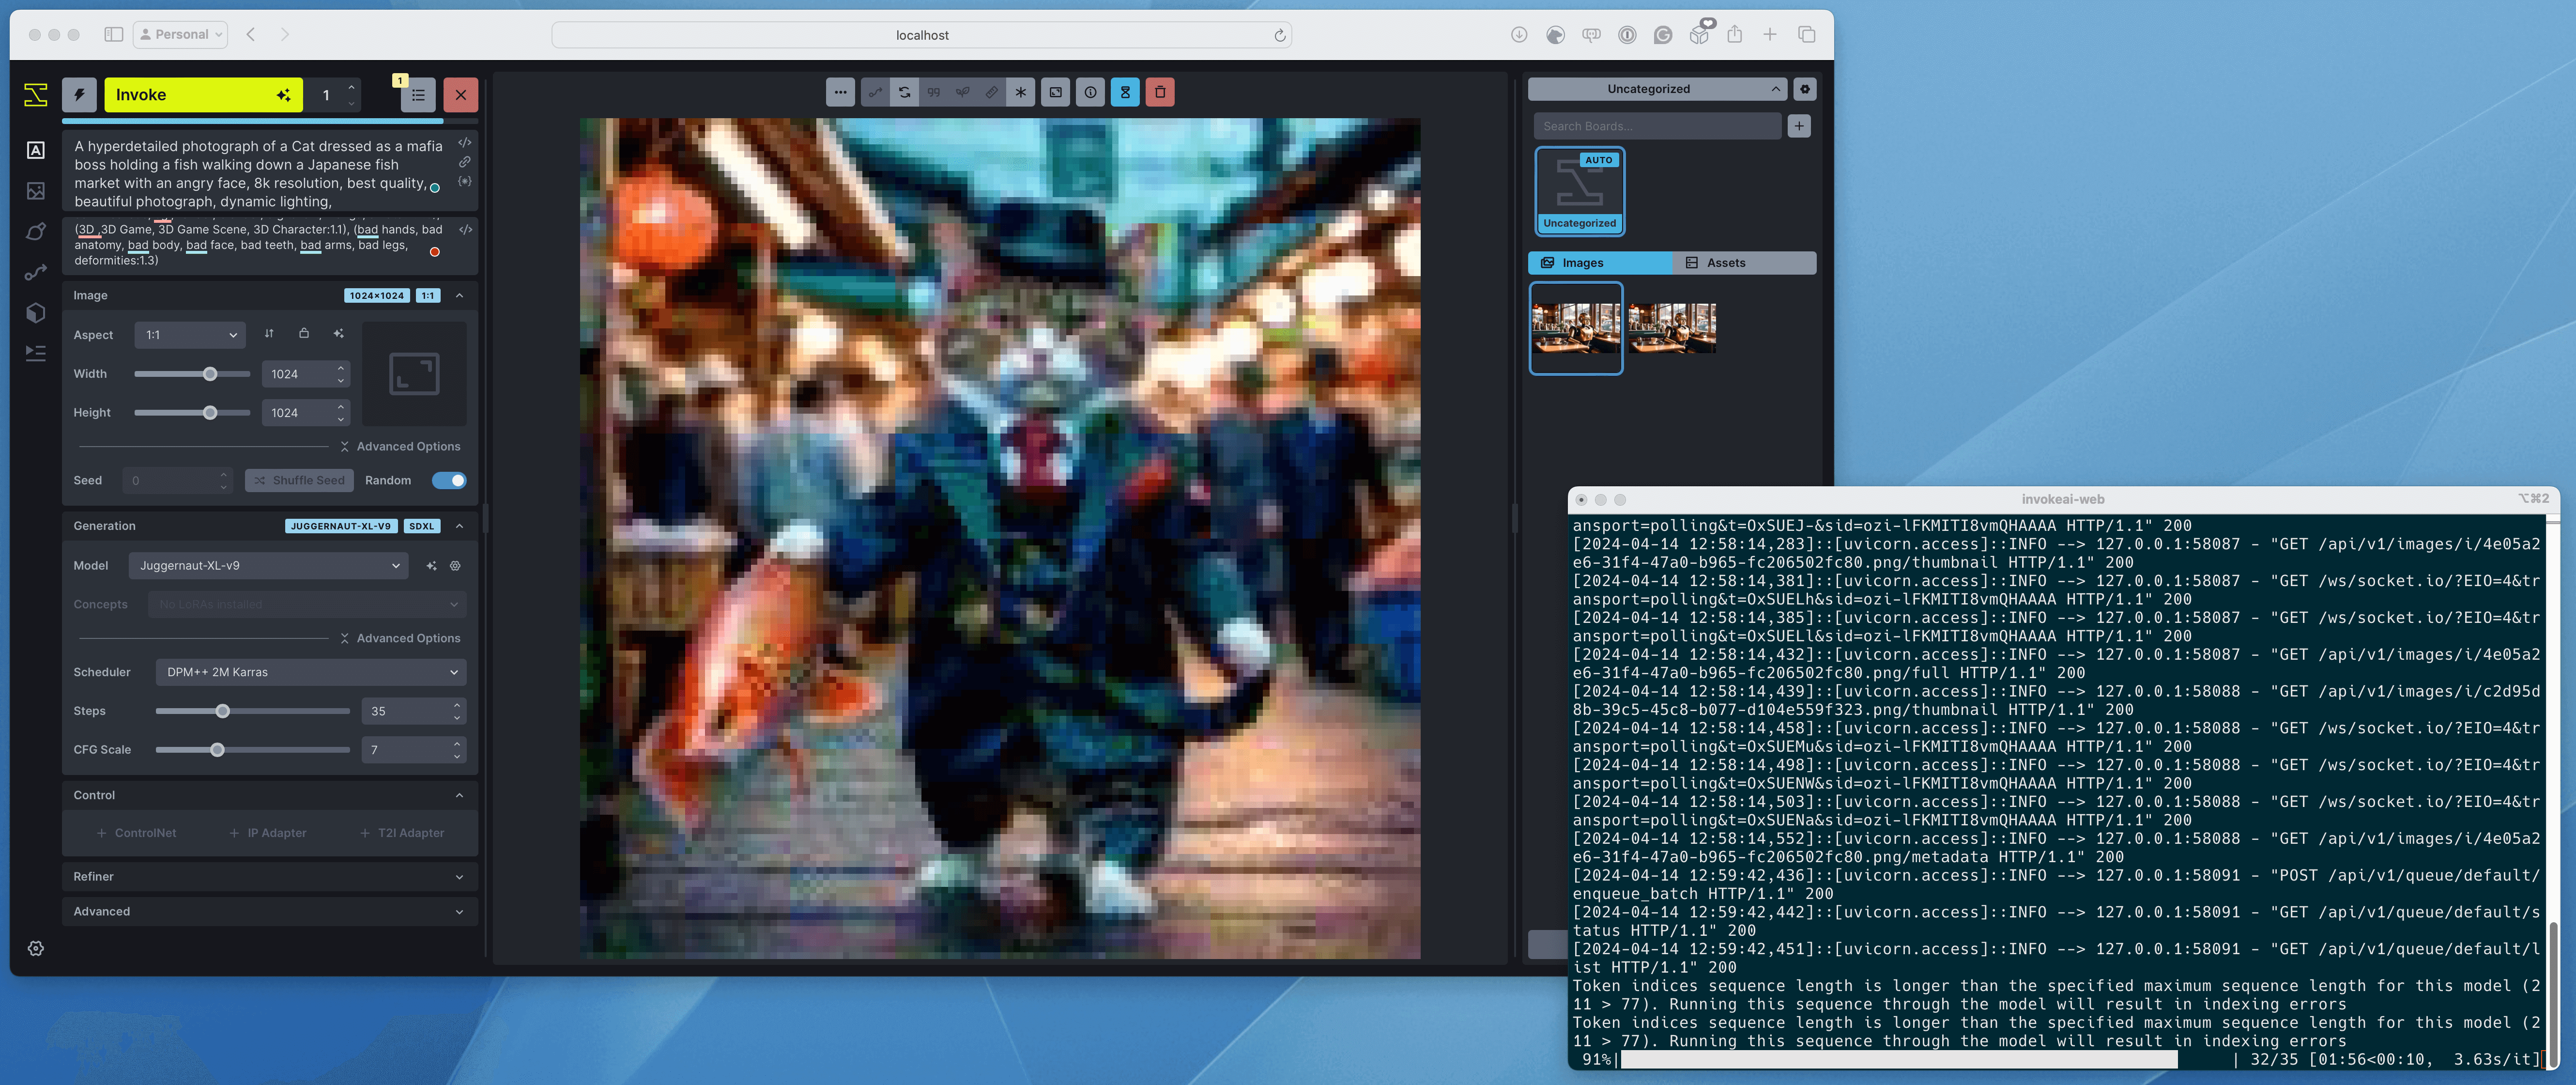
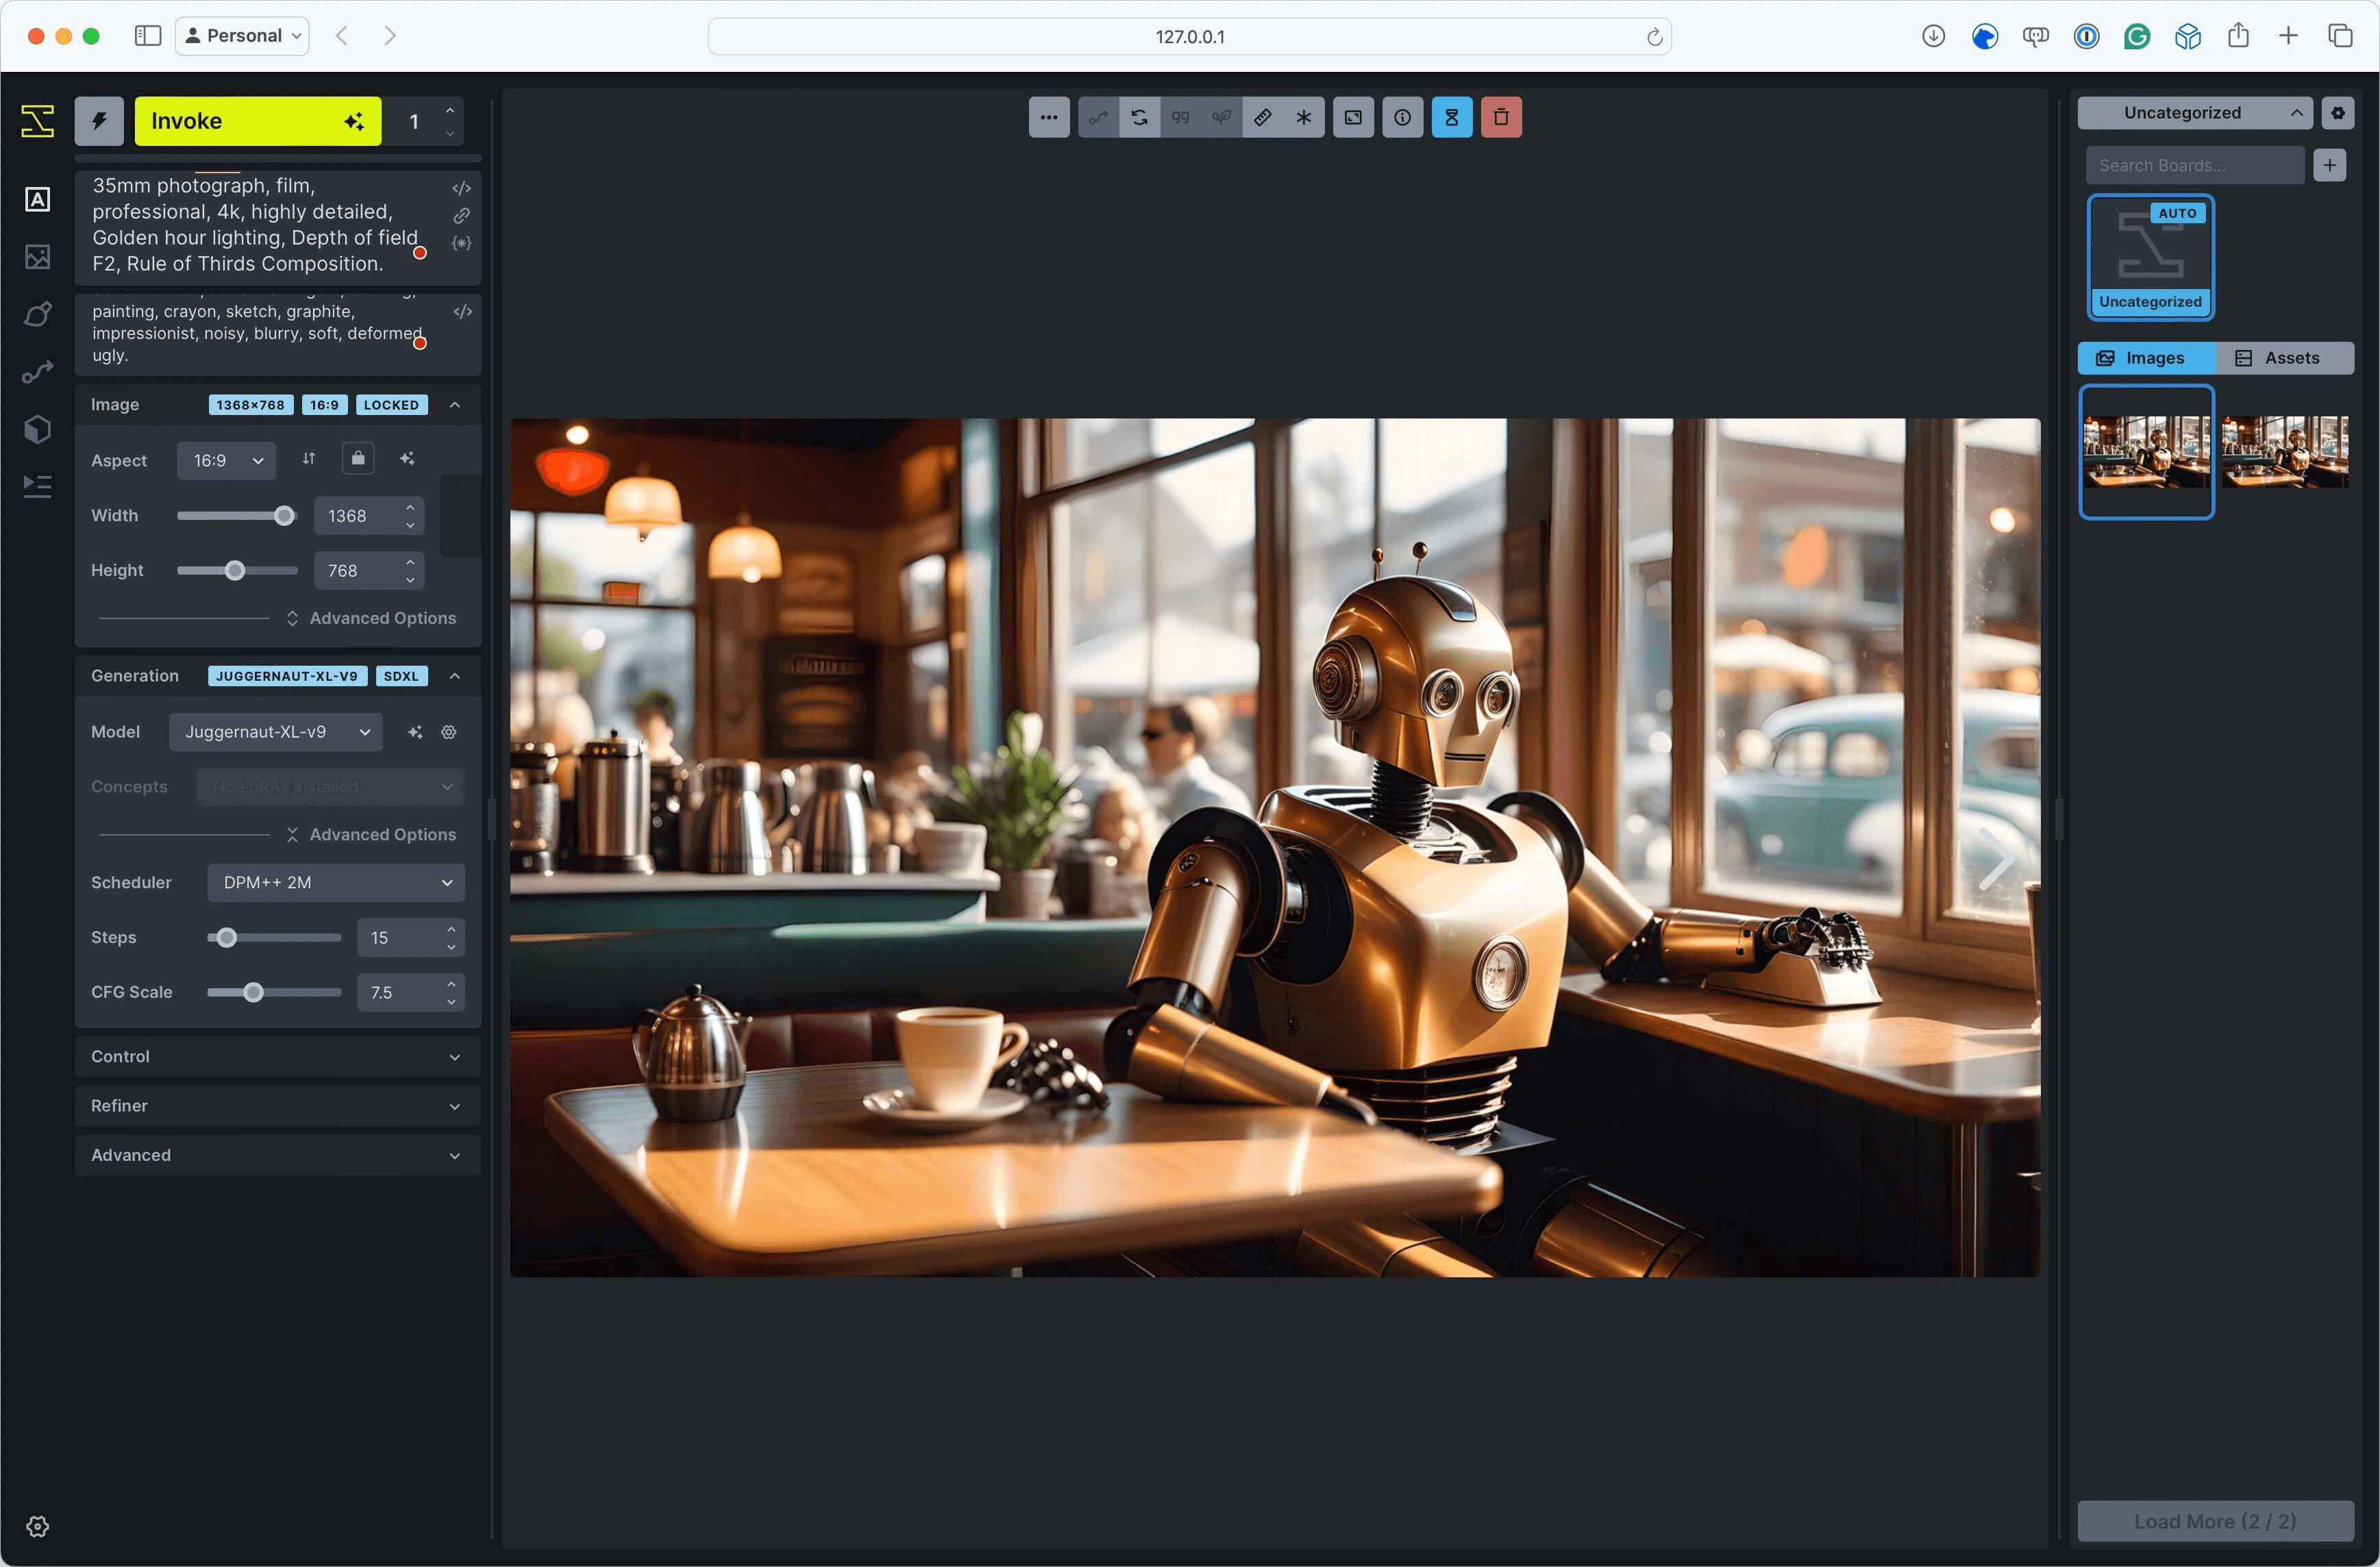
Until we have our final image …

Not quite sure whats up with the fish - but another great effort …
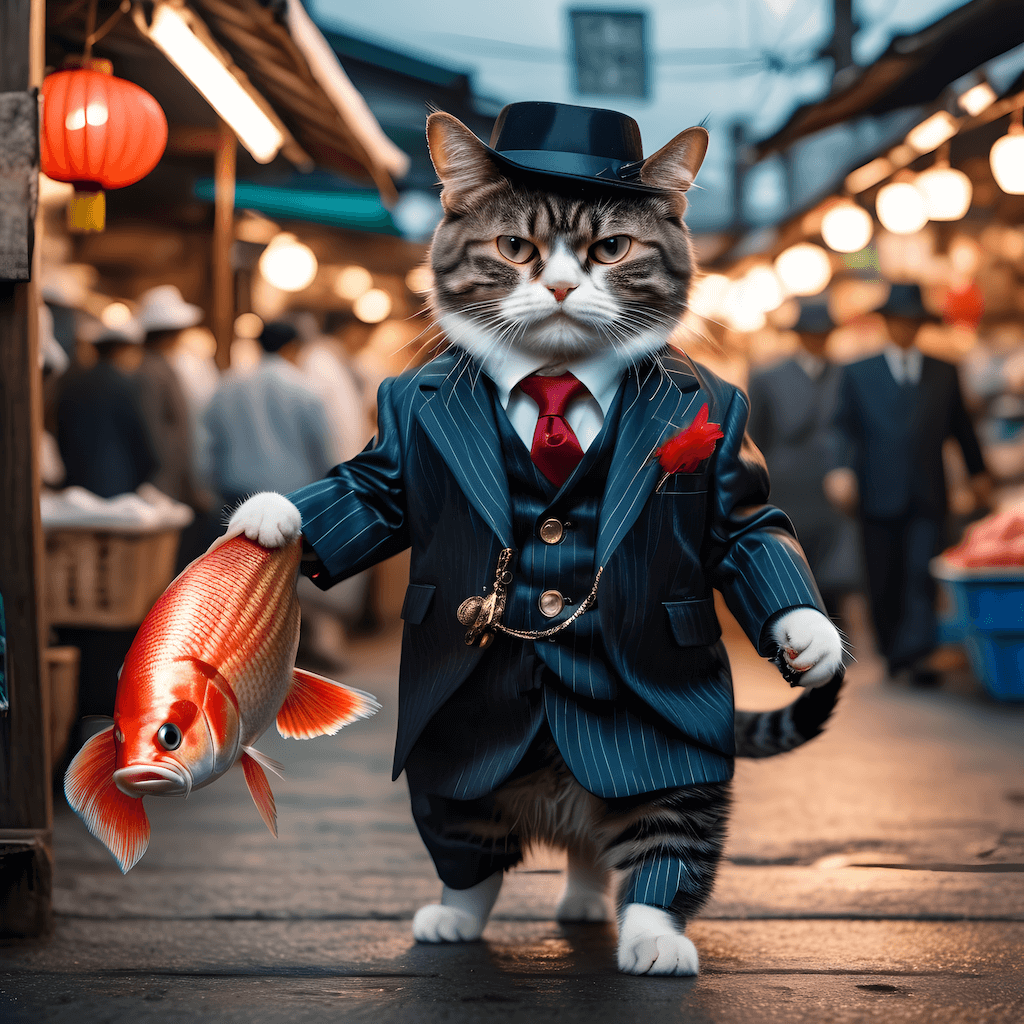
You can find the untouched upscaled image here.
Shutting down and starting up
When you have finished with InvokeAI you can shut it down by pressing CTRL+C to quit. When you need to reopen, open a terminal and run:
conda activate InvokeAI
invokeai-web
Returning to http://127.0.0.1:9090/ will let you pick up where you left off.
Further reading
Warning
As this is a local install it is not moderated - because of this, depending on the models you download you may end with NSFW images. Some of the links below may also contain images that could be classed as NSFW.
- Lexica , a source of inspiration for prompts
- CivitAI , as already mentioned, it’s a great source for models and modifiers as well as images.
- ArtHub.ai , another source of prompts for Stable Diffusion based models
Conclusion
InvokeAI is a powerful tool for generating AI-driven images locally on your macOS machine. By following the step-by-step installation process outlined in this post, you can set up a dedicated Python environment using Conda and install InvokeAI along with its dependencies.
Once installed, the InvokeAI web interface provides an intuitive way to explore and generate images using various models. By downloading a model like Juggernaut XL v9 and experimenting with different prompts and settings, you can create stunning and unique images right on your own computer.
While the results may not always be exactly what you envisioned, the ability to iterate and refine your prompts allows for a creative and engaging experience. With a little practice and exploration, you can unleash your imagination and generate impressive AI-driven images.
It’s important to keep in mind that local installations of InvokeAI are not moderated, so be cautious when downloading models and be prepared for the possibility of encountering NSFW content.
Overall, InvokeAI is a fascinating tool that opens up a world of possibilities for AI image generation on macOS. Whether you’re an artist, designer, or simply curious about the capabilities of AI, InvokeAI is definitely worth exploring. So dive in, experiment, and let your creativity run wild!